The Ultimate HD Makeup Tutorial: Achieve Flawless, Camera-Ready Skin
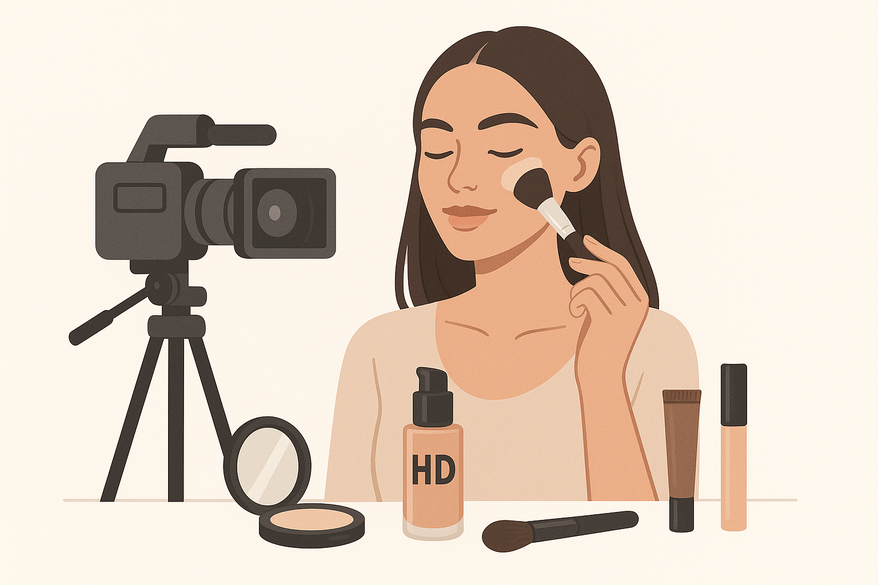
Discover how to achieve flawless, camera-ready skin with our ultimate HD makeup tutorial, perfect for high-definition photography and video shoots.

Estimated reading time: 8 minutes
Key Takeaways
- HD vs. Traditional: HD makeup uses light-diffusing pigments for a seamless, photo-ready finish.
- Skin Prep: Proper cleansing, moisturizing, and priming are non-negotiable for a smooth canvas.
- Essential Tools: Oil-free, non-reflective foundations, concealers, powders, brushes, and sponges make the difference.
- Step-by-Step Process: Build coverage in thin layers, blend thoroughly, and lock in with powder and spray.
- Expert Tips: Avoid flashback, over-powdering, and improper shade matches by following proven strategies.
Table of Contents
- Section 1: Understanding HD Makeup
- Section 2: Preparing Your Canvas
- Section 3: Essential Tools & Products
- Section 4: Step-by-Step Application
- Section 5: Tips, Tricks & Common Pitfalls
- Visuals & Demo
- Conclusion
- Additional Resources
- Further Reading
Section 1: Understanding HD Makeup
High-definition makeup is engineered to perform under powerful lights and ultra-clear lenses. Conventional formulas can look thick or reflective, even creating unwanted flashback.
Define HD vs. Traditional
- HD formulas use light-diffusing pigments to blur fine lines and pores.
- Traditional pigments may appear heavy or create flashback under studio lights.
Sources: HD Makeup vs. Traditional Makeup, Non-HD vs. HD Makeup: Which One’s Right for You?
Benefits of HD Makeup
- Blurs imperfections and creates a seamless finish
- Long-wear under hot lights and extended shoots
- Lightweight, comfortable feel for all-day wear
Source: Non-HD vs. HD Makeup: Which One’s Right for You?
Section 2: Preparing Your Canvas
Skin prep is non-negotiable. High-definition cameras magnify every texture, so your goal is a smooth, hydrated base. Follow this ultimate pre-makeup skincare routine.
Step 1: Cleanse
- Use a gentle, oil-control cleanser to remove excess sebum without over-stripping.
- Source: Differences Between Traditional Airbrush and High-Definition Makeup
Step 2: Moisturize
- Apply a water-based, non-greasy moisturizer.
- Allow 2–3 minutes to absorb into the skin’s surface.
Step 3: Prime
- Use a silicone-based or pore-filling primer to smooth texture and blur pores. See best makeup primers for a flawless base.
- Press primer into skin with fingertips or a damp sponge for even coverage.
Pro Tip: Wait 1–2 minutes between layers to ensure optimal adhesion of HD products.
Section 3: Essential Tools & Products
Choosing the right products and tools is crucial. Prioritize oil-free, non-reflective, long-wear items.
HD Foundation
- Look for light-reflecting, buildable formulas that won’t flash back on camera.
- Recommended: Make Up For Ever Ultra HD Foundation, Kryolan Dermacolor Camouflage.
HD Concealer
- Choose a creamy, full-coverage formula to spot-conceal blemishes and under-eye circles without creasing.
Setting Powder & Spray
- Use a finely milled, non-silica powder to diffuse light and lock makeup in place.
- Opt for a matte, alcohol-free setting spray for a soft-focus finish.
Brushes & Sponges
- Synthetic dense brush or flat-top kabuki for buffing foundation.
- Damp beauty sponge for seamless blending of cream formulas. Learn how to apply foundation evenly.
Section 4: Step-by-Step HD Makeup Application
- Primer Application
- Dispense a pea-sized amount onto the back of your hand.
- Apply thin layers focusing on the T-zone and cheeks.
- Let set for 1–2 minutes.
- Foundation Application
- Stipple 2–3 small dots of HD foundation onto the forehead, cheeks, and chin.
- Use a damp sponge or dense brush in a bouncing motion for sheer, buildable coverage.
- Blend into the hairline, jawline, and down the neck for a seamless transition.
- Concealing
- Apply HD concealer in an inverted triangle under the eyes.
- Dab gently with a small, flat brush or fingertip.
- Spot-conceal blemishes with a pointed brush; set immediately with a bit of setting powder.
- Contouring & Highlighting
- Contour with a cream or powder two shades deeper; apply under cheekbones, sides of nose, and along hairline.
- Highlight with a cream or powder one shade lighter; place on cheekbones, brow bones, nose bridge, and cupid’s bow.
- Blend edges with a damp sponge to avoid harsh lines.
- Setting
- Lightly dust HD setting powder in an upward motion on the T-zone.
- Mist setting spray from 8–10 inches away in X and T patterns for an all-over lock-in.
- Final Touches
- Fill brows with pencil or pomade; set with clear gel.
- Use matte shadows to prevent extra reflectivity on eyes.
- Finish lips with long-wear, non-sticky formulas.
- Avoid heavy glitter and SPF-loaded products to prevent flashback.
Section 5: Tips, Tricks & Common Pitfalls
Expert Tips
- Layer products in thin coats—build gradually for a natural finish.
- Use color correctors (peach for dark circles, green for redness) under foundation.
- Sanitize brushes and sponges before each use to avoid bacterial buildup.
Common Pitfalls
- Over-powdering leads to a cakey appearance; always tap off excess.
- Shade mismatch: test foundation on your jawline in natural light.
- Insufficient blending: focus on hairline and jawline to eliminate visible edges.
Troubleshooting
- Cakey finish? Press a damp sponge lightly over the area to reactivate product.
- Uneven blending? Use a clean brush in circular buffing motions.
- Flashback issues? Switch to silica-free setting powders and avoid mineral sunscreens.
Visuals & Demo
Watch our quick walkthrough on how HD formulas transform your look in real time:
Conclusion
This HD makeup tutorial has walked you through every phase—from skin prep to final touches—to deliver a polished, photo-ready finish. By using light-diffusing pigments and building coverage in thin layers, you’ll achieve a flawless result under any lighting or camera. Now it’s your turn: share your experiences, ask questions, or post your before-and-after photos to join our beauty community.
For those looking to streamline and personalize their beauty-tech routine, Makeup Check AI offers AI-powered guidance and virtual makeup generation to complement your handcrafted skills.
Additional Resources
- HD Makeup vs. Traditional Makeup
- Non-HD vs. HD Makeup: Which One’s Right for You?
- Differences Between Traditional Airbrush and High-Definition Makeup
Further Reading
- Ultimate Pre-Makeup Skincare Routine
- Best Makeup Primers for a Flawless Base
- How to Apply Foundation Evenly
FAQ
What distinguishes HD makeup from traditional formulas?
HD makeup uses light-diffusing pigments that blur fine lines and pores, ensuring a camera-ready finish without flashback under studio lights.
How can I prevent flashback in photos?
Avoid mineral sunscreens and silica-heavy powders. Opt for silica-free, non-reflective setting powders and matte products.
Is HD makeup suitable for everyday wear?
Yes. HD formulas are lightweight and comfortable for all-day use, though you may prefer traditional products for more casual occasions.
Can I use my regular brushes and sponges?
For best results, choose synthetic, dense brushes and damp beauty sponges designed for seamless application of cream and liquid formulas.