Makeup Looks for Beginners: The Ultimate Guide by Occasion
Explore the best makeup looks for beginners—everyday, soft glam, wedding guest, date night, and more. Step-by-step tips, product order, and beginner tools.

Estimated reading time: 17 min
Key Takeaways
- Learn essential makeup looks for beginners by occasion: everyday, soft glam, wedding guest, date night, festival, and job interview.
- Master the correct order of makeup application and product essentials for a flawless base.
- Discover beginner-friendly techniques for foundation, concealer, blush, eye makeup, brows, and lips.
- Find out how to adapt each look for your style and confidence level, with expert tips and product recommendations.
- Explore how AI beauty tools like Makeup Check AI personalize your makeup experience.
Table of Contents
- Section 1: Makeup Prep & Product Order for Beginners
- Section 2: Everyday Natural and No Makeup Makeup Looks
- Section 3: Soft Glam Makeup for Beginners
- Section 4: Special Occasion Makeup—Wedding Guest & Date Night
- Section 5: Festival and Creative Makeup Ideas
- Section 6: Interview & Professional Makeup Looks
- Conclusion
- FAQ
Section 1: Makeup Prep & Product Order for Beginners
Understanding Skin Prep: The Foundation of Every Look
Every great makeup look—no matter how simple or creative—starts with proper skin prep. For beginners, this step is crucial to ensure makeup applies smoothly and lasts. Think of skin prep as the canvas for your artistry: even the best makeup can look patchy, uneven, or fade quickly if your skin isn’t ready. Here’s a step-by-step breakdown:
- Cleansing: Use a gentle cleanser to remove oils and impurities. If you have oily skin, look for gel cleansers; for dry skin, opt for cream or hydrating formulas. Cleansing in the morning removes overnight sweat and at night clears away makeup and dirt.
- Moisturizing: Hydrated skin prevents caking and patchiness. Choose a lightweight moisturizer for oily or combination skin, and a richer cream for dry skin. Even if your skin feels oily, don’t skip this step—dehydration can cause excess oil.
- Sunscreen: Broad-spectrum SPF is a must, even under makeup. Choose a non-greasy, makeup-friendly sunscreen (SPF 30 or higher). Apply after moisturizer and allow it to absorb fully before applying primer. This prevents pilling and ensures your makeup sits well.
- Primer: A beginner-friendly primer blurs pores and creates a smooth canvas. Choose hydrating primers for dry skin and mattifying primers for oily skin. If unsure which to use, check out our guide to the best primers for makeup and foundation.
The Correct Makeup Application Order
Applying products in the right order helps each layer look its best and last longer. It also makes blending easier and prevents caking. While some advanced users change up the sequence, the following order is tried-and-true for beginners:
- Primer: Always start here—it grips your makeup and smooths texture.
- Foundation/BB Cream/Tinted Moisturizer: Apply a thin, even layer to even out skin tone. Use a brush, sponge, or clean fingers. Start in the center of your face and blend outward for the most natural look.
- Concealer: Use a small amount under eyes, around the nose, and on blemishes. Pat gently with your finger or a brush for best coverage.
- Powder (if needed): Set your base in oily areas, under the eyes, or where makeup tends to crease. Use a fluffy brush and only a light dusting to avoid heaviness.
- Bronzer/Blush/Highlighter: Add warmth, color, and glow. Apply bronzer where the sun naturally hits—forehead, cheeks, and jawline. Blush goes on the apples of the cheeks, and highlighter on high points like cheekbones and brow bones.
- Eyebrows: Groom and define brows before moving to eyeshadow; this frames your face and can help guide your eye makeup placement.
- Eye Makeup (shadow, liner, mascara): Apply eyeshadow first, followed by liner and mascara. If you make a mistake, it’s easier to clean up before finishing lips.
- Lips: Apply balm first, then lipstick or gloss.
- Setting Spray or Powder: Finish with a mist or powder to lock in your makeup, prevent transfer, and minimize shine. Use setting spray for a dewy look or powder for a matte finish.
Beginner Makeup Essentials: Must-Have Products
- Base: Lightweight foundation, BB cream, or tinted moisturizer. These are easier to blend and less likely to cake than full-coverage formulas. Popular choices for beginners include Maybelline Fit Me, L'Oreal True Match, and e.l.f. Camo CC Cream.
- Concealer: For dark circles and blemishes. Choose a creamy, blendable formula—try Maybelline Instant Age Rewind or NARS Radiant Creamy Concealer for natural coverage.
- Blush & Bronzer: For warmth and healthy glow. Cream blushes are forgiving and easy to blend with fingers. Physicians Formula Butter Bronzer is a beginner favorite.
- Eyebrow Pencil/Gel: For definition. A pencil helps fill sparse areas, while a tinted gel adds color and holds hairs in place. NYX Micro Brow Pencil and Benefit Gimme Brow are highly rated for beginners.
- Mascara: Instantly opens up the eyes. Look for smudge-proof, lengthening formulas like Maybelline Lash Sensational or L’Oreal Voluminous.
- Lip Balm & Lipstick: Hydration plus color. Tinted balms (like Burt’s Bees or Maybelline Baby Lips) are foolproof. For classic lipstick, try creamy, non-drying options in nude or pink shades.
- Setting Spray/Powder: Locks everything in place. e.l.f. Matte Magic Mist & Set and Coty Airspun Loose Face Powder are budget-friendly, effective choices.
For more on how technology is transforming beauty routines, see AI Makeup: The Future of Personalized Beauty Routines.
Section 2: Everyday Natural and No Makeup Makeup Looks
Why Choose Natural Looks?
The everyday natural makeup look and its ultra-minimal cousin, the no makeup makeup look, are perfect for beginners and universally flattering. They enhance your features with just a few easy steps, boosting confidence without looking overdone. These looks are ideal for school, work, errands, Zoom calls, or any time you want a fresh, effortless vibe. The goal is to look like the best, most rested version of yourself—never overdone or heavy.
Step-by-Step: Everyday Natural Makeup
- Base: Apply a sheer BB cream or tinted moisturizer for light coverage. Use your fingers or a damp beauty sponge for a seamless finish. Focus mainly on the center of the face—cheeks, nose, and chin—then blend outward.
- Concealer: Dab a little under the eyes or on blemishes. Blend well using your ring finger (gentler pressure) or a small brush. Less is more: only cover what you need.
- Blush: Cream blush on the apples of the cheeks adds a healthy flush. Smile to find the right spot, then blend upward and outward for a subtle lift.
- Brows: Fill in sparse areas with a brow pencil or tinted gel. Use short, hair-like strokes for a natural effect. Brush through with a spoolie to blend.
- Mascara: One coat opens up the eyes. Wiggle the wand at the base of your lashes and sweep upward for lift. If you have straight lashes, curl them first for extra impact.
- Lips: Tinted balm or a nude lipstick completes the look. Choose shades close to your natural lip color for the most effortless effect.
Keep powders and highlighters to a minimum for a seamless, skin-like finish. If you have oily skin, lightly dust translucent powder only where needed to control shine. For dry or mature skin, skip powder entirely to avoid emphasizing texture.
No Makeup Makeup Look: The Minimalist’s Routine
- Focus on Skin: Primer, concealer only where needed, and a touch of cream blush. The goal is barely-there coverage—think spot-correcting instead of masking the whole face.
- Natural Brows: Brush up brows with clear gel. Skip filling unless necessary for a truly undetectable finish.
- Subtle Lashes: Curl and add a very light coat of mascara, or skip entirely if your lashes are naturally dark and full.
- Lips: Hydrate and add a hint of color with tinted balm. Some people even use a tiny bit of cream blush on lips for a unified, monochrome look.
These looks are not only easy to master but also forgiving—perfect for makeup beginners finding their footing. They’re quick (often under 10 minutes), making them ideal for busy mornings or low-maintenance routines. As your skills improve, you can add more steps or play with subtle shimmer for special occasions.
Section 3: Soft Glam Makeup for Beginners
What Is Soft Glam—and Why Is It Beginner-Friendly?
Soft glam makeup is all about a polished, glowing look that’s more dramatic than everyday makeup, but still approachable for beginners. It’s perfect for dinners, parties, first dates, or when you want to look extra put together. The hallmark of soft glam is diffused blending, radiant skin, and gentle definition—never harsh or cakey. This style is forgiving to mistakes and can be dialed up or down by layering more or less product.
Building the Soft Glam Base
- Foundation: Choose a foundation with buildable coverage. Start with a thin layer and add more only where needed. Blend with a damp sponge for a seamless, airbrushed finish. Focus on areas prone to redness or unevenness, like around the nose and chin.
- Concealer: Brighten under eyes and spot-conceal as needed. Use a slightly lighter shade under the eyes for a subtle highlight. Apply in an upside-down triangle shape for maximum brightening.
- Setting Powder: Lightly dust in T-zone to prevent shine and set concealer. Use a small brush for precision so you don’t lose the skin’s natural glow.
- Bronzer: Sweep along hairline, cheekbones, and jaw for subtle contour. Cream bronzers are easier for beginners to blend, but powder works well with a light hand. Always tap off excess product first.
- Blush: Go for peachy or rose tones. Blend upward on the cheeks toward the temples. This technique visually lifts the face and creates a more youthful effect.
- Highlighter: Dab on tops of cheeks, brow bone, and cupid’s bow. Cream or liquid highlighters are easiest for beginners—blend with fingers for a dewy finish.
Soft Glam Eyes and Lips
- Eyeshadow: Use neutral mattes and soft shimmers. Start with a light matte shade all over the lid, a medium-toned matte in the crease, and a shimmery shade on the mobile lid. Blend the crease color in windshield wiper motions for softness. Highlight the inner corner with a pale shimmer to brighten the eyes.
- Eyeliner: Brown or taupe pencil for a soft, smudged line. Draw close to the lash line and smudge gently with a cotton swab or small brush. For beginners, gel pencils are easier than liquid liner.
- Mascara: Two coats for defined lashes. If desired, add a few individual false lashes to the outer corners for extra flutter, but keep it natural.
- Lips: Nude, mauve, or pink lipstick with a touch of gloss. Line lips first for definition, then fill in with lipstick and top with gloss only in the center for a plumper look.
Soft glam makeup is easy to adapt—start with less, then add more intensity as you gain confidence. You can add a touch more shimmer, a slightly bolder lip, or a hint of deeper shadow for evening events. The look remains flattering even as you experiment.
Try-On Tip:
Use Makeup Check AI to preview soft glam looks on your face virtually, adjusting colors and intensity before you begin. This can help you see what works best for your unique eye shape, skin tone, and style preferences, minimizing trial-and-error with real products.
Section 4: Special Occasion Makeup—Wedding Guest & Date Night
Wedding Guest Makeup for Beginners
Attending a wedding as a guest? You want to look radiant, polished, and photo-ready. Wedding guest makeup should last all day and complement your outfit and the event’s vibe. The key is balance: you want to enhance your features and stand out in photos, but not upstage the wedding party or look overdone.
- Longwear Base: Choose a foundation with good staying power that matches your skin perfectly. Layer a mattifying primer underneath if you have oily skin, and consider a hydrating primer for dry skin. Set with powder in the T-zone and use blotting sheets for touch-ups during the day.
- Concealer: Brighten and perfect key areas—under eyes, around the nose, and any blemishes. Use a lightweight, crease-resistant formula to withstand hours of wear and potential tears.
- Blush & Highlight: Use a slightly bolder blush (think rose, berry, or coral) and a subtle highlight for glow. Build color gradually so it photographs well without looking clownish in person. Cream formulas blend seamlessly but powder lasts longer in heat or humidity.
- Eyes: Soft shimmer shadow, defined lashes, and a touch of brown liner. Consider waterproof mascara and eyeliner to avoid smudging during emotional moments. Champagne, bronze, or rose gold shimmers are universally flattering.
- Lips: Satin finish lipstick in rose or berry, with liner for definition. For longevity, fill lips in completely with pencil before applying lipstick. Blot and reapply for extra staying power.
- Setting Spray: Lock in your look for hours. A final mist helps makeup withstand dancing, hugs, and photos.
If you’re unsure about color choices, the Free Color Analysis tool can help you match your makeup to your undertone and outfit. This ensures your look is harmonious with both your complexion and your clothing, enhancing your overall appearance.
Date Night Makeup Look: Flirty and Fresh
- Base: Dewy foundation and luminous blush. Use a light-diffusing primer and avoid heavy powders for a radiant, touchable finish.
- Eyes: Soft brown or bronze shadow, subtle winged liner, fluttery lashes. Use a pencil liner to draw a short flick at the outer corner, then smudge for softness. Add extra mascara or a half-strip of false lashes for romance.
- Lips: Glossy pinks or reds, depending on your mood. Try a lip oil or shiny gloss for a plump, kissable look. For a classic date night, red lipstick is always a winner—just blot and reapply for transfer resistance.
- Finishing Touch: A spritz of setting spray for a long-lasting, touchable finish. Keep a travel-size in your bag for quick refreshes if needed.
Start subtle and build up the drama as you grow more confident with each step. If you want to try a bolder look, use Makeup Check AI to preview different eyeshadow and lip pairings before the big night.
For even more guidance, check out The Ultimate Guide to Smarter Beauty Routines.
Section 5: Festival and Creative Makeup Ideas
Festival Makeup: Express Yourself
Festivals are the perfect setting to experiment with color, shimmer, and bold shapes. As a beginner, you can keep it simple but playful, focusing on one or two standout elements. Festival makeup isn’t about perfection—it’s about self-expression and having fun. Here’s how to get started:
- Base: Use a longwear primer and foundation for durability. Choose products labeled “waterproof” or “sweat-resistant” for outdoor events. Consider a BB cream with SPF if you’ll be in the sun all day.
- Colorful Eyes: Try a single bright shadow (like turquoise, fuchsia, or neon green) swept across the lids, or line your eyes with neon or metallic liner. If you’re nervous, start with a pop of color on just the lower lash line.
- Glitter: Tap cosmetic-grade glitter onto lids or cheekbones using a safe adhesive (never craft glitter). Use your finger or a flat brush for placement, and clean up stray glitter with tape or a makeup wipe.
- Face Gems: Stick-on rhinestones or pearls add instant festival flair. Place them above brows, at the outer corners of the eyes, or along the cheekbone for maximum impact. Most gems can be removed easily with micellar water or makeup remover.
- Lips: Go bold with a bright or holographic gloss. Try layering a metallic topper over your favorite lip color for a multidimensional effect.
Creative, Beginner-Friendly Festival Makeup Ideas
- Colored mascara on top or bottom lashes. Try cobalt blue, emerald green, or hot pink for a subtle but fun twist.
- Ombre or two-tone lips. Use two shades of lipstick—one lighter and one deeper—blending them at the center for a gradient effect. This trick makes lips appear fuller.
- Stenciled or drawn-on stars and hearts. Use face-safe eyeliner pencils to trace small designs at the outer corner of your eye or across the cheekbones. Stencils are available online for crisp shapes.
- Dual highlighter for a unicorn effect. Apply a pink-toned highlighter to the tops of your cheekbones and a blue-toned one to the temples for an ethereal glow.
Remember: Less is more when you’re new. Try one adventurous element at a time, and let your creativity shine. Always do a patch test for new products or adhesives, and remove makeup gently at the end of the day to avoid irritation.
Virtual Try-On for Inspiration
Not sure how a festival look will work on you? Use AI-powered apps like Makeup Check AI to experiment safely and find your favorite bold style before you commit. The app lets you preview wild colors, glitter placements, and gem patterns on your own face, so you can plan your look with confidence—no waste, no mess.
For more on virtual makeup experiences, read AR Beauty Try On: The Future of Virtual Makeup and Skincare.
Section 6: Interview & Professional Makeup Looks
Job Interview Makeup: Less Is More
For interviews and professional events, aim for a clean, confident appearance that enhances your features without overpowering them. The goal is to look polished, not distracting, so the focus stays on your skills and personality. Here’s how to create a professional look that works for every industry:
- Base: Lightweight foundation or BB cream, with concealer where needed. Choose a formula that matches your skin exactly and avoid heavy contouring or baking.
- Powder: Set oily areas for a matte finish, especially around the nose and forehead. Use a translucent powder to avoid altering your foundation color.
- Brows: Define with a brow pencil or powder for a tidy look. Keep the shape close to your natural brow—just fill in sparse spots and brush the hairs into place.
- Eyes: Neutral shadow, thin liner, and a single coat of mascara. Stick to beige, taupe, or soft brown shades. If using liner, keep the line thin and close to the lashes—no wings or dramatic flicks.
- Lips: Soft rose or nude lipstick that won’t require frequent touch-ups. Matte or satin finishes last longer and don’t smudge as easily as gloss.
Finishing Touches for a Lasting Impression
- Use a setting spray to keep everything in place during the day. Mist lightly and let it dry before heading out.
- Avoid heavy contour or dramatic lashes for a more approachable look. Stick to natural-looking products and skip false lashes unless they are extremely subtle.
- Choose products that feel comfortable and look natural in daylight. Test your makeup near a window before your interview to ensure it looks seamless and professional.
Beginner Tips for Professional Settings
- Practice your look beforehand to ensure smooth application. Time yourself so you’re not rushed the day of your interview.
- Keep a compact and lipstick in your bag for subtle touch-ups. Blotting papers are also handy for midday shine.
- When in doubt, opt for classic, timeless shades. Think beige, taupe, soft pink, and rose, which flatter all skin tones and never go out of style.
With practice, you’ll find the right balance of polish and personality to suit every professional occasion. Remember, confidence is your best accessory—makeup should support, not overshadow, your natural strengths.
Conclusion
Makeup looks for beginners don’t have to be intimidating. Whether you’re aiming for an everyday natural look, soft glam makeup, or a bold festival style, start with the basics—prepping your skin, choosing the right products, and mastering simple techniques. Focus on enhancing your best features and building your routine gradually. With patience and practice, you’ll discover what works best for your face shape, skin type, and unique personality.
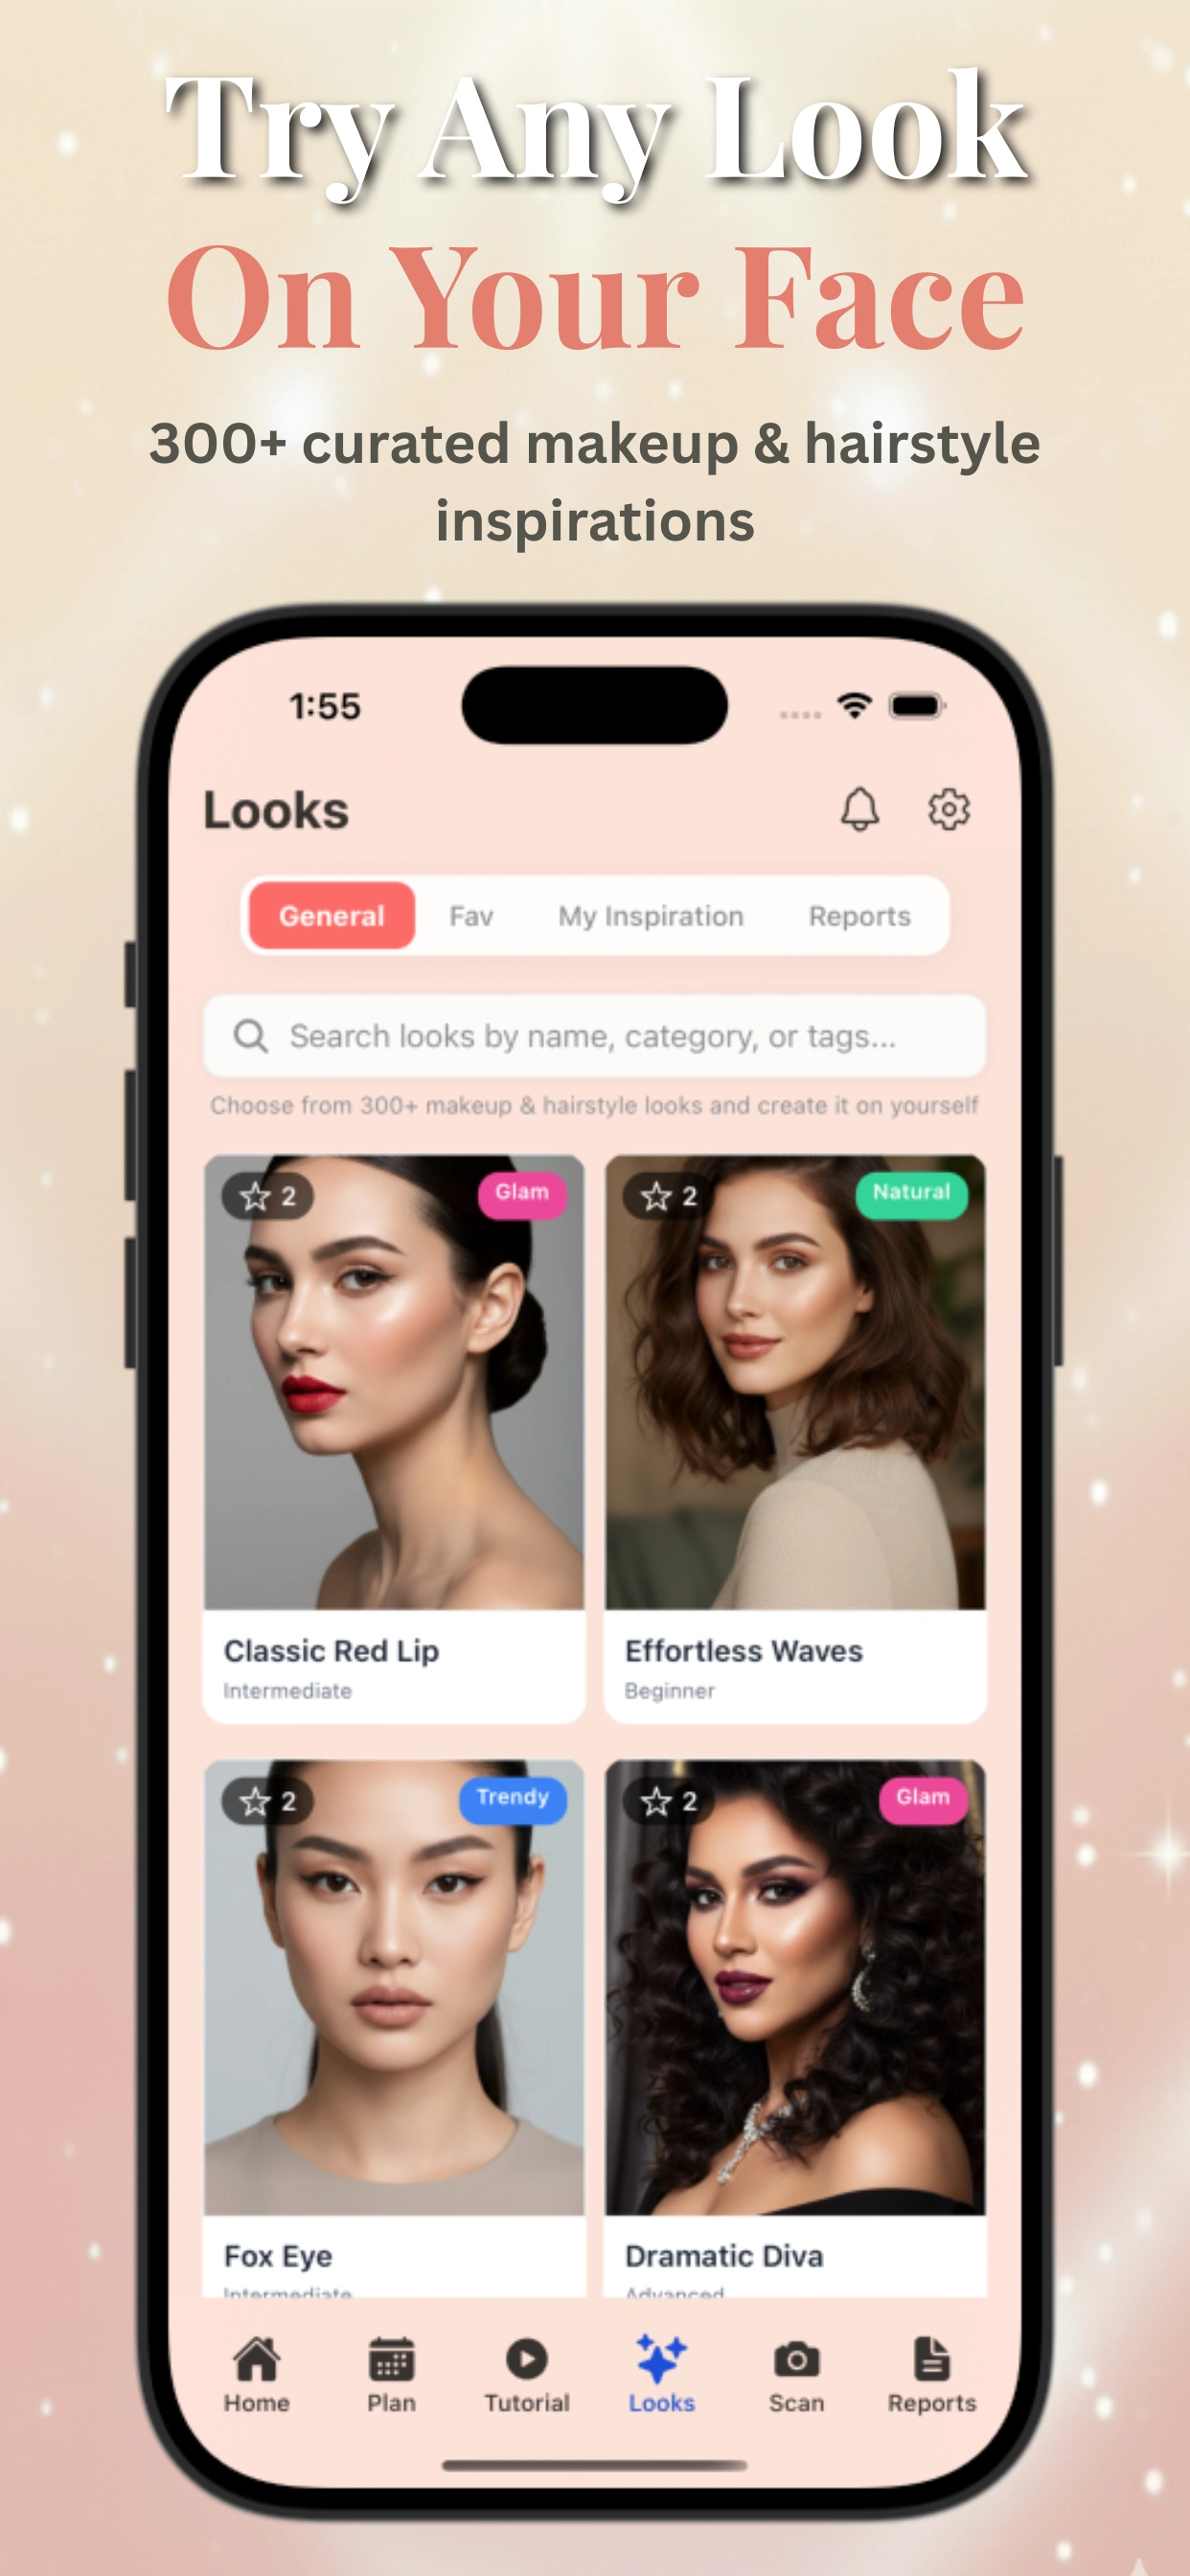
Personalized AI tools like Makeup Check AI can simplify your beauty journey. Instantly try on 300+ looks, get AI-powered tutorials, and tailor your routine to your unique features and events—all from your phone. AI-powered color analysis and virtual try-on technology take the guesswork out of finding your perfect shades, helping you avoid costly mistakes and wasted products. Embrace the process, have fun, and remember: makeup is about expressing your best self, one brushstroke at a time. There are no hard rules—just guidelines to help you get started. As you gain confidence, experiment and let your personal style shine through every look.
FAQ
Q: What makeup products do beginners actually need?
A: Beginners should start with a lightweight base (BB cream or foundation), concealer, blush or bronzer, brow pencil or gel, mascara, a neutral lipstick or tinted balm, and a setting spray or powder. These basics cover most looks and occasions. As your skills grow, you can add eyeshadow palettes, highlighter, and more adventurous lip and eye products, but start simple for best results.
Q: What is the easiest makeup look for a beginner?
A: The everyday natural makeup look or the no makeup makeup look is easiest. It requires minimal products: base, concealer, blush, mascara, and a tinted lip balm. Focus on enhancing your features for a fresh-faced result. This look is forgiving, doesn’t require advanced blending, and can be achieved in just a few minutes, making it perfect for daily wear or busy mornings.
Q: How do I choose the right foundation shade for my skin tone?
A: Test foundation shades on your jawline in natural light. The right shade should disappear into your skin. Consider your undertone (cool, warm, neutral); online tools like the Free Color Analysis can help match your undertone for a perfect fit. If you’re unsure, ask for samples and wear each one for a full day to check for oxidation or color change.
Q: Should beginners use foundation or BB cream?
A: BB cream is a great choice for beginners because it's lightweight, blends easily, and often includes skincare benefits. Foundation offers more coverage but can be trickier to apply—start with BB cream and move to foundation as you gain confidence. BB creams are less likely to look streaky or cakey, making them ideal for learning basic blending techniques.
Q: What is the correct order to apply makeup?
A: The standard order is: primer, foundation or BB cream, concealer, powder, blush/bronzer/highlighter, brows, eye makeup (shadow, liner, mascara), lips, then setting spray or powder. This sequence ensures each layer blends seamlessly and wears well throughout the day.
Q: How do I do a natural everyday makeup look?
A: Start with a clean, moisturized face. Apply a light base, dab concealer where needed, add a touch of cream blush, groom brows, sweep on mascara, and finish with a nude or tinted lip balm. Blend everything well for a seamless, natural finish. If desired, add a tiny bit of highlighter to the cheekbones or inner eye corner for extra radiance. Keep it light and fresh!