Contour Map Makeup: Step-by-Step Tutorial for Flawless Face Sculpting
Discover how to create the perfect contour map makeup tailored to your face shape with AI tips, blending techniques, and product choices.

Estimated reading time: 15 min
Key Takeaways
- Contour map makeup strategically places shadows and highlights to sculpt and balance facial features.
- Customizing contour placement based on face shape can enhance natural beauty, improve symmetry, and correct perceived disproportion.
- Correct order and blending techniques are important for seamless, natural-looking contour that lasts throughout the day.
- Both cream and powder contour products have distinct benefits depending on skin type, desired finish, and application style.
- Integrating contour with bronzer, blush, and highlight completes a harmonious makeup look that appears polished yet natural.
Table of Contents
- Section 1: Understanding Basic Contour Map Zones
- Section 2: Customizing Contour Placement by Face Shape
- Section 3: Contour vs Highlight and Concealer – Application Order
- Section 4: Mastering Blending Techniques for Contour Maps
- Section 5: Choosing Between Cream and Powder Contour
- Section 6: Creating Soft Sculpt and Natural Contour Looks
- Section 7: Step-by-Step Face Mapping for Beginners
- Section 8: Integrating Contour with Blush, Bronzer, and Highlighter
- Conclusion
- FAQ
Section 1: Understanding Basic Contour Map Zones
Defining Contour Map Makeup
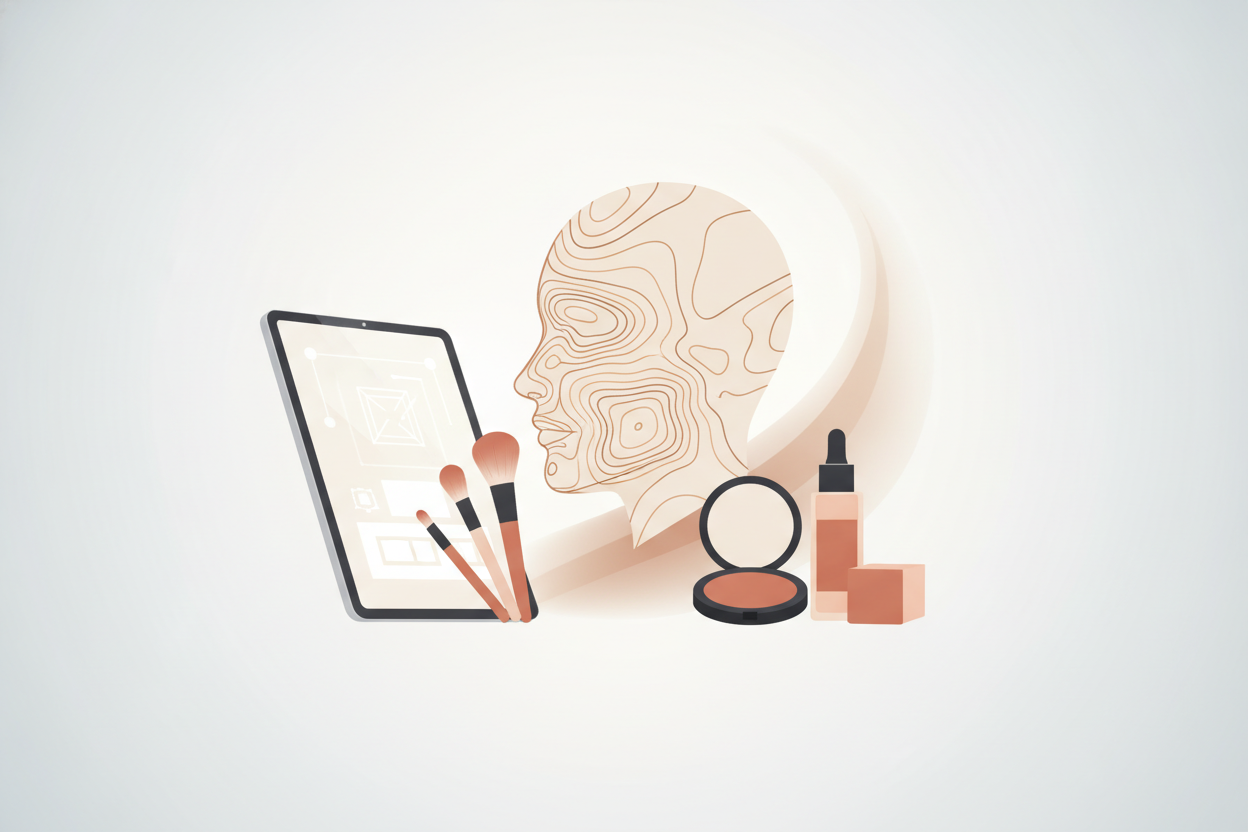
Contour map makeup is a technique that uses carefully placed darker and lighter shades to mimic natural shadows and highlights on the face, enhancing its structure and visual depth. The "map" approach involves identifying and marking specific zones on the face where contour and highlight products should be strategically applied. This method helps in sculpting the face, balancing asymmetries, and emphasizing the user's best features. It allows for an intentional, calculated enhancement rather than random shading, leading to a more polished and professional finish.
Key Contour Zones on the Face
Understanding where to apply contour is important for effective facial sculpting. The primary areas to apply contour products include:
- Forehead/Hairline: Applying contour along the hairline or slightly above the temples can help reduce the appearance of a large or high forehead by creating a shadow that visually lowers it. This area is especially considered for those with broad or tall foreheads.
- Temples: Contouring the temples can create an illusion of a narrower face and add depth, which may be useful for round or square face shapes.
- Cheek Hollows: The hollows just below the cheekbones are the primary site for contouring. Darkening this area can create the appearance of lifted, defined cheekbones and a slimmer face. The contour here often follows a diagonal line from the ear toward the corner of the mouth but should stop midway to avoid dragging the face down.
- Jawline: Adding shadow along the jawline can sharpen and sculpt the lower face, helping to reduce the appearance of a double chin or soften a round jaw.
- Chin: Contouring the chin can visually shorten or define its shape, which may be helpful for those with a prominent chin or a longer face.
- Nose: Contouring the sides of the nose can slim and straighten its appearance. Applying thin, soft lines of contour product along the sides and blending inward can create a subtle slimming effect without harshness.
Highlight and Concealer Zones
Highlighting is applied to the high points of the face to reflect light and bring forward features:
- Center of the forehead to open and brighten the face.
- Under the eyes to conceal dark circles and brighten the area, making the eyes appear more awake.
- Bridge and tip of the nose to accentuate the nose's shape and add dimension.
- Top of the cheekbones to emphasize lift and create a radiant glow.
- Center of the chin to bring balance and light to the lower face.
- Cupid’s bow above the upper lip to enhance the shape of the lips.
Mastering these zones forms the foundation for effective contour map makeup that naturally enhances your facial architecture without appearing artificial.
Section 2: Customizing Contour Placement by Face Shape
Why Face Shape Matters in Contour Mapping
Every face shape presents unique characteristics, and contour makeup can be tailored to highlight strengths while minimizing perceived flaws. A one-size-fits-all contour application risks over- or under-emphasizing certain features, potentially throwing off the natural harmony of the face. Understanding your face shape—whether oval, round, square, heart, or long—is the first step to tailoring contour placement that enhances balance and proportion.
Contour Mapping for Common Face Shapes
- Oval Face: Considered the most balanced and symmetrical shape, the oval face can benefit from light contouring to maintain harmony. Focus on softly shading just under the cheekbones and lightly along the jawline to subtly define without disrupting the natural shape. Avoid heavy contouring on the forehead or chin to keep proportions intact.
- Round Face: The goal is often to elongate the face and create definition. Contouring the sides of the forehead near the temples and along the jawline can slim the width. Deepening the cheek hollows with diagonal contour lines from the ear toward the mouth’s corner, stopping before the smile line, may add structure and create the illusion of higher cheekbones.
- Square Face: The emphasis is often on softening harsh jawlines and angular features. Applying contour to the jawline's edges and blending downward can round the edges. Contouring the temples may reduce width on the upper face. For cheek hollows, contouring diagonally can lift and add softness rather than sharpness.
- Heart Face: To balance a wider forehead and narrower chin, contouring the forehead and temples can reduce width visually. Additionally, contouring the chin area can soften a pointed appearance. Avoid heavy contouring on the cheekbones; instead, focus on blending to maintain a gentle transition.
- Long Face: The aim is often to shorten the face visually. Applying contour along the hairline at the forehead and directly under the chin can create shadow that shortens length. Avoid contouring too heavily on the cheeks as this can elongate the face further.
Customizing Contour Map Makeup with AI
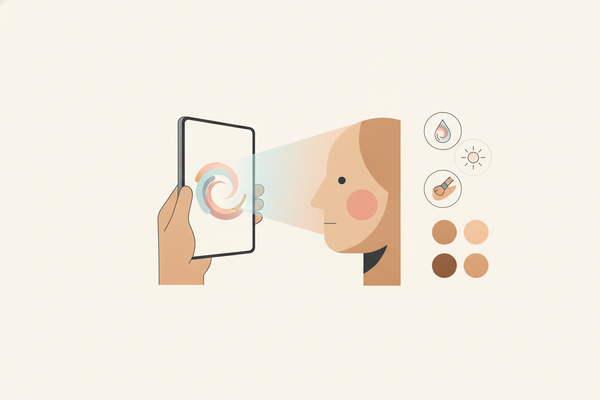
Technology like Makeup Check AI offers personalized contour maps based on detailed 3D facial scans. This technology analyzes facial structure, asymmetries, and proportions to recommend product placement and shade intensity. By removing guesswork, it aims to help contouring enhance features effectively and can adapt to lighting conditions, skin tone, and personal preferences. Users may receive tailored tutorials and product recommendations, which can assist in learning and improving results.
Section 3: Contour vs Highlight and Concealer – Application Order
The Correct Sequence for Flawless Contour
The order in which you apply contour, highlight, and concealer products can impact the final look's naturalness and durability. A commonly recommended sequence is:
- Start with a base: Apply foundation or tinted moisturizer that matches your skin tone to create an even canvas. This evens out complexion, covers minor imperfections, and sets the stage for contouring.
- Apply contour: Mark contour zones according to your face shape using cream or powder products. At this stage, it’s important to apply product strategically and sparingly to avoid over-application.
- Apply concealer and highlight: Use concealer under the eyes, on the bridge of the nose, center of the forehead, chin, and cupid’s bow. This brightens and corrects shadows or discoloration, working to balance the contour shadows.
- Blend: Gently blend all products together using appropriate tools to achieve a seamless transition between contour, highlight, and base.
Why Concealer Comes After Contour
Applying concealer after contour allows for clean-up and brightening of specific areas without dulling the contour shadows. Concealer can sharpen contour edges by erasing any over-application and adding light to areas that naturally catch the eye. This layering technique helps prevent muddy or flat results and enhances dimension by maintaining contrast between shadows and highlights.
Tips for Highlight and Concealer Placement
- Choose a concealer 1-2 shades lighter than your foundation to brighten effectively without appearing chalky.
- Highlight cheekbones with a luminous or satin-finish product rather than a glittery one to create a natural, light-catching effect.
- Avoid applying highlighter on very textured or acne-prone areas as it can emphasize imperfections.
- Use a small, dense brush or a damp beauty sponge to precisely place and blend concealer for maximum coverage.
Section 4: Mastering Blending Techniques for Contour Maps
Why Blending Is Essential
Blending is a critical step in contour makeup. Without it, contour lines can appear harsh and unnatural, defeating the purpose of subtle sculpting. Proper blending transforms visible lines into soft shadows that look like natural facial contours. It also helps ensure longevity by preventing patchiness and product buildup. Well-blended contour enhances your features discreetly and gracefully.
Blending Directions and Tools
- Upward and Outward Strokes: When blending contour on the cheeks and jawline, use upward motions toward the temples to lift the face visually. For the jawline, blend outwards to avoid harsh edges.
- Use the Right Tools:
- Brushes: Dense contour brushes or angled brushes offer precision and control, especially for cream products.
- Sponges: Beauty blenders or damp sponges soften and diffuse edges, creating a skin-like finish.
- Detail Brushes: Small, tapered brushes are useful for nose contour and other delicate areas requiring finesse.
- Layer Gradually: Apply contour in thin layers and blend between applications to build depth without over-darkening. This approach offers natural results.
Blending Tips for Different Contour Products
Cream contour products blend well with a damp sponge using a gentle dabbing or stippling motion to avoid disturbing the base foundation. This method melts the product into the skin for a natural finish. Powder contour requires circular buffing motions with a dense brush to diffuse pigment evenly. Many professional makeup artists use a combination of both: cream contour as a base for a natural shadow and powder contour to add definition and set the cream.
Section 5: Choosing Between Cream and Powder Contour
Cream Contour: Benefits and Best Uses
- Benefits: Cream contours provide a natural, dewy finish that mimics the skin's texture. They are more blendable and forgiving, making them suitable for beginners or those wanting a subtle sculpt.
- Best for: Dry to normal skin types benefit most from cream contours as they add hydration and avoid emphasizing dryness or texture.
- Application: Cream contours can be applied with fingers for warmth, damp sponges for diffusion, or brushes for precision. They layer well under powder products for enhanced depth.
Powder Contour: Benefits and Best Uses
- Benefits: Powder contours offer buildable intensity, a matte finish, and can have good longevity, especially in warm or humid environments.
- Best for: Oily or combination skin types may benefit as powders absorb excess oil and provide sharper definition.
- Application: Apply powder contour using angled or flat brushes and blend thoroughly to avoid streaks. Powders can also be used to set cream contour products.
Which Should Beginners Choose?
Beginners often find cream contours more forgiving because they blend easily and are less likely to create harsh lines. However, powder contours are useful for finishing touches and can be layered over creams. Experimenting with both types allows you to find the best fit for your skin type, climate, and makeup style. Additionally, tools and technique impact the outcome, so investing time in learning application skills is as important as the product choice.
Section 6: Creating Soft Sculpt and Natural Contour Looks
What Is Soft Sculpt Contour?
Soft sculpt contouring emphasizes subtle enhancement of natural features using gentle shadows and highlights. Unlike dramatic contouring that relies on heavy product and sharp lines, soft sculpting focuses on building dimension gradually to create a fresh, radiant look suitable for everyday wear. It aims to mimic how natural light interacts with the face, resulting in no obvious makeup lines.
Techniques for a Natural Contour Map Makeup
- Choose contour shades that are only 1-2 shades darker than your natural skin tone to avoid obvious contrast.
- Use a damp beauty sponge to blend products extensively, ensuring no visible lines remain.
- Limit contour application to the most flattering zones—primarily cheek hollows and jawline—to prevent over-contouring.
- Opt for a soft, luminous highlighter with a subtle sheen instead of intense shimmer or glitter to maintain a natural glow.
- Use minimal product layering to avoid cakiness and to keep the skin looking fresh and dewy.
When to Use a More Defined Contour
For evening events, photoshoots, or special occasions, a stronger contour can create dramatic dimension and pronounced facial sculpting. Use deeper contour shades and sharper application lines while ensuring thorough blending to avoid patchiness or obvious makeup lines. Combining cream and powder contours can add depth and longevity. Highlighting can be intensified with reflective powders or cream products for a radiant finish. However, always tailor the intensity to your skin tone and lighting conditions to avoid looking overdone.
Section 7: Step-by-Step Face Mapping for Beginners
Step 1: Prep the Skin
Begin with a clean, moisturized face to provide a smooth canvas. Use a primer suited to your skin type—hydrating primers for dry skin, mattifying for oily skin—to enhance makeup adhesion and longevity. Allow the primer to set for 1-2 minutes before proceeding.
Step 2: Apply Base Foundation
Choose a foundation that matches your undertone and apply evenly using a damp sponge or brush. Aim for a natural finish that evens out skin tone without masking your natural texture completely. Blend well into the neck to avoid visible lines.
Step 3: Mark Contour Zones
- Using a contour product, lightly dab along the forehead near the hairline, temples, under the cheekbones, jawline, chin, and sides of the nose.
- For beginners, use light pressure and small amounts of product to avoid harsh lines. Gradually build intensity if needed.
- Use a detail brush for precision on smaller areas such as the nose.
Step 4: Apply Highlight and Concealer
- Apply concealer under the eyes to brighten dark circles and on the center of the forehead, nose bridge, chin, and cupid’s bow for highlighting.
- Select a concealer shade lighter than your foundation but avoid extremes to keep the look natural.
- Use a small brush or sponge to place product and then blend gently without disturbing the base.
Step 5: Blend Everything
Use a damp beauty sponge or blending brush to blend contour and highlight into the foundation. Employ upward and outward strokes for lifting effects, and use tapping motions to avoid moving products around excessively. Take your time to ensure there are no visible lines or patches. Check your makeup in natural light for the most accurate assessment.
Step 6: Set the Makeup
Optionally, set your makeup with a translucent setting powder to lock products in place and reduce shine. Use a light hand to avoid dulling the contour and highlight. For oily skin types, consider a mattifying setting spray after powder for longer wear.

For personalized guidance, Makeup Check AI offers face scanning and step-by-step tutorials tailored to your unique features. This AI-driven approach aims to simplify learning contouring by providing customized instructions and product suggestions.
Section 8: Integrating Contour with Blush, Bronzer, and Highlighter
How Contour, Bronzer, and Blush Differ
- Contour: Adds shadows to sculpt and define the bone structure, primarily using cool or neutral undertones to mimic natural shadows.
- Bronzer: Adds warmth and a sun-kissed glow, typically applied where the sun naturally hits the face, using warm, golden, or peach undertones.
- Blush: Adds a flush of color to the cheeks for a healthy, youthful appearance, usually with pink, peach, or red undertones depending on skin tone.
Applying These Products Harmoniously
- Begin by applying contour to establish structure and shadow.
- Lightly apply bronzer to the cheekbones, nose bridge, and forehead to add warmth and life to the face without overpowering the contour shadows.
- Apply blush on the apples of the cheeks and blend towards the temples in a gentle, sweeping motion to blend naturally into the bronzer and contour.
- Finish with highlighter on the high points of the face—cheekbones, brow bones, nose tip, and cupid’s bow—to add dimension and a radiant glow.
Tips for Balanced Makeup
Balance is key when integrating these products. Avoid overlapping bronzer and contour in the same areas excessively, as this can create a muddy, overly darkened effect. Blush placement should complement contour by adding a natural flush that contrasts with the cooler contour shadows. Use light layers and blend carefully to ensure each product enhances the other rather than competing. Finally, consider your skin tone and undertones when choosing product shades to maintain cohesion.
Conclusion
Mastering contour map makeup can empower you to sculpt and enhance your natural facial features with precision and confidence. By understanding the fundamental contour zones, tailoring placement based on your unique face shape, applying products in the correct sequence, and blending expertly, you can create balanced, radiant looks suited for any occasion. Selecting between cream and powder contour depends on your skin type and desired finish, while soft sculpt techniques offer natural enhancements perfect for everyday wear. Integrating contour with complementary products such as blush, bronzer, and highlight completes your makeup routine, delivering harmony that elevates your overall appearance.
For a personalized contour map makeup guide tailored specifically to your unique facial features, explore the AI-powered beauty tools at Makeup Check AI. Their technology offers 24/7 beauty assistance, over 300 curated looks, and more than 100 tutorials to help you improve your contouring and beyond with expert precision.
FAQ
Q: Where do you place contour on your face map?
A: Contour is typically placed along the hairline/forehead, temples, hollows of the cheeks, jawline, chin, and sides of the nose to create shadows that sculpt and define the face’s natural structure.
Q: How do you contour based on your face shape?
A: Adjust contour placement to balance your unique face shape. For example, contour the sides of the forehead and jawline to slim a round face, soften jaw edges for a square face, or reduce forehead width and chin pointiness for a heart-shaped face. Personalized AI tools like Makeup Check AI can assist in customizing this step.
Q: What is the difference between contour, bronzer, and highlight?
A: Contour creates shadows to define facial structure, bronzer adds warmth and a sun-kissed glow typically where sunlight naturally falls, and highlight adds light and glow to raised areas of the face to enhance dimension and radiance.
Q: Do you put concealer before or after contour?
A: Concealer and highlight are generally applied after contour to brighten specific areas and clean up contour edges, ensuring a seamless and natural blend without dulling the shadows.
Q: How do you contour your nose without making it look too harsh?
A: Use a small detail brush to apply thin, soft lines of contour product on the sides of the nose, then blend gently upward and outward with a sponge or brush to avoid harsh edges and create a subtle shadow that slims the nose naturally.
Q: Is cream contour or powder contour better for beginners?
A: Cream contour is generally easier for beginners due to its blendability and forgiving texture, reducing the risk of harsh lines. Powder contour offers buildable intensity and is better suited for oily skin types or those seeking sharper definition but requires more precise blending skills.
Free to start
Try the Makeup Check AI app
Everything in this guide, in your pocket.
Get it on iPhoneGet it on Android