Contour Face Map: Step-by-Step Guide to Perfect Placement & Techniques
Discover how to use a contour face map for flawless makeup. Learn placement, face shape tips, and professional contouring with AI-powered guidance.


Estimated reading time: 11 min
Key Takeaways
- A contour face map offers personalized contouring guidance based on your unique face shape.
- Identifying your face shape is important for effective placement of contour and highlight.
- Cheekbones, forehead, jawline, and nose contouring techniques can vary by face shape to enhance natural features.
- Choosing the right contour products (cream vs powder) and shades can help with blending and finish.
- Makeup Check AI’s personalized AI reports can simplify contour mapping and offer tailored tutorials for application.
Table of Contents
- Section 1: Understanding What a Contour Face Map Is
- Section 2: Identifying Your Face Shape for Contouring
- Section 3: Cheekbone Contour Placement and Techniques
- Section 4: Contouring Forehead, Temples, Jawline, and Chin
- Section 5: Nose Contouring and Highlighting for Slimming Effect
- Section 6: Highlight Placement to Add Dimension and Glow
- Section 7: Step-by-Step Contouring Workflow for Beginners
- Section 8: Choosing Products and Avoiding Common Contour Mistakes
- Conclusion
- FAQ
Section 1: Understanding What a Contour Face Map Is
What Sets a Contour Face Map Apart?
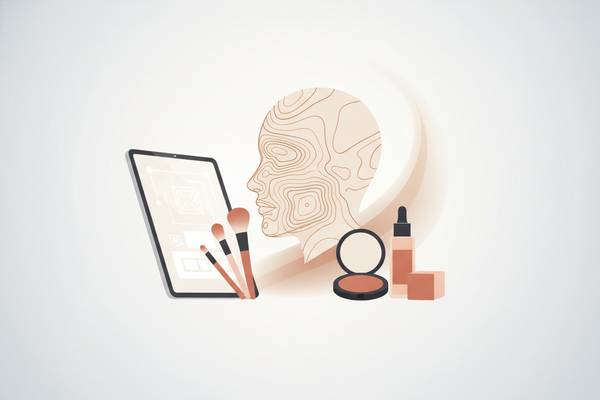
Unlike generic contouring guides, a contour face map is a personalized blueprint that highlights the ideal placement of contour and highlight for your specific face shape and features. It provides a visual and practical roadmap to enhance your natural bone structure using shading and light.
Traditional contouring instructions often apply the same rules to every face, which may result in uneven or unnatural effects for some. In contrast, a contour face map considers:
- Unique facial proportions
- Bone structure variations
- Areas to emphasize or minimize
- Personal style preferences
How Technology Enhances Contour Maps
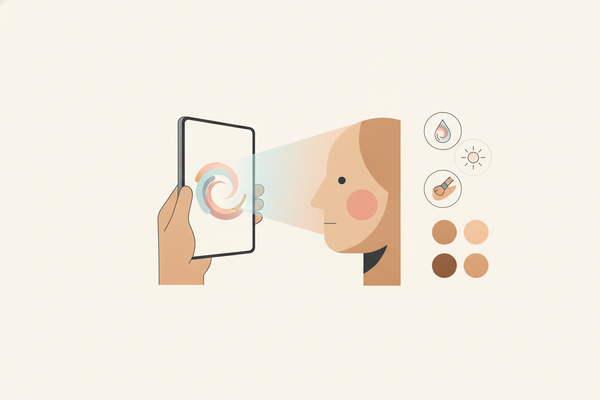
With the rise of AI-powered beauty apps like Makeup Check AI, contour face maps have become more interactive tools. These apps can scan your face and generate customized contour and highlight guides, often accompanied by tutorials and product suggestions.
This technology can help users apply contour more precisely, enhancing makeup results. The AI analyzes facial landmarks and suggests shading zones that suit your features.
Core Benefits of Using a Contour Face Map
- Precision: Targeted contour placement tailored to face shape.
- Efficiency: Can save time by reducing trial and error.
- Natural Results: Helps avoid harsh lines and unnatural shadows.
- Skill Development: Assists beginners in learning proper techniques through visual guidance.
Section 2: Identifying Your Face Shape for Contouring
Why Face Shape Matters
Before applying contour, understanding your face shape can guide where to add shadows or highlights. Common face shapes include:
- Oval: Balanced length and width, gently rounded edges.
- Round: Equal width and height with soft curves.
- Square: Strong jawline with equal width across forehead and jaw.
- Heart: Wider forehead narrowing to a pointed chin.
- Diamond: Narrow forehead and jawline with wide cheekbones.
- Long/Oblong: Longer than it is wide with a longer chin.
How to Determine Your Face Shape
- Measure: Use a flexible tape to measure forehead width, cheekbone width, jawline width, and face length.
- Compare: Note which measurements are widest and the overall length-to-width ratio.
- Visualize: Look in the mirror or take a selfie, tracing the outline of your face.
Using an AI beauty app like Makeup Check AI can assist in analyzing your face shape, helping you with categorization for contour mapping.
Impact on Contour Placement
Each face shape may benefit from different contouring techniques to emphasize or soften features:
- Round faces may benefit from contouring that slims cheeks and elongates the face.
- Square faces often focus on softening the jawline.
- Heart shapes may contour the forehead and chin to balance proportions.
- Diamond shapes can contour cheekbones and temples to harmonize width.
Section 3: Cheekbone Contour Placement and Techniques
Locating the Ideal Contour Zone
The cheeks are a prominent area for contouring, used to sculpt and define. To find the right spot, gently suck in your cheeks or locate the hollow below your cheekbones.
- Mark from the ear’s middle point diagonally toward the corner of the mouth—but stop halfway to avoid dragging your face down visually.
- For round faces, contour slightly lower and blend upward to create lift.
- For long faces, contour higher to add width and soften length.
Techniques to Create the Illusion of Lifted Cheekbones
- Use a matte contour shade 1-2 shades darker than your skin tone.
- Apply with an angled brush for precise placement.
- Blend upward toward the temples using circular motions to mimic natural shadows.
- Add highlight on the cheekbones above the contour to enhance the lifted effect.
Common Mistakes to Avoid
- Applying contour too close to the nose can narrow the face unnaturally.
- Using shades too dark can create harsh, unnatural lines.
- Neglecting to blend causes obvious contour edges.
Section 4: Contouring Forehead, Temples, Jawline, and Chin
Forehead and Temples Placement
Contouring the forehead can balance wider or longer foreheads by shading along the hairline and temples.
- Broad forehead: Apply contour along the edges of the hairline and temples to create the illusion of a narrower forehead.
- Narrow forehead: Use lighter contour or skip heavy shading to avoid shrinking the area.
Jawline and Chin Definition
Contouring the jawline defines and sculpts the lower face, adding structure and reducing roundness or softness.
- Apply contour along the underside of the jawline from the ear to the chin.
- For a softer jawline, blend contour downward to avoid harsh edges.
- Contouring the chin can shorten a long face or balance an asymmetrical chin.
Balancing with Highlight
Highlight the center of the forehead and chin to draw light and create dimension, balancing the shaded areas.
Section 5: Nose Contouring and Highlighting for Slimming Effect
Precise Placement for Nose Slimming
Nose contouring is delicate but can be effective for reshaping appearance. The goal is to create shadow along the sides of the nose bridge and highlight the center to slim or straighten.
- Apply thin lines of contour powder or cream just inside the sides of the nose from the brow to the tip.
- Highlight a thin strip down the center of the nose bridge to catch light.
- Blend well to avoid harsh lines and maintain a natural look.
Techniques for Natural-Looking Nose Contour
- Use a small, dense brush for precise application.
- Choose contour shades no more than 2 shades darker than your skin.
- Blend edges softly with a clean brush or sponge.
- Avoid contouring the tip of the nose too heavily to prevent a heavy appearance.
Highlighting for Straightening or Shortening
Highlighting can also help with nose shape:
- Highlight the tip to visually shorten a long nose.
- Highlight the bridge to straighten a crooked nose.
- Use subtle shimmer or matte highlight depending on skin type and finish preference.
Section 6: Highlight Placement to Add Dimension and Glow
Key Highlight Zones
Highlighting adds light and dimension, enhancing the contouring effect. Typical highlight zones include:
- Top of cheekbones
- Bridge and tip of the nose
- Center of the forehead
- Brow bones beneath the eyebrows
- Cupid’s bow above the upper lip
- Chin center
Choosing the Right Highlight Product
- Powder highlighters: Often best for oily skin or layering over powder foundation.
- Cream or liquid highlighters: Provide a dewy finish and work well for dry or mature skin.
- Pick a highlight shade that complements your skin tone—champagne for fair, gold or peach for medium, bronze for dark skin.
Application Tips
- Apply with a fan or small fluffy brush for powder products.
- Use fingertips or a damp sponge for cream/liquid highlights to blend seamlessly.
- Build intensity gradually to avoid an overly shiny or unnatural effect.
Section 7: Step-by-Step Contouring Workflow for Beginners
Step 1: Prep Your Skin
- Cleanse and moisturize thoroughly.
- Apply a primer suited to your skin type to create a smooth base.
- Use foundation and concealer to even out skin tone.
Step 2: Map Your Contour
- Using your contour face map (either printed or digital), lightly mark contour zones with a contour pencil or a small brush.
- Start with minimal product to avoid heaviness.
Step 3: Apply Contour
- Use cream or powder contour depending on preference and skin type.
- Blend with a dense brush or damp sponge using upward and outward motions.
Step 4: Highlight
- Apply highlight on high points as per your contour face map.
- Blend edges softly to create a natural glow.
Step 5: Set and Finish
- Set makeup with translucent powder to lock in place.
- Apply blush if desired to add a natural flush.
- Finish with setting spray for longevity.

Makeup Check AI offers personalized contour face maps and step-by-step tutorials that can help users improve their contouring skills. Explore smart AI tools for beauty routines in this comprehensive tutorial guide.
Section 8: Choosing Products and Avoiding Common Contour Mistakes
Choosing Between Cream and Powder Contour
- Cream Contour: Offers blendability and a natural finish, often preferred for dry or mature skin. Best applied with a damp sponge or synthetic brush.
- Powder Contour: Provides buildable coverage and is suitable for oily skin or layering over powder foundation. Use a fluffy brush for application.
- For beginners, cream contour can be easier to blend, but powder offers versatility.
Shade Selection Tips
- Choose contour shades 1-3 tones darker than your skin for natural shadows.
- Too dark contour can appear muddy or unnatural.
- Use cool-toned shades for a shadow effect and avoid overly warm or orange tones.
Common Mistakes to Avoid
- Applying contour without blending creates harsh lines.
- Using the wrong contour shade can look unnatural or patchy.
- Ignoring face shape may lead to improper placement and imbalance.
- Over-contouring the nose or cheeks can look heavy and artificial.
- Neglecting to highlight reduces dimension and contrast.
AI beauty apps like Makeup Check AI can provide personalized feedback, product recommendations, and tutorials customized for your face shape and skin tone, which may help avoid common mistakes. Discover more in this detailed article.
Conclusion
Mastering a contour face map can help achieve sculpted, balanced, and natural-looking makeup. Understanding your face shape guides placement of contour and highlight, emphasizing your best features while minimizing others. From cheekbones to jawline and nose, each area benefits from thoughtful shading and lightening techniques.
Both beginners and experienced users can benefit from AI technology for personalized contour maps and tutorials. Apps like Makeup Check AI offer AI-powered reports and step-by-step guidance, simplifying the contouring process and supporting improved makeup results.
FAQ
Q: How do I know my face shape for contouring?
A: Measure your forehead, cheekbones, jawline, and face length, then compare proportions to common face shapes (oval, round, square, heart, diamond, long). AI apps like Makeup Check AI can analyze your face shape to assist with contour guidance.
Q: Where should I place contour on my cheeks, forehead, and jawline?
A: On cheeks, contour the hollow below cheekbones, blending upward. On the forehead, contour along the hairline and temples to balance size. For the jawline, contour beneath it from ear to chin to add definition.
Q: How do I contour my nose without it looking obvious?
A: Apply thin contour lines along the sides of the nose bridge and highlight the center. Blend edges softly with a small brush or sponge. Use shades close to your skin tone and avoid heavy contouring on the tip.
Q: Should I use cream contour or powder contour for my face shape?
A: Cream contour is often ideal for dry or mature skin and beginners due to blendability. Powder contour suits oily skin or layering over foundation. Face shape doesn’t dictate product type, but choosing the right formula for your skin type and skill level can improve results.
Q: What is the best contour map for a round face?
A: A round face contour map typically focuses on slimming cheeks by contouring the hollows slightly lower and blending upward, contouring the jawline to reduce roundness, and contouring the forehead edges to add dimension.
Q: How do I highlight and contour step by step for beginners?
A: Prep skin, apply foundation, lightly mark contour zones, apply contour and blend upward, highlight high points (cheekbones, nose bridge, forehead center), blend edges, set with powder, and finish with setting spray. AI apps like Makeup Check AI can provide personalized tutorials to guide you.
Free to start
Try the Makeup Check AI app
Everything in this guide, in your pocket.
Get it on iPhoneGet it on Android