Makeup for a Round Face: The Complete Guide by Face Shape
Master makeup for a round face with expert contour, blush, brow, and highlight tips. Learn how to map your face shape and perfect every look using AI tools.

Estimated reading time: 15 min
Key Takeaways
- Discover how to determine your face shape and why it matters for makeup.
- Get step-by-step guidance on makeup for a round face—contour, blush, brows, and more.
- Learn how makeup techniques differ for oval, heart-shaped, and square faces.
- Explore how AI tools like Makeup Check AI can personalize your beauty routine.
- Find pro tips for flatteringly shaping your features and correcting common mistakes.
Table of Contents
- Section 1: How to Determine Your Face Shape
- Section 2: The Goals of Makeup for a Round Face
- Section 3: Contouring and Highlighting by Face Shape
- Section 4: Blush Placement by Face Shape
- Section 5: Eyebrows, Eyes, and Lips—Feature Focus
- Section 6: Pro Tips, Common Mistakes, and AI-Powered Personalization
- Conclusion
- FAQ
Section 1: How to Determine Your Face Shape
Why Face Shape Changes Your Makeup Approach
Understanding how to determine your face shape is the cornerstone of personalized makeup. Face shape directly impacts how contour, blush, brows, and highlight interact with your features. The right techniques enhance your natural structure; the wrong ones can throw off your proportions. For example, a contour placed too low on a round face can make it appear droopy, while the same placement on an oval face might simply look lifted. Recognizing which facial features dominate—jawline, cheekbones, or forehead—enables you to apply makeup in a way that flatters rather than fights your natural silhouette.
- Round faces: Equal width and length, soft jawline, full cheeks. Usually, the widest part is at the cheeks, and the jawline lacks defined angles, giving a youthful and soft impression. If you smile and notice that your cheeks are prominent and the shape of your face is almost circular, this is a strong indicator of a round face.
- Oval faces: Slightly longer than wide, gently rounded chin, balanced proportions. The forehead may be slightly wider than the chin, and the overall look is harmonious and elongated, which is often considered the most versatile face shape for makeup.
- Heart-shaped faces: Wider forehead, pronounced cheekbones, narrow chin. The face tapers down to a smaller chin, and the widow's peak at the hairline is common. This face shape is distinctive because the upper part of the face is noticeably broader than the lower part.
- Square faces: Strong angular jaw, broad forehead, sides of the face are straighter. The jaw and forehead are almost the same width, creating a powerful and structured appearance. The cheeks are not as prominent as in round or heart-shaped faces, and the chin is more squared off.
DIY Methods for Identifying Your Face Shape
Grab a mirror, tie your hair back, and trace your face outline with a washable marker or use your phone's selfie camera. Measure or visually compare the following key areas of your face to diagnose your shape:
- Cheekbone width vs. jaw width and forehead width: Are your cheekbones the widest part? Is the jawline as wide as the forehead, or is one noticeably broader?
- Face length vs. width: Use a soft measuring tape or even a string to compare from the top of your forehead (hairline) to your chin and from cheek to cheek. If the two measurements are almost equal, you likely have a round face. If the face is longer than it is wide, oval or oblong may be your shape.
- Jaw angle: Is your jaw rounded, pointed, or squared off? Place your fingers at the angle of your jaw; a sharp angle means square, while a gentle curve suggests round or oval.
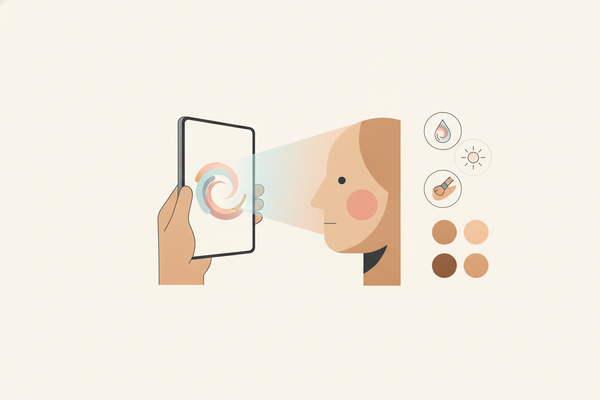
Face shape guides in beauty apps like Makeup Check AI can analyze a selfie and instantly identify your shape with AI precision. Upload a well-lit, straight-on photo, and the algorithm will map your facial points, compare angles, and even estimate the proportions. This is especially helpful for those whose features fall between categories or who struggle to objectively analyze their own face. The AI can also provide a confidence score to show how closely your features align to each face shape category, helping you embrace your natural shape with certainty.
Why It Matters for Makeup
The rise of AI in makeup means you can now get tailored recommendations for your unique bone structure. This ensures contour, blush, and brow placement is always flattering—not just copied from generic tutorials. AI-driven makeup tools not only automate face shape identification but also track subtle differences in symmetry, skin undertone, and feature spacing that can influence product placement and color selection. With this technology, makeup is no longer a one-size-fits-all routine but a data-driven, highly individualized process. For example, what looks brightening on a square face might look unbalanced on a heart-shaped face. AI helps avoid these mismatches by customizing every suggestion to your unique facial geometry, making your makeup more effective and confidence-boosting.
Section 2: The Goals of Makeup for a Round Face
Identifying a Round Face
Round faces are characterized by a nearly equal width and length, with the widest points at the cheeks and a softly curved jawline. There are minimal angles, and the face appears full or youthful. Think celebrities like Selena Gomez or Ginnifer Goodwin. In daylight or with a well-lit mirror, examine your features: if your forehead, cheekbones, and jaw are almost the same width, and your chin is rounded with no visible angles, you likely have a round face. This shape tends to retain a soft, youthful appearance and can make features appear delicate or baby-faced, regardless of age.
The Key Makeup Objectives
- Create the illusion of length: Visually elongate the face for balanced proportions. This is done by drawing the eye up and down using contour, highlight, and strategic color placement.
- Add definition: Sculpt cheekbones and jawline for structure. Since round faces lack strong bone definition, using shadow and highlight brings dimension and a more "chiseled" look.
- Avoid widening: Prevent makeup placement that emphasizes width at the cheeks. Misplaced blush or highlight can make the face appear even rounder, so careful product application is key.
The best makeup for a round face draws the eye upward and downward, not side-to-side. This is accomplished by strategic contour, highlighter, blush, and brow choices. For example, placing blush in an upward sweep creates lift, while contouring the sides of the forehead and jaw slims the overall silhouette. Avoiding product placement that extends too far horizontally keeps the focus on elongation and definition.
How These Goals Differ for Other Face Shapes
- Oval face makeup focuses on maintaining natural symmetry, with subtle contouring for gentle enhancement. Minimal sculpting is needed, and makeup is used mainly to accentuate the already balanced proportions.
- Heart-shaped face makeup aims to soften a wider forehead and balance a pointed chin, usually with lower blush and blended contour. Highlight is often focused on the lower face to fill out the chin, and blush is placed to de-emphasize the width of the upper face.
- Square face makeup softens strong jaw angles and avoids sharpening the natural lines with overly harsh contour. The focus is on blending and rounding out the edges, often with blush placed above the jawline and highlight on the center of the face.
For a deep dive into how AI tailors these goals by shape, see The Ultimate Guide to Smarter Beauty Routines. The guide covers how AI-powered apps analyze your unique geometry and recommend product placements and shades that work best for your face shape, skin tone, and even daily mood or occasion. This tech-driven approach ensures every step in your routine is targeted and effective, eliminating guesswork and enhancing your natural beauty.
Section 3: Contouring and Highlighting by Face Shape
Contouring Placement for a Round Face
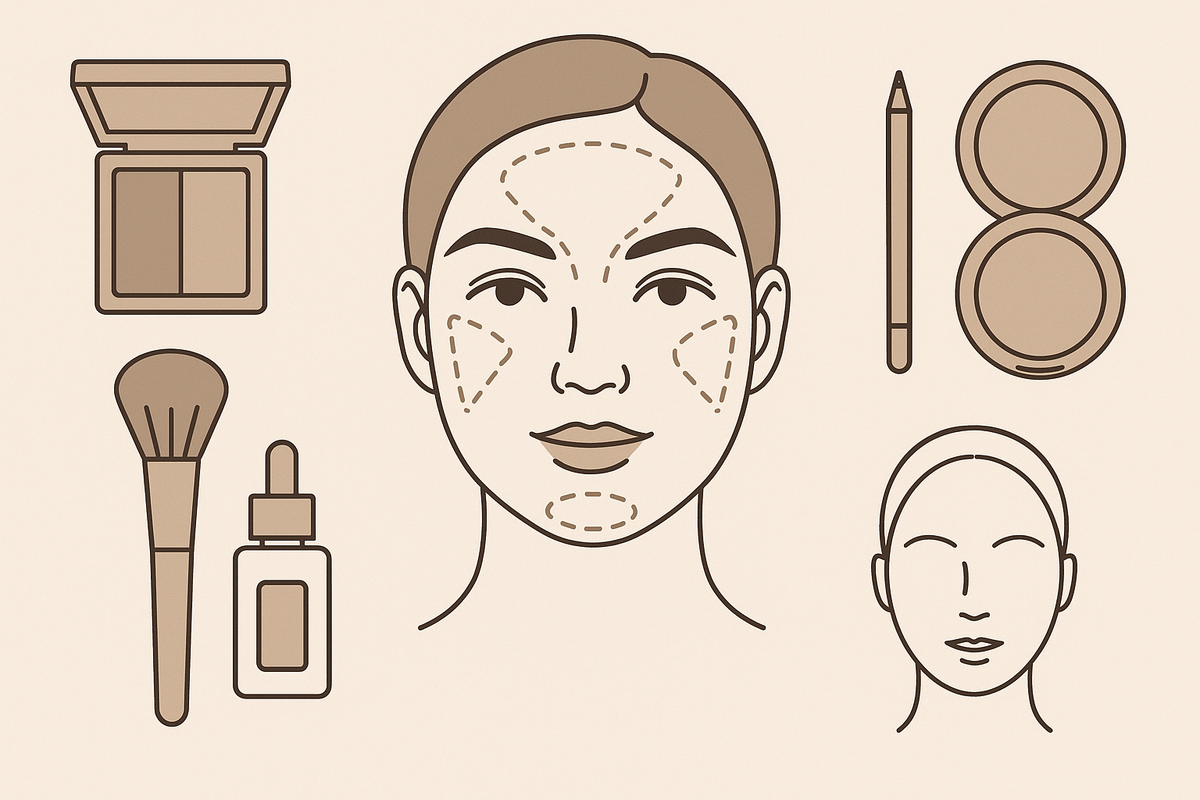
Contouring is the most transformative technique for round faces. The goal: add structure and lengthen the face. Here’s how to execute this with precision for the most flattering result:
- Temples and sides of the forehead: Sweep a matte contour shade along your temples and the outer edges of your forehead. This helps narrow the upper face and draws the eye upward. Use a fluffy angled brush and start with a light touch—layer for intensity. Avoid bringing the contour too far in, as this can shrink the forehead unnaturally.
- Cheek hollows: With a small angled brush, contour just below the cheekbones, starting near the ear and stopping before the corner of your mouth. Blend upward, not downward, to avoid dragging the face lower. The contour line should angle just slightly toward the mouth, creating an optical lift. If unsure where to start, make a “fish face” and apply in the natural hollow.
- Jawline: Shade lightly along the jawline—especially under the chin—to define and counteract roundness. Use a small, precise brush to avoid muddying the area. Blending the contour down the neck helps avoid visible lines and provides a natural transition.
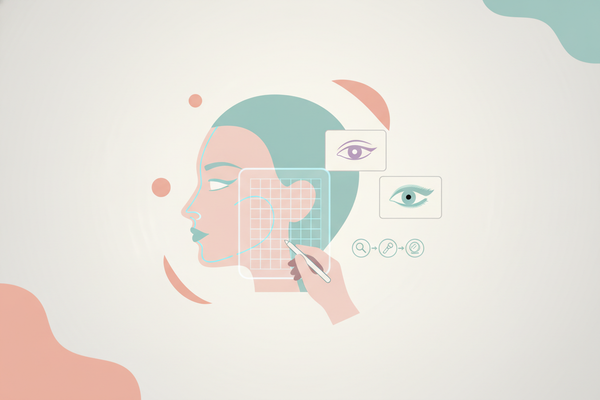
For a visual guide, open the contour mapping feature in Makeup Check AI or consult a detailed AI makeup tutorial. These resources overlay the ideal contour zones on your own face, showing you exactly where to apply product for your unique proportions. This can be especially helpful for beginners or anyone struggling with symmetry.
Bronzer and Shadow Techniques
- C-shaped bronzing: Use bronzer in a "C" from temples to under cheekbones, blending well for a seamless shadow effect. This technique creates a gentle shadow that mimics natural sun-kissed skin, while also sculpting the face.
- Darker shades for depth: Avoid bronzer on the apples of the cheeks, which can increase width. Instead, sweep bronzer slightly above the contour and blend toward the hairline for a diffused look. Choose matte or satin bronzers over shimmery ones to keep the focus on structure.
Bronzer is your ally for subtle sculpting—apply with a light hand for natural definition. Layer as needed to build dimension, but always blend thoroughly to avoid harsh lines, which can look artificial and draw attention to the roundness you’re seeking to balance.
Highlighting: Where and How
- Center of the forehead and chin: Brighten these areas to elongate the face’s vertical line. Use a light-reflecting liquid or powder and apply in a thin, controlled line—avoid spreading too far outward.
- Bridge of the nose: A thin line of highlight draws the eye downward, enhancing length. For added precision, use a small eyeshadow brush or even your fingertip to apply a straight line from the top of the nose bridge to the tip. Avoid highlighting the sides of the nose, as this can widen it.
- Top of the cheekbones: Apply highlighter here, but keep it tight to the bone—don’t sweep out toward the temples as this can widen the face. For extra lift, apply a touch just above the arch of your brow as well.
Round faces benefit from a precision approach to highlight and contour. The combination creates a sculpted, lifted effect without looking harsh. For added sophistication, use a damp sponge to blend the edges of your highlight seamlessly into your foundation, ensuring that the glow appears natural and not streaky. AI tools can help you visualize the effect before you even start, letting you experiment with different highlight placements virtually.
Section 4: Blush Placement by Face Shape
Blush for a Round Face
Blush placement can make or break your look—especially if you have a round face. The classic "apples of the cheeks" method can actually make the face appear wider. Instead, try these strategies for a flattering and slimming effect:
- Higher placement: Apply blush on the upper part of the cheekbones, not directly on the center of the cheeks. This visually lifts the face and emphasizes bone structure rather than fullness.
- Diagonal sweep: Blend blush up and back toward the temples in a gentle diagonal, never straight across. This motion helps direct attention upward, creating the impression of a longer, slimmer face.
- Avoid circular blending: Circular motions centered on the cheeks increase roundness—stick to upward, outward sweeps. Use a medium-sized fluffy brush for the most control.
For added dimension, choose a slightly deeper shade at the back of the cheekbone and a lighter, brighter shade closer to the temples. This gradient effect helps sculpt the face and prevents a "flat" appearance.
Blush Placement for Other Face Shapes
- Oval face: Blush can be swept slightly toward the temples or even placed on the apples for a fresh look. The natural symmetry allows for more flexibility in placement and experimentation with both matte and shimmery formulas.
- Heart-shaped face: Focus blush just below the outer corner of the eyes, blending out to soften a pointed chin’s dominance. This balances the width of the forehead and adds fullness to the lower face.
- Square face: Apply blush just above the jawline or on the apples, then blend up to soften angles. The aim is to round out the edges and create a gentle contour, so avoid sharp or linear blush placement.
For more on adapting blush placement, see this guide to smart beauty routines. The guide also explores how AI-powered tutorials can suggest real-time blush placements, adapting to your current look or even your chosen outfit or mood for the day.
Choosing Blush Textures and Shades
- Opt for satin or cream formulas for a natural, skin-like finish. These formulas blend easily and are less likely to accentuate pores or texture.
- Peach and rose tones add warmth and dimension without overwhelming softer features. If you have a fair complexion, soft pinks and peaches work well. For medium to deep skin tones, try rich corals, berry, or warm plum shades.
- Use shimmer sparingly—highlight is better suited for strategic glow. Too much shimmer in blush can draw attention to the width of the face, so reserve it for targeted highlight points instead. Matte or satin finishes are typically most flattering for round faces.
To determine your perfect blush shade, consider your skin’s undertone. If you’re unsure, AI tools like Makeup Check AI can scan your face and suggest the most flattering shades for your coloring and face shape, saving you time and the guesswork of trial and error.
Section 5: Eyebrows, Eyes, and Lips—Feature Focus
Brow Shape for Your Face
The right brow shape is essential for giving structure to a round face. Here’s what to aim for for optimal balance and visual lift:
- Slight arch or lifted tail: A soft, upward arch elongates the face and draws the eye vertically. Use a brow pencil or powder to create a gentle arch just past your natural highest point, then extend the tail slightly toward the temples.
- Avoid round brows: Don’t mimic your face shape—overly rounded brows make the face appear even rounder. Instead, create definition with a subtle, clean arch. Use a spoolie to brush brows upward before filling them in for the most natural effect.
- Defined ends: Extend the brow slightly past the outer corner of the eye for a balanced effect. This gives the illusion of a longer face and frames the eyes beautifully. For extra definition, use a clear or tinted brow gel to set hairs in place.
AI-powered brow mapping tools in Makeup Check AI can show you a virtual preview of different shapes on your face, helping you find the most flattering look before you commit to plucking, waxing, or filling.
Eye Makeup Strategies
- Winged eyeliner: Flick liner upward and outward to lift the face’s appearance. Use a liquid or gel liner for precision, and start with a thin line at the inner corner, gradually thickening and lifting as you reach the outer corner.
- Outer-corner emphasis: Use deeper eyeshadow shades on the outer third of the lid to draw attention outward and up. Blend with lighter shades on the inner lid and brow bone for a wide-eyed, lifted effect.
- Avoid heavy shadow below the lower lash line: This can pull the face down and widen it. If you wish to add definition, keep lower lash color close to the lash line and use a soft, smudged pencil rather than a thick shadow.
For a tech-powered approach to experimenting with eye looks, try the AR try-on in Makeup Check AI. The app can simulate various eyeshadow placements, liner shapes, and even lash styles directly on your selfie, so you can preview how each look transforms your features. This is especially useful for finding the perfect balance between drama and lift for your specific eye and face shape.
Lip Makeup and Balancing Features
- Lip liner: Overline the center of the top and bottom lips to add vertical fullness. Use a shade that matches your natural lip color for a subtle effect, or go slightly deeper for added definition.
- Gloss placement: Apply gloss or highlighter just in the center for a 3D, vertical effect. This draws the eye to the center of your lips and creates a fuller, poutier look without adding width.
- Deeper shades: Using a slightly deeper color at the outer corners can subtly elongate the mouth. Blend well to keep the look soft and natural, or choose an ombre effect for added sophistication.
These feature-focused tweaks bring harmony to the face and direct attention where you want it most. Want to preview these changes in real time? Apps like Makeup Check AI let you try any look on your face instantly. You can experiment with bold colors, different shapes, and even dramatic transformations without any mess or commitment, making it easier to discover what truly flatters your unique features.
Section 6: Pro Tips, Common Mistakes, and AI-Powered Personalization
Pro Tips for a Flattering Look
- Foundation strategy: Use a lighter, thinner layer in the center of your face, subtly shading around the perimeter to sculpt gently. This technique prevents a mask-like effect and allows your natural skin to shine through, making your makeup look more modern and fresh.
- Hair parting tips: Side parts or deep side sweeps visually lengthen and slim the face. Consider pairing your makeup look with a hairstyle that lifts at the crown or features soft layers around the face to enhance the illusion of length.
- Overall balance: Avoid placing all color and highlight at cheek width—think in verticals and diagonals, not circles. When applying powder or cream products, always step back and assess the overall effect in natural light to ensure everything is blended and balanced.
Additional pro tip: Always blend makeup products upward and outward to keep the look lifted. If you’re unsure about your blending, take a photo in diffused light—harsh lines show up clearly in photos and can be easily corrected before you leave the house.
Common Makeup Mistakes by Face Shape
- Round face: Placing blush or highlight too close to the nose, or using round brow shapes. Overly wide or circular product placement can accentuate fullness and detract from the sculpted look you want.
- Oval face: Over-contouring, which disrupts natural symmetry. Since this shape is naturally balanced, heavy contour can make features look harsh or distorted.
- Heart-shaped face: Heavy contour on the chin (makes it look too pointed). Focus on blending and softening the lower face rather than trying to minimize it excessively.
- Square face: Harsh, unblended contour on jaw or forehead. Instead, use soft, rounded blending motions to avoid emphasizing natural angles.
For more on avoiding these pitfalls, consult the AI-powered transformation guide. This resource breaks down common errors with side-by-side examples and suggests AI-powered fixes, such as real-time feedback on blending or symmetry from an app like Makeup Check AI.
Personalizing Your Routine with AI
Today’s beauty technology can scan your face, analyze your unique structure, and generate a full makeup plan tailored to you. Makeup Check AI offers:
- 24 AI-powered reports for makeup, skincare, hair, and even fashion. Each report is based on your face’s proportions, skin type, and personal style preferences, providing comprehensive insights you can use to upgrade every aspect of your look.
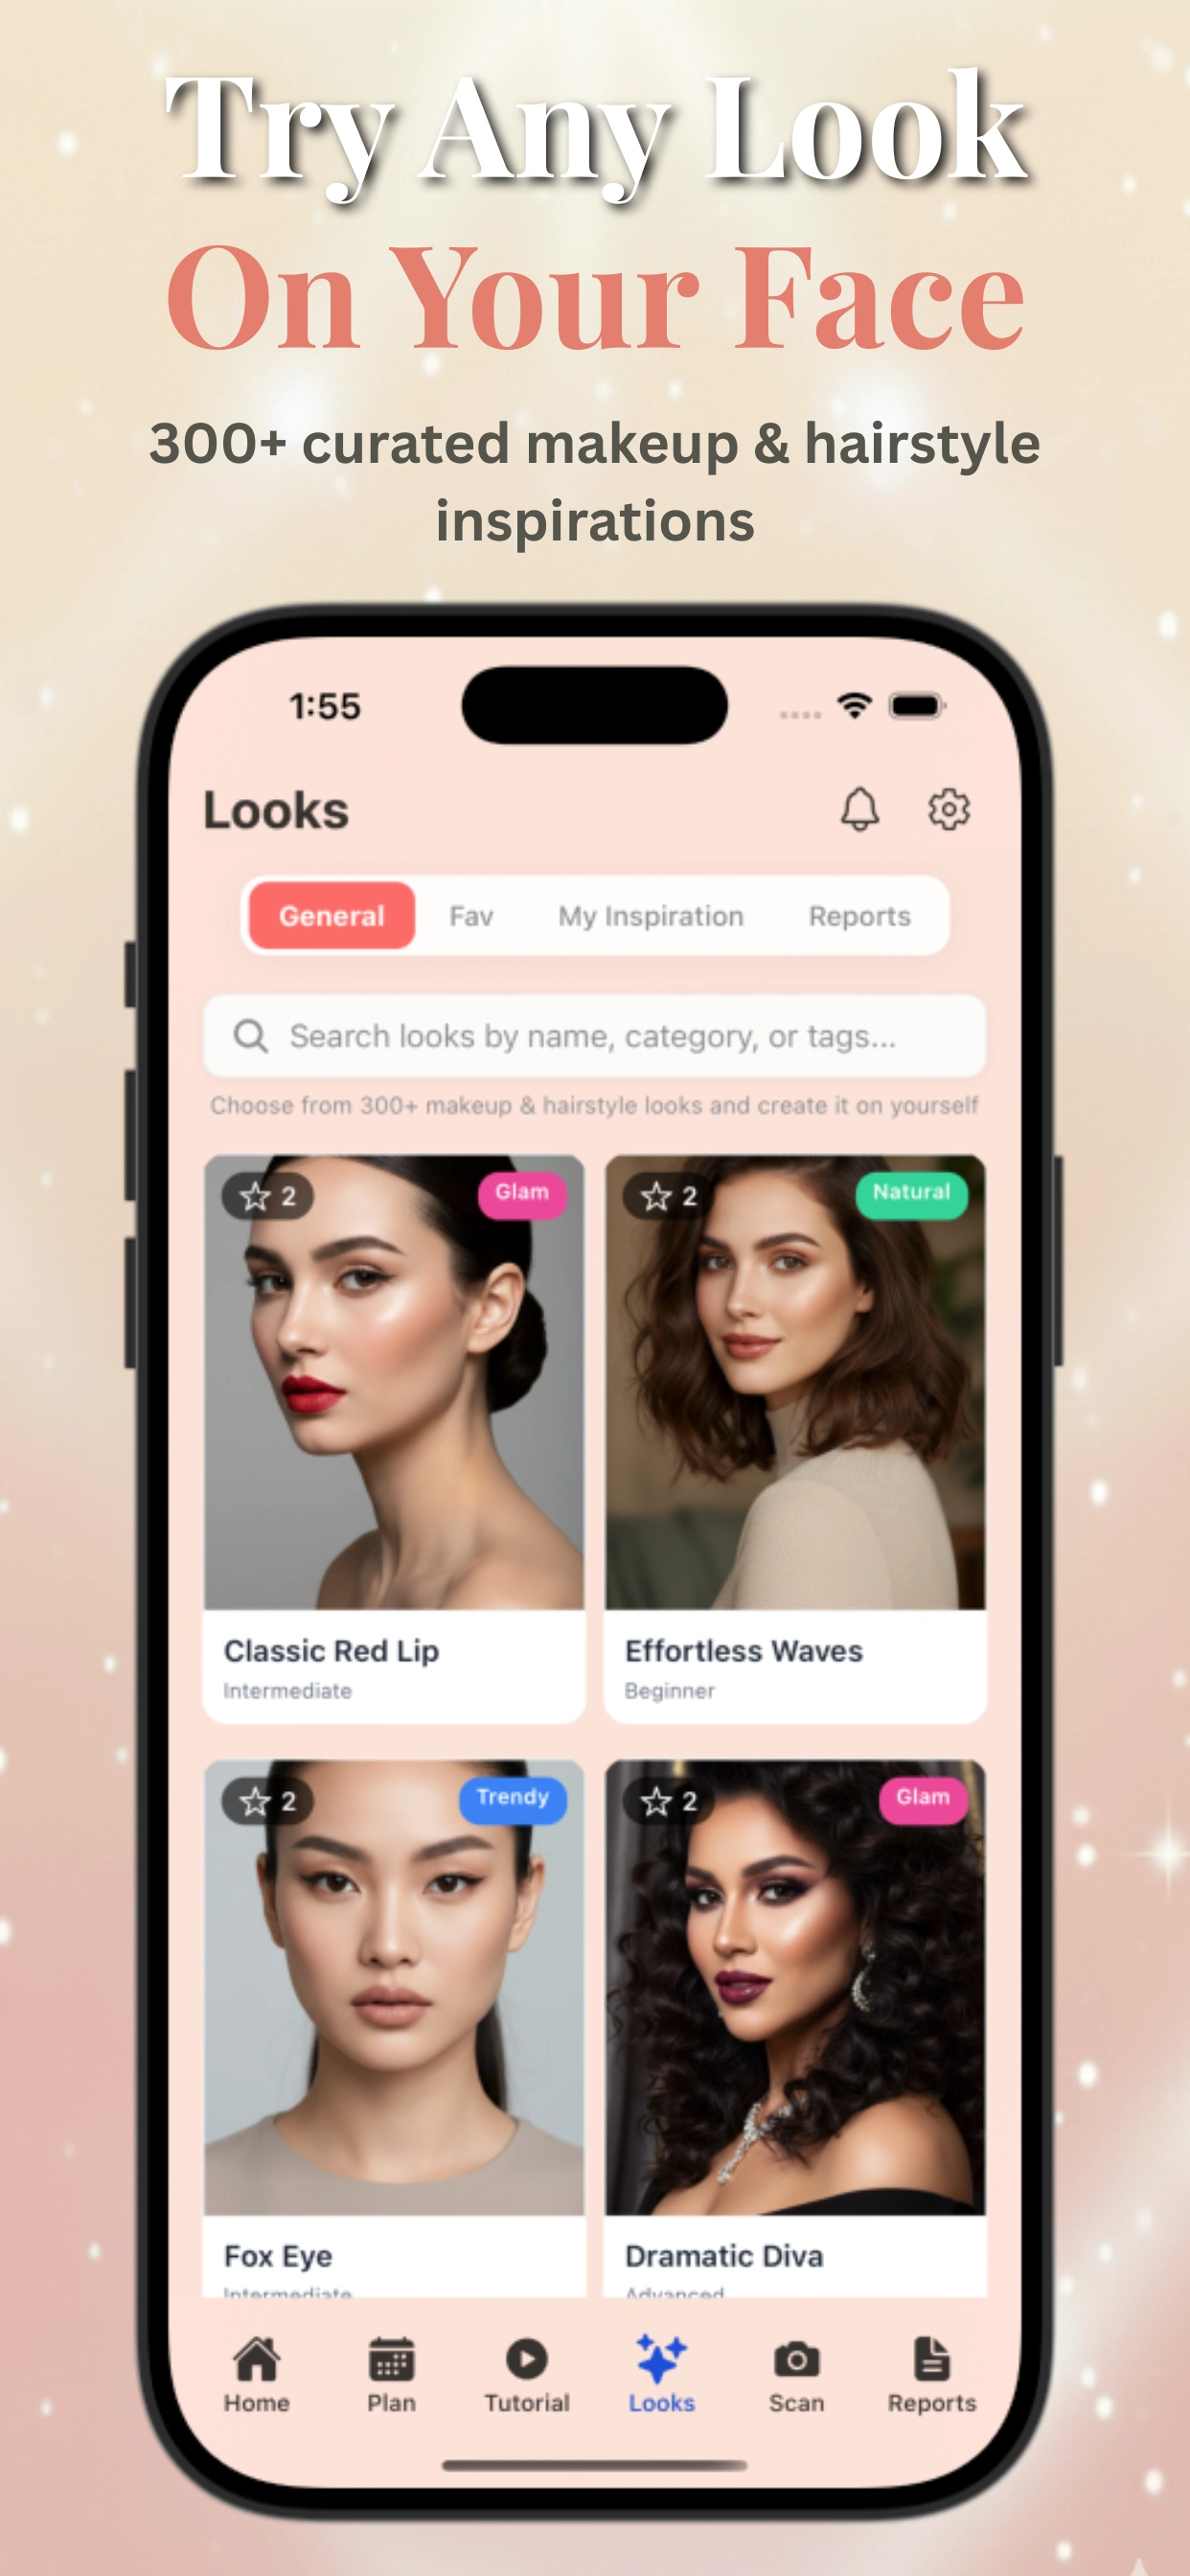
- Over 300 looks to try on your actual face before you buy a single product. This includes everything from natural, everyday makeup to bold editorial styles—so you can experiment safely and see what works for your features and lifestyle.
- Personalized tutorials, daily reminders, and a 24/7 AI beauty assistant to answer questions. The assistant can suggest product alternatives, troubleshoot skincare issues, and even help you plan looks for specific events or photoshoots.
This kind of data-driven personalization means you never have to guess where to place your contour or blush again. Just scan, learn, and apply. Over time, the AI learns your preferences, skin changes, and product reactions, so recommendations get smarter and more accurate with each use. Whether you’re a beginner or a makeup enthusiast, this guidance is like having a professional makeup artist and beauty coach in your pocket—on demand, anytime.
Conclusion
Mastering makeup for a round face—or any face shape—starts with understanding your unique features and adapting your techniques accordingly. Whether you’re sculpting cheekbones, shaping brows, placing blush, or experimenting with bold lip looks, it’s all about strategic placement and subtle illusion.
With powerful tools like Makeup Check AI, you can take the guesswork out of your beauty routine. From instant face shape analysis to AR try-on and personalized tutorials, advanced technology is now your beauty team—always ready to help you look and feel your best. As beauty becomes more personalized and data-driven, you can embrace your natural features with confidence, knowing every product and technique is chosen and placed just for you.
FAQ
Q: How do you contour a round face to make it look slimmer?
A: Contour the sides of your forehead, under the cheekbones (from ear toward mouth, stopping midway), and along the jawline. Blend upward and avoid shading the center of the face. This creates shadows that visually elongate and slim the face.
Q: Where should blush be placed on a round face?
A: Apply blush higher on the cheekbones and sweep it diagonally up toward the temples. Avoid placing blush on the apples of the cheeks, as this can make the face look wider.
Q: What eyebrow shape looks best on a round face?
A: Slightly arched or lifted brows are most flattering for round faces. They add structure and length. Avoid round or overly curved brow shapes, which can exaggerate roundness.
Q: Should you highlight a round face differently?
A: Yes. Focus highlight on the center of the forehead, bridge of the nose, chin, and tight along the top of the cheekbones. Avoid wide placement that extends out toward the temples.
Q: What kind of eyeliner is best for a round face?
A: Winged eyeliner or upward-flicked liner is ideal. Emphasize the outer corners to lift and elongate the eyes, balancing the roundness of the face.
Q: What makeup should you avoid if you have a round face?
La elección de una camiseta deportiva suele depender del ajuste, el tejido y las preferencias personales de cada aficionado. Una referencia como tienda de camisetas de Espana puede servir para revisar opciones generales sin depender de una sola característica. Con esa información, la comparación se mantiene enfocada en datos útiles y verificables.
A: Avoid circular blush on the apples of the cheeks, round brow shapes, and highlight or bronzer applied too widely. These can increase the appearance of width.