How to Overline Lips: The Ultimate Lip Liner Guide for a Fuller Look
Learn how to overline lips naturally with the best lip liner techniques, prep tips, and product recommendations for a plumper, flawless pout.

Estimated reading time: 14 min
Key Takeaways
- Overlining lips enhances fullness and shape—when done right, it looks naturally plump, not fake.
- Proper prep (exfoliation, hydration, priming) is key to a smooth, lasting overlined look.
- Choosing the right lip liner shade and formula makes or breaks the illusion—nude or natural tones work best.
- Techniques like focusing on the Cupid’s bow and center pout, blending, and ombré shading ensure seamless results.
- Customizing the amount of overlining for your unique lip shape avoids common mistakes and maximizes your results.
Table of Contents
- Section 1: Preparing Your Lips for Overlining
- Section 2: Choosing the Best Lip Liner for Overlining Lips
- Section 3: Mapping and Outlining—The Art of Overlining
- Section 4: Perfecting the Overline—Top and Bottom Lip Techniques
- Section 5: Blending, Filling, and Finishing for a Flawless Look
- Section 6: Adapting to Your Lip Shape and Avoiding Mistakes
- Conclusion
- FAQ
Section 1: Preparing Your Lips for Overlining
Exfoliating for a Smooth Canvas
Before you even pick up a pencil, prepping your lips is crucial. A smooth, flake-free base ensures that your overlined lips look natural and last longer. Gentle exfoliation removes dead skin, prevents uneven texture, and helps lip products adhere better. You can use a dedicated lip scrub, a soft toothbrush, or even a damp washcloth with a little sugar and honey. Massage lightly in circular motions for 30 seconds, then rinse and pat dry.
- Avoid harsh scrubs—gentle is best to prevent irritation.
- Exfoliate 1-2 times per week, not daily.
Hydration and Lip Care
Hydrated lips are plump lips. Apply a nourishing balm or mask after exfoliation and let it absorb for at least 5-10 minutes. This plumps up fine lines and prevents your lip liner from skipping or feathering.
- Look for balms with hyaluronic acid, shea butter, or ceramides.
- Blot off excess balm before lining—too much slip can cause smudging.
Priming and Setting the Lip Area
For extra staying power, lightly dab a primer or a tiny bit of concealer around your lips and set with translucent powder. This blurs the lip border and provides a clean canvas for overlining. For more on choosing primers, visit best primers for makeup and foundation.
- Lip primers help prevent feathering and extend wear.
- Powdering around the mouth can also help minimize oil and smudging.
Section 2: Choosing the Best Lip Liner for Overlining Lips
Finding Your Perfect Lip Liner Shade
When learning how to overline lips, the right lip liner shade is everything. The best lip liner for a natural, convincingly full look is one that matches your natural lip color or is just a shade or two deeper. Avoid harsh contrasts—too-dark liners can look dated and artificial, while too-light shades won’t create enough dimension.
- For nude looks: Pick a liner that mimics your lip's undertone—cool, warm, or neutral.
- To match with your lipstick: Choose a liner that blends seamlessly into your chosen lipstick or is slightly darker for added definition.
Pencil Hardness and Formula
Different formulas serve different purposes. A firmer pencil offers more control and precision, while a creamier formula glides on easily and blends well for ombré effects. For overlining, a medium-firm pencil is usually ideal—it allows for a crisp line but can be softened if needed.
- Sharpen your pencil for precision, but avoid sharp points that can scratch.
- Retractable pencils are convenient, but check they aren’t too waxy.
Using Two Lip Liners for Dimension
For a truly natural look, some pros recommend using two liners. Outline just outside your natural lip line with a liner that matches your lips, then deepen the outer corners or Cupid’s bow with a slightly deeper shade. This subtle contouring technique adds depth and mimics natural shadow.
- Blend the two shades together with a brush or fingertip for a seamless transition.
- This method is especially helpful for asymmetrical or uneven lips.
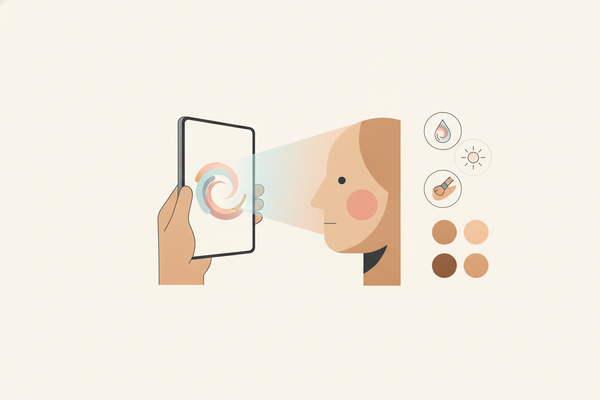
For more personalized shade recommendations, AI-powered apps like Makeup Check AI can analyze your skin tone and suggest the best lip liner shade for your goals.
Section 3: Mapping and Outlining—The Art of Overlining
Mapping the Cupid’s Bow
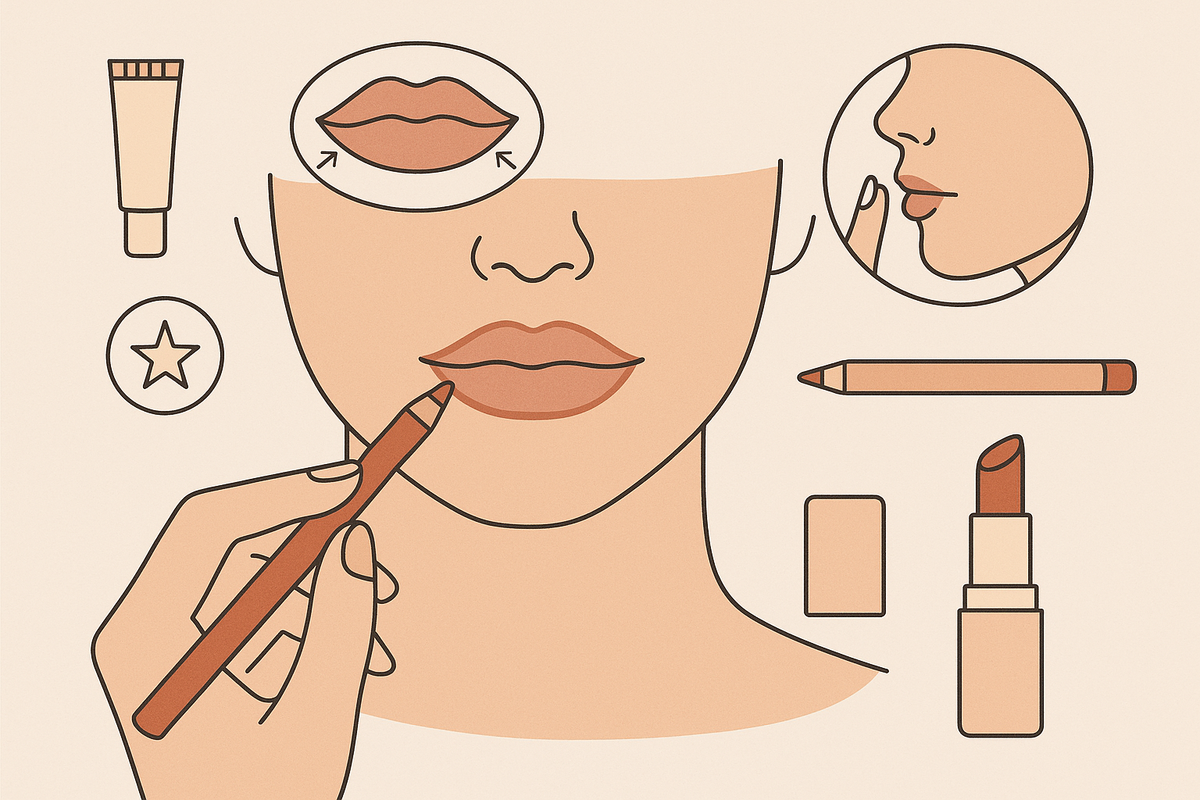
The most transformative step in overlining is redefining the Cupid’s bow. Instead of following your natural lip border, try mapping a slightly higher peak by drawing a soft ‘V’ or heart shape just above your real Cupid’s bow. Don’t stray too far—1-2mm outside the natural line is usually enough for a major plumping effect without looking drawn-on.
- Start at the center and work outwards for symmetry.
- Use light, feathery strokes for control.
Overlining Strategy: Only the Center
To avoid distortion, overline only at the center of the lips—especially the top lip. Stop once you reach the natural corners, then blend the new line back into your real lip line. Extending the liner all the way to the corners can look unnatural and make the mouth appear wider or clownish.
- Focus fullness where natural lips are thinnest: usually the Cupid’s bow and center bottom lip.
- Keep the sides of the mouth tight and true to your real shape.
Marking Key Points and Connecting
For perfect symmetry, mark key points: high points of the Cupid’s bow, the lowest point of the bottom lip, and the outer corners. Connect these with gentle curves, not sharp angles, to mimic the look of full, natural lips. This step is essential for beginners learning how to overline lips.
- Use a magnifying mirror to check evenness as you go.
- Don’t worry if it’s not perfect—blending later will soften any minor mistakes.
Section 4: Perfecting the Overline—Top and Bottom Lip Techniques
Overlining the Top Lip
The top lip is where most people want extra fullness. To overline naturally, only extend beyond your natural border at the center—never at the outer corners. Draw your new Cupid’s bow just above your real one, then gently curve the line down to meet the corners, staying close to your true lip line.
- Don’t overextend past the natural corners; it can create a fake, drawn-on effect.
- For a ‘heart-shaped’ pout, keep the center highest, then taper down.
Overlining the Bottom Lip
The lower lip can also benefit from subtle overlining. The best effect comes from focusing on the center third of the bottom lip. Start just below your natural lip line at the center, then curve upward to meet the corners, blending into your real lip shape as you go.
- Avoid overlining the entire bottom lip; keep emphasis at the center for a plush look.
- Connecting slightly upward at the corners helps avoid a droopy or unnatural finish.
Symmetry and Adjustments
Check your work from a distance and in different lighting. If one side is fuller, use a pointed cotton swab with a touch of micellar water to tidy up. Symmetry is key—especially when you want your overlining to look believable and professional.
- Ask yourself: do my lips look naturally full, or is the overline obvious?
- Small corrections make a big difference.
Section 5: Blending, Filling, and Finishing for a Flawless Look
Blending the Lip Liner Inward
To avoid harsh, obvious lines, blend your lip liner inward. Use a brush, fingertip, or a damp cotton swab to gently feather the color from the new outline toward the inner lip. This creates a gradient (ombré) effect and softens the boundary between the liner and your natural lips.
- Work quickly before the formula sets.
- Focus extra blending at the overlined areas for a seamless transition.
Filling with Lipstick
Using a brush, fill in your lips with a matching lipstick, blending into the liner. For extra dimension, use a slightly lighter shade at the center of the lips. This ombré lip technique visually plumps the lips and adds sophistication to your makeup look.
- Matte or satin finishes are best for a realistic overlined look.
- Glossy finishes can add shine, but be careful not to blur the precise edges.
Adding Gloss or Highlighter
A dab of gloss or highlighter at the center of the lips creates a juicy, plumping effect. Pat a touch on the Cupid’s bow and middle of the bottom lip for instant fullness. Avoid heavy application at the edges—keep shine focused at the center for the most convincing illusion.
- Try clear gloss, pearly highlighter, or a touch of shimmer shadow.
- Set the outer lip border with translucent powder if needed to lock in your work.
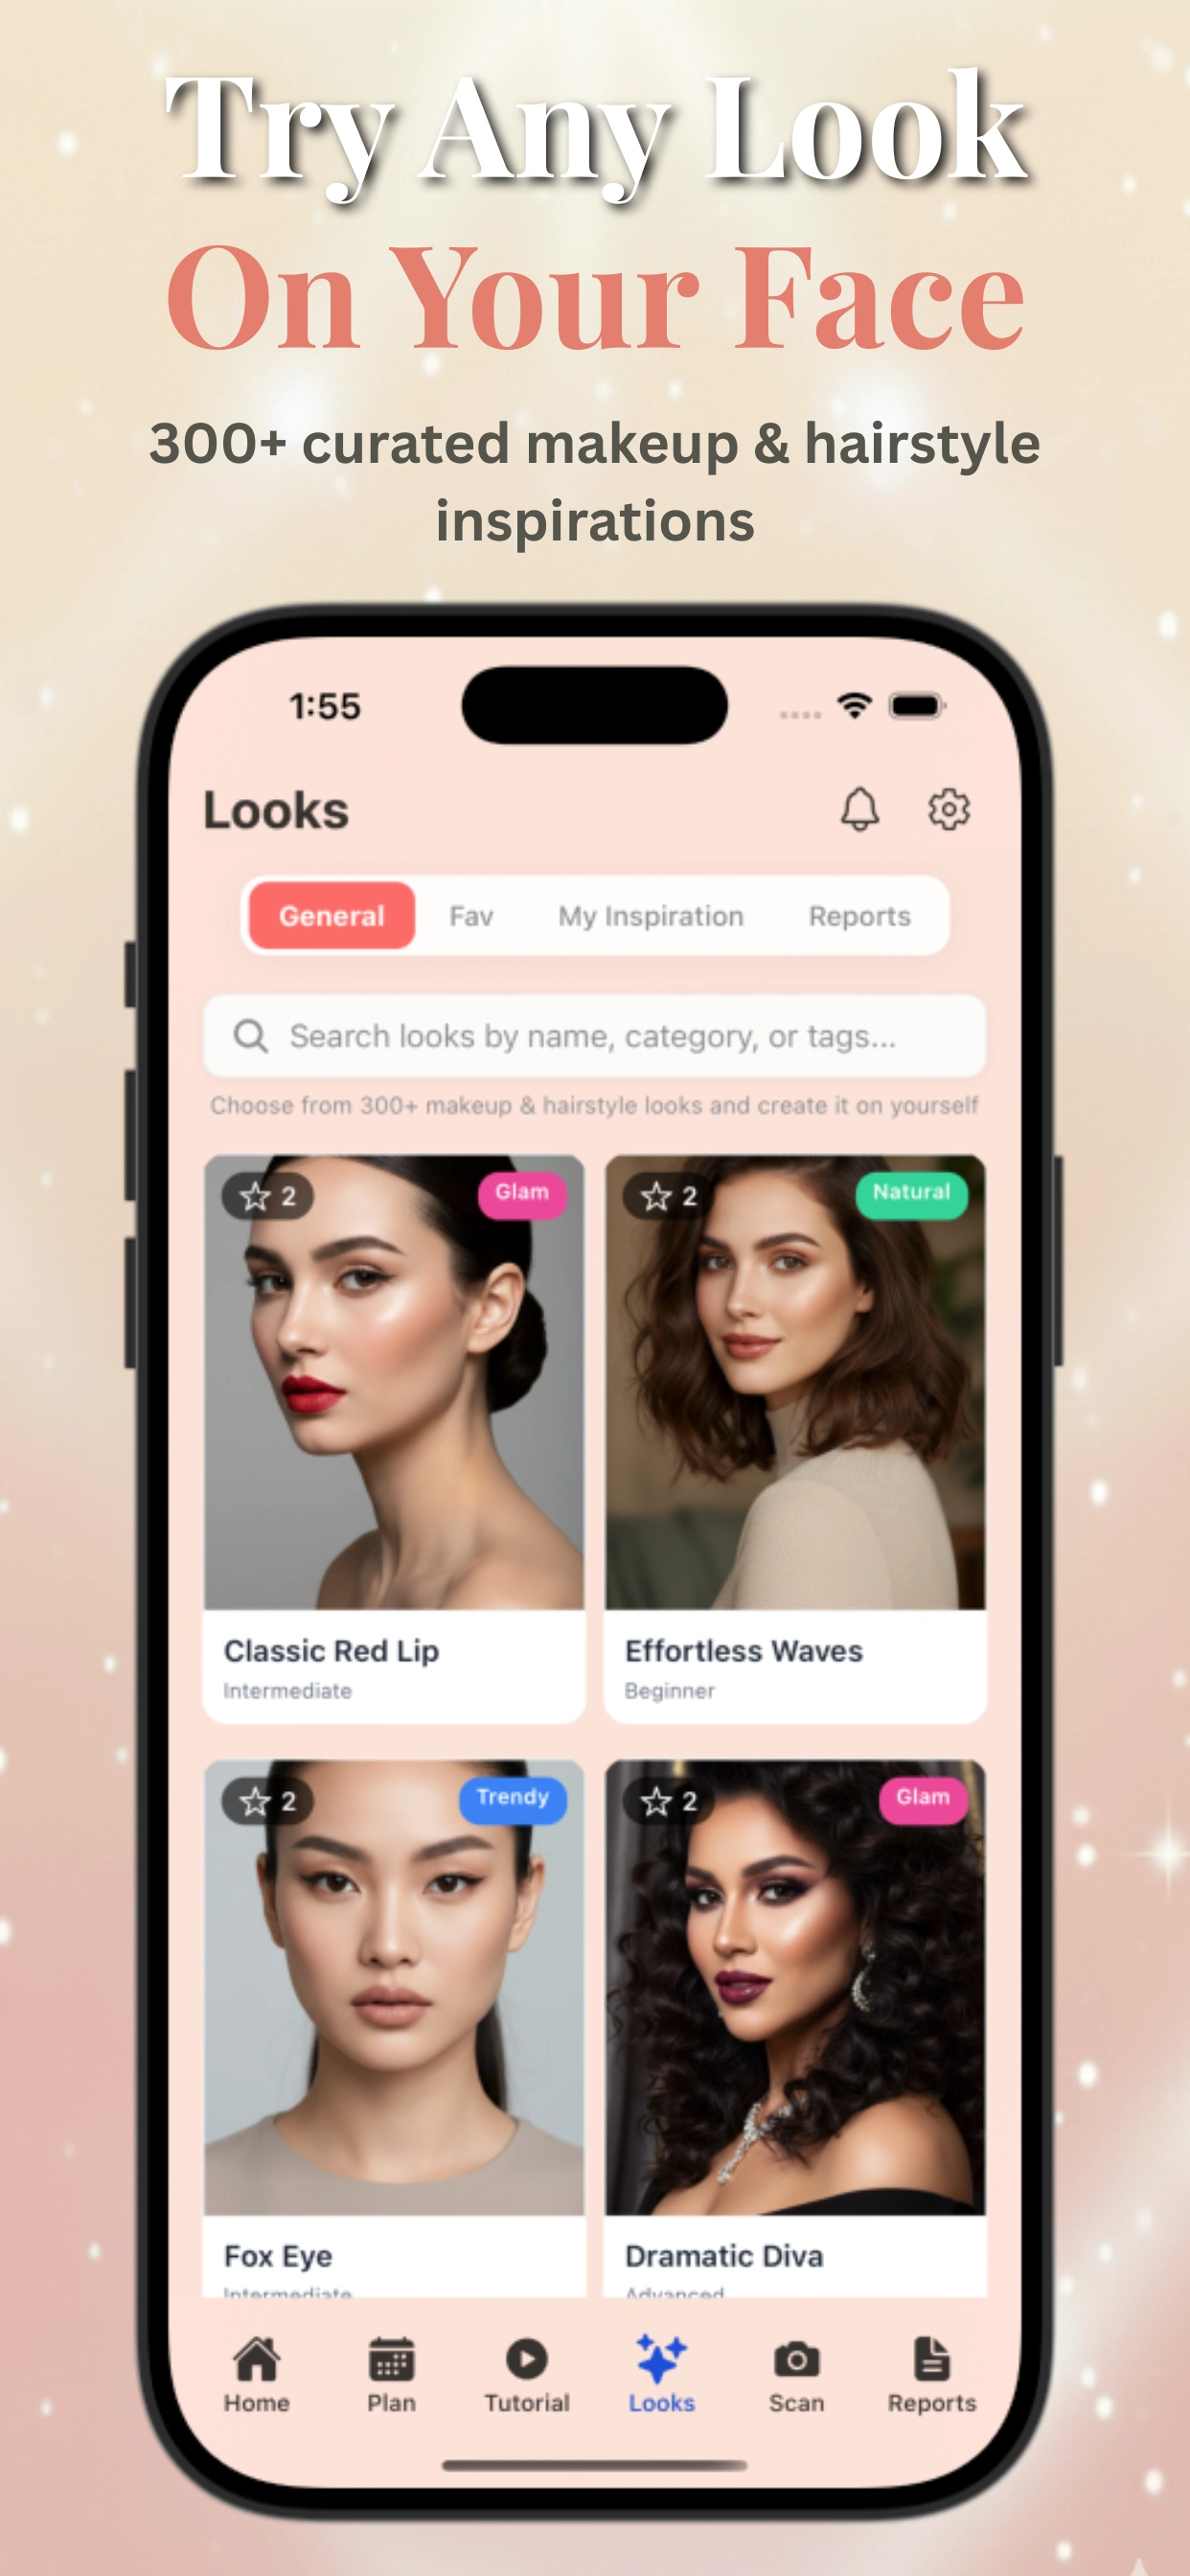
Want to see how different lip liner and lipstick combinations look on your own face? Try the virtual try-on feature in Makeup Check AI for instant previews and step-by-step tutorials.
Section 6: Adapting to Your Lip Shape and Avoiding Mistakes
Customizing for Your Lip Shape
Not all lips benefit from the same overlining technique. Thin lips may need a little more extension at the center, while round or asymmetrical lips may require careful mapping and blending. Study your natural shape in the mirror and adjust where you overline accordingly.
- For thin lips: Overline slightly more at the center and diffuse outward.
- For uneven lips: Use liner to even out imbalances with subtle adjustments.
- For full lips: Minimal overlining—focus on definition, not size.
Common Mistakes to Avoid
Even seasoned pros can slip up with overlining. The most common errors include:
- Harsh, unblended lines—always feather the liner inward.
- Overlining the corners—stick to the center for a natural look.
- Too-dark or mismatched liner—choose your shade carefully.
- Skipping prep—dry lips exaggerate flaws.
Essential Tools and Products
To perfect your overlined lips, consider these must-haves:
- Lip scrub and hydrating balm for prep.
- The best lip liner (medium-firm, natural-matching shade).
- Lip brush for blending and filling.
- Translucent powder and concealer for cleanup and setting.
- Highlighter or gloss for a plumping finish.
Not sure which products work best for your routine? For a custom lip liner guide, take advantage of AI tools like those featured in the ultimate guide to smarter beauty routines.
Conclusion
Mastering how to overline lips is a transformative skill—when done with care and the right products, it creates a full, plush pout that looks naturally enhanced. By prepping your lips, choosing the best lip liner shade, mapping strategically, and blending skillfully, you can avoid common pitfalls and enjoy a pro-level finish. Personalize your technique to your unique lip shape, and don’t be afraid to experiment with finishes and colors. For tailored recommendations, AI-powered apps like Makeup Check AI offer virtual try-ons, tutorials, and personalized lip liner guides so you can perfect your overlining technique for any occasion.
FAQ
Q: How do you overline lips naturally without them looking fake?
A: The key is subtlety—overline only 1-2mm outside your natural lip border, focus on the center (not the corners), and use a lip liner shade that matches your lip color. Blend inward with a brush or fingertip to soften edges, and finish with a matching lipstick for a seamless look.
Q: What lip liner color is best for overlining lips?
A: Choose a lip liner that matches your natural lip tone or is just one shade deeper. Avoid liners much darker than your lipstick, as they can look harsh. Nude, mauve, or soft pinks are versatile options for most skin tones.
Q: Should you overline the corners of your lips?
A: No—avoid overlining the corners. Only overline at the center of the top and bottom lips, then blend the line back into your natural lip border at the corners for a realistic, plump effect.
Q: How do you blend lip liner after overlining so it’s not harsh?
A: Use a lip brush, fingertip, or damp cotton swab to feather the liner inward toward the center of your lips. This creates a gradient effect and erases visible lines between liner and lipstick.
Q: Is it better to overline the top lip or bottom lip more?
A: Most people benefit from slightly more overlining at the top lip, especially at the Cupid’s bow, for a balanced, natural look. The bottom lip can be overlined at the center, but avoid over-extending both lips equally, which can look artificial.
Q: What products help overlined lips look fuller and juicy?
A: Hydrating lip primers, plumping glosses, and highlighter dabbed at the center of your lips add fullness and shine. Matte or satin lipsticks help set the overline, while clear gloss creates a juicy finish when applied at the center only.