hooded eye makeup: Step-by-Step Guide for Every Eye Shape
hooded eye makeup guide: learn how to identify your eye shape and master eyeshadow placement, eyeliner, and tips for bigger, brighter eyes with Makeup Check AI.

Estimated reading time: 13 min
Key Takeaways
- Identify your true eye shape to unlock personalized makeup techniques.
- Hooded eye makeup requires special placement for visible, lifted results.
- Transition shades, liner, and mascara tricks vary by eye shape—avoid common mistakes.
- Matte vs. shimmer, crease placement, and brow work can transform your look.
- AI-powered tools like Makeup Check AI deliver tailored tutorials for your unique features.
Table of Contents
- Section 1: How to Tell Your Eye Shape
- Section 2: Hooded Eye Makeup—Core Techniques
- Section 3: Eyeshadow Placement by Eye Shape
- Section 4: Eyeliner for Your Eye Shape
- Section 5: How to Make Eyes Look Bigger with Makeup
- Section 6: Common Mistakes and How to Avoid Them
- Conclusion
- FAQ
Section 1: How to Tell Your Eye Shape
Why Eye Shape Matters for Makeup
Understanding your eye shape is the foundation for successful eye makeup. Different shapes—hooded, almond, monolid, round, upturned, and downturned—require unique eyeshadow placement and liner techniques for the most flattering look. Before reaching for your palette, take a moment to assess what makes your eyes unique.
Step-by-Step: Identifying Your Eye Shape
- Look straight into a mirror with relaxed brows and eyes open naturally.
- Identify your crease: Is it visible or hidden when your eyes are open?
- Note your lid space: How much skin shows between your lash line and crease?
- Observe the outer corners: Do they lift upwards, curve down, or stay horizontal?
- Check for symmetry: Are both eyes the same shape or slightly different?
Here’s a quick guide to common eye shapes:
- Hooded Eyes: A fold of skin partially or fully covers the crease when eyes are open. The lid appears smaller.
- Almond Eyes: The iris touches both the top and bottom lash lines, and the outer corners are slightly lifted—resembling an almond.
- Monolid Eyes: No visible crease; the lid is smooth and flat from lash to brow.
- Round Eyes: The entire iris is visible, and the eyes appear more open and circular.
- Upturned/Downturned Eyes: Outer corners angle upwards (upturned) or downwards (downturned) relative to the inner corners.
Using AI for Precise Eye Shape Analysis
If you’re unsure, apps like Makeup Check AI use facial scanning to identify your eye shape and recommend personalized makeup techniques. This tech saves time and eliminates guesswork, ensuring your routine is tailored to your features.
Section 2: Hooded Eye Makeup—Core Techniques
Primer and Lid Prep to Prevent Creasing
Because hooded eyes have extra skin folding over the lid, they’re prone to eyeshadow creasing and transfer. Always start with an eye primer or a matte concealer set with translucent powder. This creates a smooth, oil-free base for eyeshadow and helps prolong wear.
- Focus primer on the mobile lid and up to the brow bone.
- Let it set for 30 seconds before applying color.
- Check our in-depth guide on the best primers for makeup for product recommendations.
Creating a Faux Crease for Visible Dimension
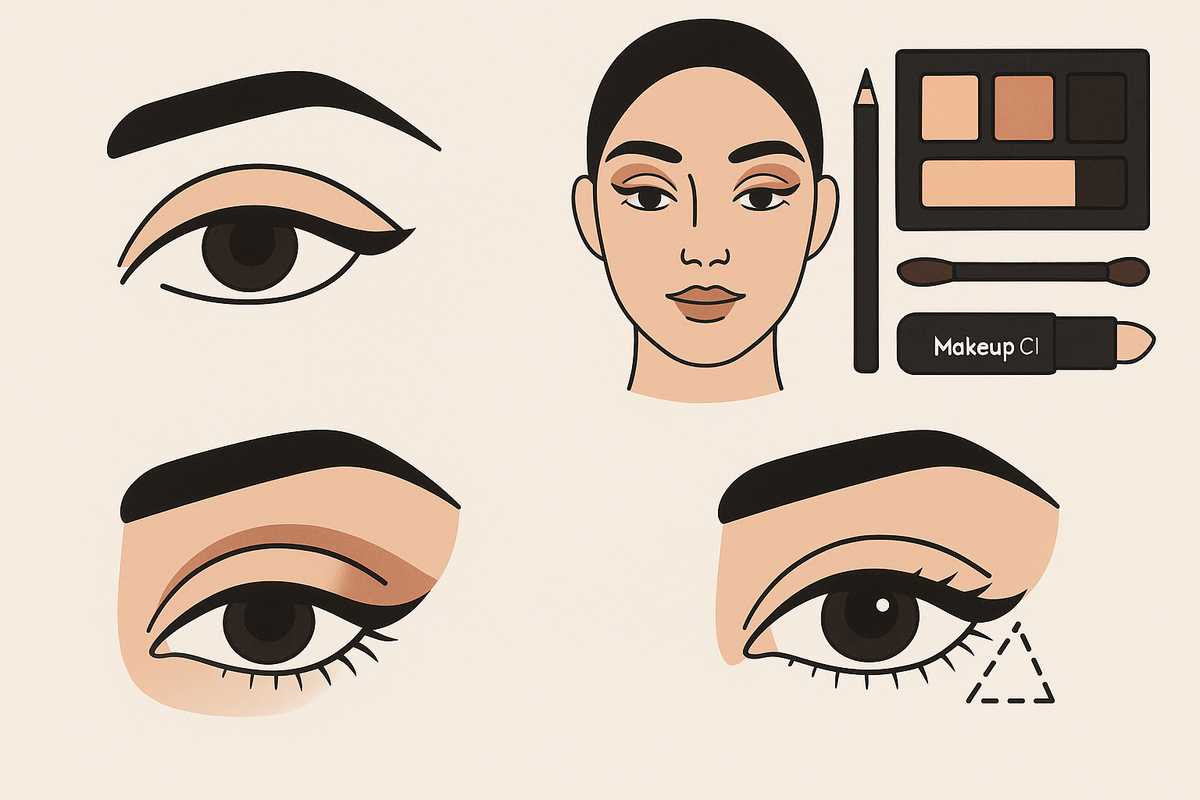
With hooded eye makeup, the natural crease disappears when your eyes are open. To make your artistry visible, place the transition shade slightly above your real crease—about 2–4 millimeters higher. Use a small fluffy brush and a matte neutral shadow to softly blend this line upward toward the brow bone. This “faux crease” gives the illusion of a larger, more contoured lid even when your eyes are open.
- Keep your eyes open during application to see the effect in real time.
- Blend gently—harsh lines accentuate heaviness.
Outer Corner Emphasis and Lift
Focus deeper shades on the outer third of the lid and blend them up and out at a 45-degree angle. This technique visually lifts the eyes and counteracts any drooping from the hood. Use tape or a credit card as a guide for a crisp angle if needed.
- Keep shimmer and light shades to the center and inner lid only.
- Matte finishes in the crease and outer corner prevent unwanted reflection.
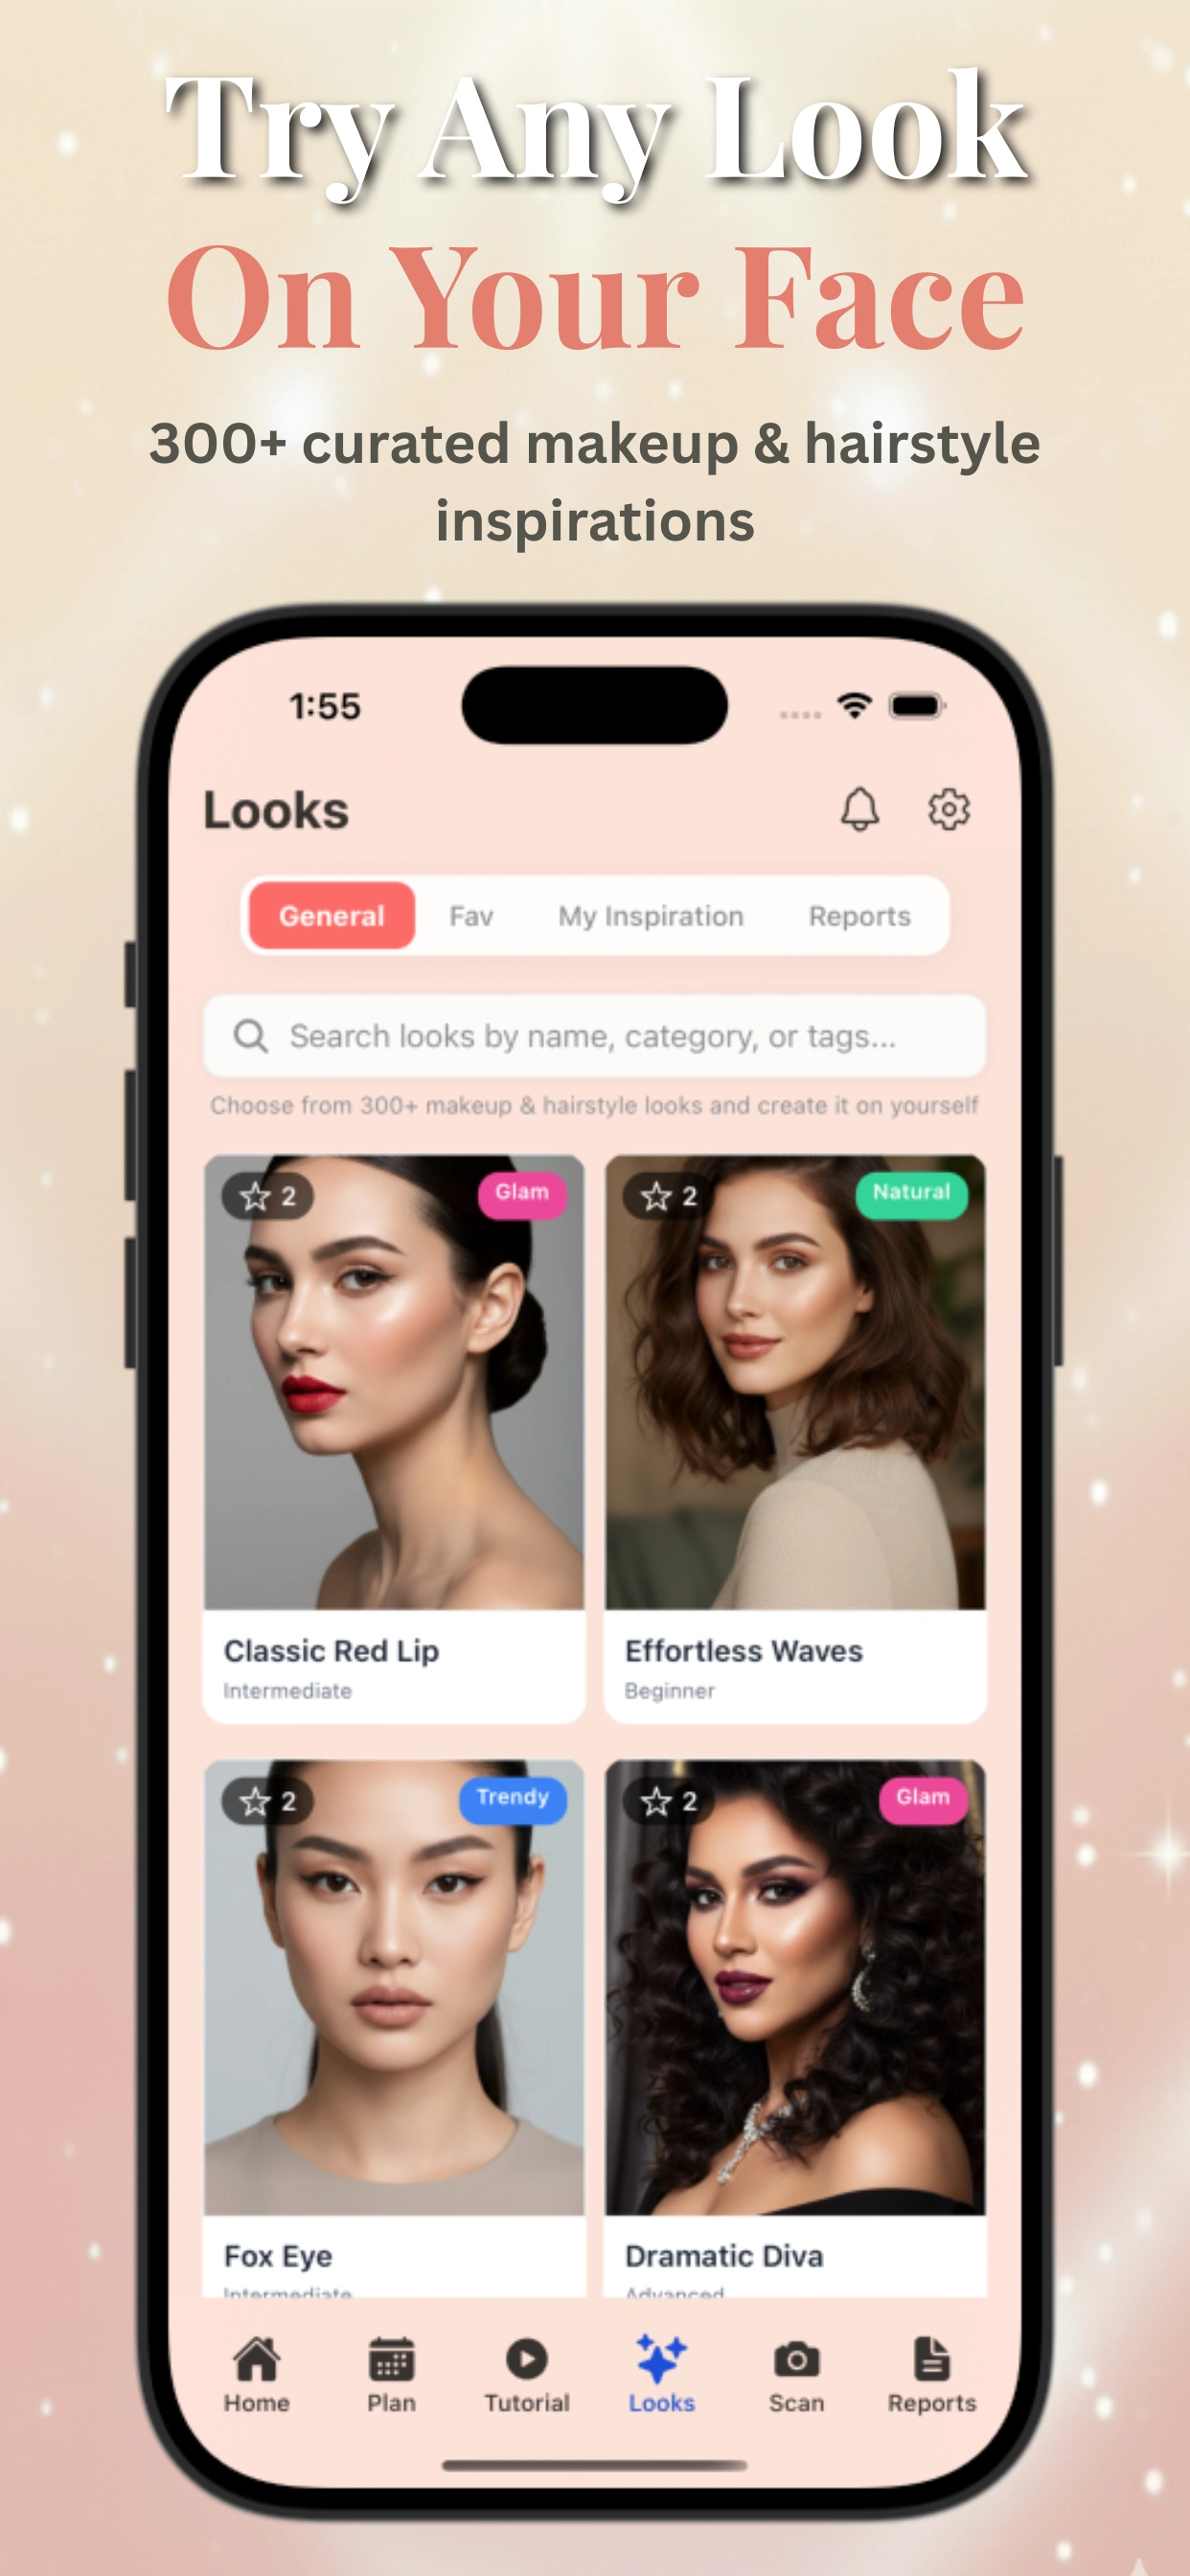
With the Makeup Check AI app, you can virtually try on these placements and see exactly how shadow shapes change your look before committing.
Section 3: Eyeshadow Placement by Eye Shape
Hooded Eyes
For hooded eyes, place your main lid color above the natural crease. Avoid putting dark shades on the inner corner, as this can close off the eyes. Shimmers look best on the mobile lid center, but avoid sparkle too high on the brow bone—it can accentuate puffiness.
- Matte shades above the crease, shimmer only on the mobile lid.
- Highlight the brow bone with a satin, not glittery, finish.
- Keep dark shades away from the innermost third.
Almond Eyes
Almond eyes are versatile and can pull off most eyeshadow looks. The classic gradient—lightest in the inner corner, medium on the lid, and darkest in the outer V—emphasizes their natural shape. Winged shadows and soft cut-creases add even more dimension.
- Blend colors outward for a lifted effect.
- Try halo eyes (dark-light-dark) for extra pop.
Monolid Eyes
Monolid eye makeup shines with gradient shading that extends above the lash line. Use a darker shade close to the lashes and blend up to a lighter color near the brow. Shimmers and glitters on the center lid add brightness, while a defined outer corner brings depth.
- Smudge shadow along the lower lash for balance.
- Try a floating liner look for modern drama.
Round, Upturned, and Downturned Eyes
For round eyes, elongate the shape with horizontal shadow placement and winged liner. Upturned eyes can wear smoked-out outer corners, while downturned eyes benefit from lifted outer V placement and avoiding any drooping lines.
- Keep the darkest shade at the outermost corner for lift.
- Highlight inner corners to open the eyes.
For more on smart beauty routines, see our guide on AI-powered makeup tutorials.
Section 4: Eyeliner for Your Eye Shape
Hooded Eyes: The Floating or Thin Wing
For hooded eyes, eyeliner should enhance the lash line without hiding behind the lid fold. Use a waterproof pencil or gel for staying power. Start with a tightline (lining the upper waterline) to thicken lashes without taking up lid space. For a wing, begin where your upper and lower lash lines meet and flick the liner outward and slightly upward, keeping the line thin and close to the lashes.
- Try a “floating” liner above the hood for graphic looks.
- Avoid thick lines across the lid—they disappear when eyes are open.
Almond Eyes: Classic Cat Eye
Almond eyes suit most eyeliner shapes, including the classic cat-eye. Extend liner slightly past the outer corner with a small upward flick to emphasize their elegant lift. Smudge liner along the lower lash line for a smoky effect without closing off the eyes.
- Experiment with colored liner for a bold twist.
Monolid Eyes: Smudged and Graphic Lines
Monolids can rock both diffused and graphic liner. Apply a thick line at the base of lashes and smudge upward for a smoky look, or use a liquid liner to create a bold, straight line that’s visible when the eyes are open. For extra drama, try a double-wing or negative space liner.
- Set creamy pencils with matching shadow for longevity.
For more on smart liner techniques, check our feature on AI-powered makeup routines.
Section 5: How to Make Eyes Look Bigger with Makeup
Lash Curling and Mascara Focus
Start by curling your lashes to lift the eyes. Apply mascara with extra focus on the outer corners to create a wide, fanned-out effect. For hooded eyes, waterproof mascaras prevent transfer onto the brow bone. Consider false half-lashes at the outer edge for even more lift.
- Wiggle the brush at the base and pull upward for maximum volume.
- Apply a second coat to the outer lashes only.
Waterline and Lower-Lash Techniques
Line the lower waterline with a nude or white pencil to brighten and open the eyes. Avoid dark liner all the way around, especially for hooded and round eyes, as it can visually shrink the eye. Smudge a light shadow along the lower lash line for a soft, diffused effect.
- Highlight the inner corner with a pearly or champagne shade.
- Keep lower lash mascara minimal to avoid smudging.
Eyebrow Shaping and Brow-Bone Highlight
Well-groomed brows create the illusion of more lid space. For hooded eyes, slightly arching and lifting the tails of your brows opens up the eye area. Add a soft, satin highlight (not glitter) just under the brow’s highest point for extra lift.
- Fill sparse areas with a brow pencil or powder.
- Brush hairs upward and outward for a feathered effect.
Section 6: Common Mistakes and How to Avoid Them
Hooded Eye Pitfalls
- Dark Inner Corners: Applying deep shades here makes the eyes look small and close-set. Keep inner corners light and bright.
- Heavy Liner on the Lid: Thick lines disappear under the hood. Stick to tightlining or thin, precise application.
- Skipping Primer: Leads to creasing and smudging—always prep lids first.
- Shimmer Above the Crease: Draws attention to puffiness; reserve sparkle for the mobile lid only.
All Eye Shapes: Over-Application and Ignoring Symmetry
- Applying too much product at once can make blending difficult and the look heavy.
- Always step back and check your makeup with eyes open for balance and visibility.
- Use small amounts and build gradually.
Placement Errors
- Placing crease color too low on hooded or monolid eyes erases definition—always blend slightly above the natural crease.
- Drooping outer corners with shadow or liner can make eyes look tired—angle blends upward.
For more on avoiding common mistakes, explore our insights on personalized beauty technology.
Conclusion
Mastering hooded eye makeup—and makeup for every eye shape—starts with understanding your unique features and the principles of strategic placement. From prepping with the right primer, to finessing your crease color, to choosing the perfect eyeliner shape, every detail counts for a look that stays flawless and visible all day. AI-powered beauty apps like Makeup Check AI make it easier than ever to get expert guidance tailored to your face, offering virtual try-ons, technique analysis, and endless inspiration. Embrace your eye shape, experiment with these techniques, and discover what enhances your natural beauty best.
FAQ
Q: How do you do eyeshadow on hooded eyes so it shows when your eyes are open?
A: Apply your transition shade slightly above your natural crease with eyes open. Focus shimmer or lighter colors on the mobile lid and keep dark shades on the outer third. Always blend upward and outward for lift and visibility.
Q: What eyeliner shape works best for hooded eyes?
A: A thin, tightline along the upper lashes, paired with a small outward wing, works best. Avoid thick lines on the lid, and try a floating liner above the hood for graphic looks.
Q: Should hooded eyes use shimmer or matte eyeshadow?
A: Use matte shades in the crease and outer corner to prevent unwanted shine and accentuate depth. Reserve shimmer for the mobile lid only—placing sparkle above the crease can make eyes look puffier.
Q: How do you apply mascara on hooded eyes without transfer?
A: Curl lashes and use waterproof mascara, focusing on the outer corners for lift. Let mascara dry fully before blinking, and consider applying a thin layer of translucent powder to the brow bone to prevent smudging.
Q: Where should you put the crease color on hooded eyes?
A: Place the crease color 2–4 mm above your natural crease with eyes open. This creates a visible faux crease and opens up the lid space.
Q: What are the biggest mistakes to avoid with hooded eye makeup?
A: Avoid dark shades on the inner corners, thick liner on the lid, skipping primer, and placing shimmer above the crease. Always check your makeup with your eyes open to ensure visibility and balance.