Eye Makeup for Droopy Eyelids: Instantly Lift & Brighten With Pro App Tools
Eye makeup for droopy eyelids: Discover expert app tools, eyeshadow placement, and eyeliner hacks to lift and brighten your eyes instantly. Personalized AI tips.

Estimated reading time: 12 min
Key Takeaways
- Learn to identify your eye shape for tailored eyeshadow and eyeliner techniques.
- Master step-by-step eye makeup for droopy eyelids—lift, brighten, and open the eyes.
- Discover pro tips for hooded, almond, and monolid eyes with precise placement.
- Find out which eyeshadow colors, liners, and lash styles enhance droopy eyelids.
- Explore how Makeup Check AI customizes beauty routines for every eye shape.
Table of Contents
- Section 1: How to Tell Your Eye Shape
- Section 2: The Basics of Eye Makeup for Droopy Eyelids
- Section 3: Eyeshadow Placement by Eye Shape
- Section 4: Eyeliner for Your Eye Shape
- Section 5: How to Make Eyes Look Bigger With Makeup
- Section 6: Adapting to Hooded, Almond, and Monolid Eyes
- Conclusion
- FAQ
Section 1: How to Tell Your Eye Shape
Understanding Eye Shapes
Before diving into eye makeup for droopy eyelids, it’s crucial to identify your eye shape. The right technique depends on whether your eyes are droopy, hooded, almond, or monolid.
- Droopy (downturned) eyes: Outer corners angle downward, making the upper lid appear heavier. The highest point of the eye is closer to the inner or central part of the lid, and the lower lash line often looks longer than the upper.
- Hooded eyes: The natural crease is hidden when the eyes are open. A fold of skin hangs over the crease, making the mobile lid less visible. This shape is common as we age, but can also be genetic.
- Almond eyes: Oval shape with a visible crease and slightly pointed ends. The iris of the eye touches both the top and bottom of the eyelid, and the outer corners taper into a subtle point.
- Monolid eyes: Little to no crease; the lid appears flat. The surface from lash line to brow bone is smooth and uninterrupted, providing a unique canvas for creative looks.
How to Assess Your Eyes
Stand in front of a mirror with relaxed brows. Look straight ahead and observe where your upper eyelid folds and how your outer corners tilt. Ask yourself:
- Does my crease disappear when my eyes are open? (Likely hooded)
- Is the outer corner lower than the inner? (Droopy or downturned)
- Are the ends of my eyes slightly pointed? (Almond)
- Is there a defined crease, or is the lid flat? (Monolid)
If you’re unsure, try taking a selfie in natural light and comparing both eyes. Some people have more than one shape (for example, hooded and downturned), which can inform how you combine techniques. Another method: Use a makeup brush handle or pencil and hold it horizontally from the outer corner of your eye. If your outer corner is below this line, you likely have a downturned (droopy) shape.
Why Shape Matters for Makeup
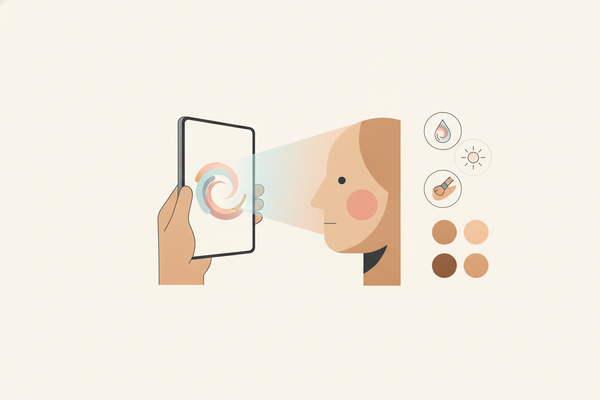
Knowing your shape informs how you place eyeshadow, liner, and lashes for the most flattering look. For example, droopy eyes benefit from upward blending and carefully placed liner, while almond eyes can handle bolder wings. Apps like Makeup Check AI analyze your photo to instantly identify your eye shape, then generate tailored tutorials and looks, taking the guesswork out of your beauty routine. This is especially helpful for those who struggle to see subtle differences or have asymmetrical eyes, as the app can recommend adjustments for your unique features.
Section 2: The Basics of Eye Makeup for Droopy Eyelids
Challenges of Droopy Eyelids
Droopy or downturned eyelids can make eyes appear smaller or tired. The goal of makeup here is to create the illusion of lift and brightness. Key challenges include:
- Upper lid skin covering the crease, making it hard for eyeshadow to show when the eyes are open.
- Outer corners tilting downward, which can give a sad or sleepy expression.
- Shadow or heaviness on the outer half of the eye, making blending and definition more difficult.
Many people with droopy eyelids also deal with uneven application, as product can settle into folds or migrate downward throughout the day, especially if the skin is oily or mature.
Essential Prep: Priming and Setting
Start with a quality eye primer. This prevents creasing and ensures longevity, especially important for droopy lids where shadow can migrate. Look for primers that claim to be "crease-proof" and "oil-controlling." After priming, set the lid with a translucent or flesh-toned powder to smooth the surface, or use a matte cream shadow for extra staying power. For recommendations, see best primers for makeup and foundation for all skin types. If you have oily lids, consider a double-priming technique: apply primer, set with powder, then add a light layer of matte base shadow before moving on.
Application Steps for a Lifted Look
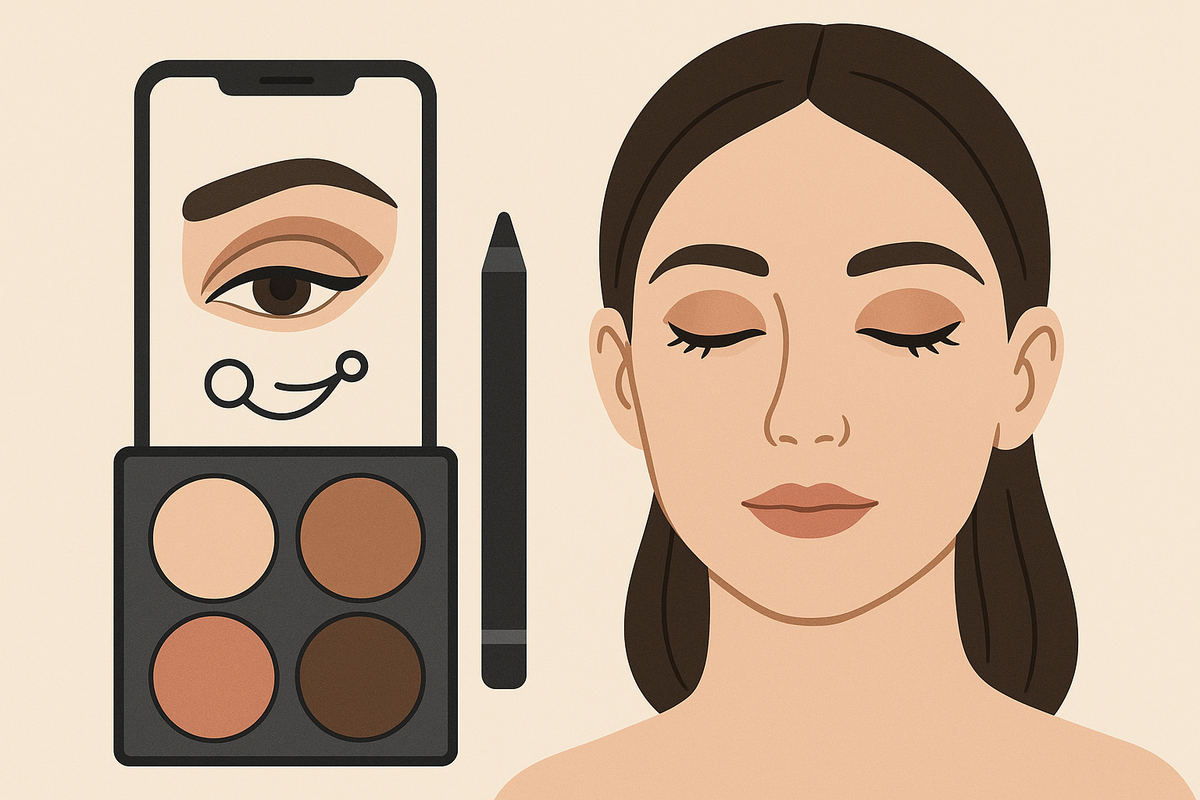
- Base shade: Apply a light matte color across the mobile lid to open the eye. Good options include matte ivory, vanilla, or a shade close to your skin tone. Use a flat brush for even coverage and press the shadow in, rather than sweeping, to avoid disturbing the primer.
- Crease definition: Use a medium matte shade above your natural crease—slightly higher than usual—to fake a lifted crease. Avoid shimmer here, as mattes create depth without highlighting folds. For best results, look straight ahead and mark the new crease with your eyes open, then blend upward with a soft, fluffy brush.
- Outer V/triangle: Place a darker matte on the outer corner in a V or triangle shape. Blend out and slightly upward to visually lift the eye, not downward. Use a small, dense brush for placement and a clean blending brush to soften edges. This step is key: the outer V should angle toward the tail of your brow, rather than following the natural downward slope.
- Highlight: Pop a touch of shimmer or satin in the inner corner and just beneath the brow bone to brighten and create a lifted effect. Use a pencil brush or your fingertip for precision. Avoid chunky glitter, which can emphasize texture.
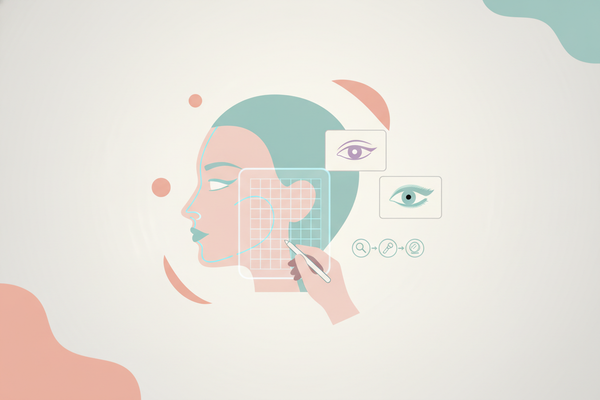
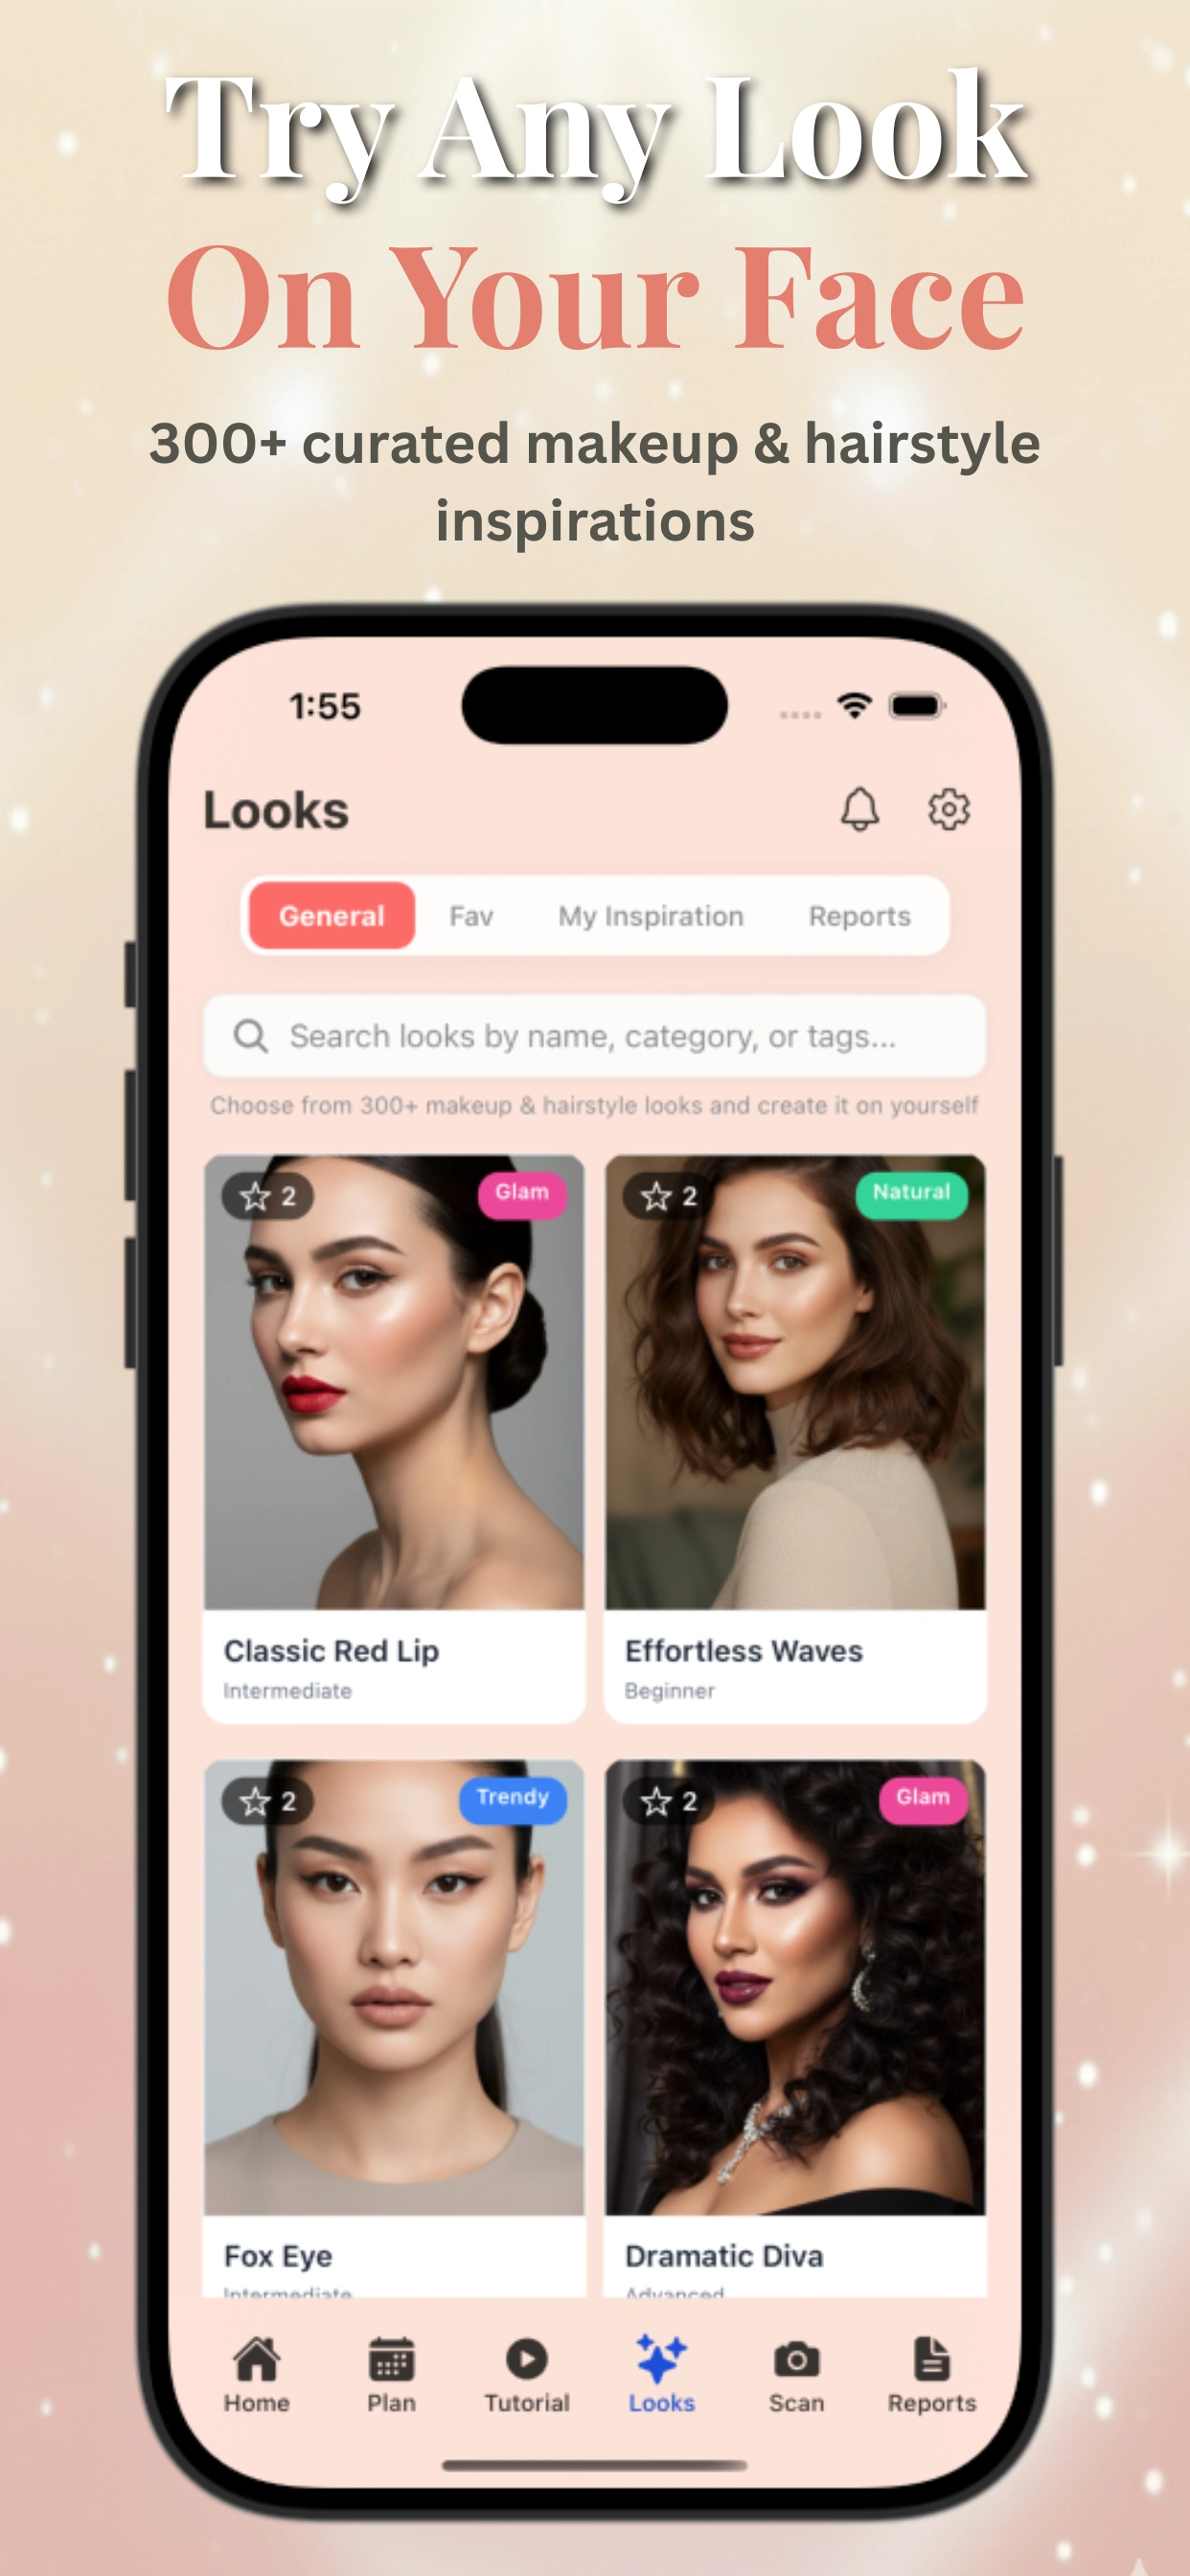
For a highly personalized, step-by-step diagram of these placements, Makeup Check AI scans your face and generates an interactive, animated tutorial customized to your unique eye shape and features. This allows you to see exactly where to apply each shade and how to blend for your natural anatomy, making professional results achievable at home. You can even preview different eyeshadow color combinations and finishes before applying them in real life.
Section 3: Eyeshadow Placement by Eye Shape
Droopy and Hooded Eyes
For droopy and hooded eyelids, eyeshadow placement is all about illusion. Here’s what works:
- Avoid: Heavy shimmer or dark shades directly in the natural crease—this emphasizes heaviness and draws attention to folds or sagging skin. Steer clear of very dark colors in the center of the lid, as this can make eyes recede further.
- Do: Place your crease color above the natural fold. Use a fluffy brush to blend upward and outward, not down. Look straight ahead in the mirror and keep your eyes relaxed while you do this; over-blending downward will accentuate droopiness.
- Outer corner: Focus your darkest shade in a small V-shape on the top outer corner, extending slightly past the lash line, then blend up and out to mimic a natural eye lift. Use tape or a business card as a guide if you have trouble keeping the angle consistent on both eyes.
- Lid shade: Stick to light, matte, or subtly shimmery shades on the lid itself for maximum brightness. Try shades like champagne, pale gold, or soft rose for a subtle pop without overwhelming the eye.
To further enhance lift, keep the lower lash line soft. If using shadow here, stick to light browns or taupes and concentrate color on the outer third, always blending up toward the outer brow.
Almond and Monolid Eyes
- Almond: Place medium tones in the crease and outer third, highlight the center, and use liner to enhance the natural shape. Almond eyes are versatile—experiment with halo eyes (lighter shade in the center of the lid, darker on inner and outer corners) for a rounder, more dimensional look. For a sultrier effect, use a dark shadow to elongate the eyes further by blending into the outer corner and slightly upwards.
- Monolid: Create depth using gradient shading—darker at the lash line, lighter as you move up. Use a pencil brush for precision. Because monolids don’t have a defined crease, you can build dimension by layering: start with a dark shadow or liner at the base, then blend upward with progressively lighter colors. Don’t be afraid to take shadow higher onto the brow bone area for a dramatic, editorial style, or keep it subtle for everyday wear.
Universal Tips
- Always blend shadows upward and outward for all eye shapes, but especially for droopy or hooded lids. This technique visually counteracts any sagging or heaviness and creates a more youthful, open look.
- For in-depth, interactive eyeshadow mapping by shape, Makeup Check AI offers a 3D visualization tool, so you can see exactly where to place each color. This is especially valuable if you have asymmetrical lids or unique bone structure, as the AI can adjust placement suggestions accordingly.
- If you’re new to eyeshadow, practice with neutral colors first to master placement before branching out into bold shades or complex styles.
Section 4: Eyeliner for Your Eye Shape
How to Apply Eyeliner for Droopy and Hooded Eyes
Eyeliner can make or break a lifted look. For droopy eyelids, the trick is to avoid anything that pulls the eye down.
- Keep it thin: Draw a thin line as close as possible to your upper lash line. Thick lines eat up lid space and can make eyes look heavier. For best results, use a fine-tipped liquid or gel liner. Start at the inner corner and work outward, gradually thickening the line only as you reach the outer third of the eye.
- Angle up: End your liner with a small, upward flick—think of it as a subtle kitten wing. Avoid dragging the flick downward. Use the natural line between your lower lash line and the tail of your brow as a guide for the angle. If you struggle with symmetry, use a piece of tape or a liner stencil to keep both sides even.
- Tightlining: Use a waterproof pencil to fill in the top waterline (the space between your lashes and eye). This adds subtle definition without a heavy, drooping effect. It also makes lashes appear fuller and more defined. Hold your upper lid gently taut and run the pencil back and forth along the waterline—choose a deep brown or black for natural depth.
- Lower lash line: Skip heavy liner here or use a soft shadow just on the outer third, blended upward. Avoid lining the entire lower lid in black, which can make eyes look small and accentuate droopiness. If you want some definition, try a taupe or brown shadow smudged softly at the outer edge, always blending up and out.
For extra lift, you can try the "reverse wing" technique: use a flesh-toned or white pencil on the lower waterline and add a hint of upward-angled shadow at the outer lower lash line, creating an optical illusion of a more upturned shape.
Eyeliner for Almond and Monolid Eyes
- Almond: Enhance the natural curve with a classic wing or a soft smudge. Almond eyes suit most liner styles, from subtle tightlining to bold graphic wings. For a smoky look, smudge pencil or shadow along both upper and lower lashes and blend out for a diffused finish.
- Monolid: A bold, thicker line at the center can make lashes look fuller, but keep the outer edge angled up to lift the eye. To avoid transfer, set cream or gel liner with matching powder. For an elongated look, extend the liner slightly past the outer corner, following your lower lash line’s natural curve.
Product Tips
- Choose waterproof, smudge-proof formulas to prevent transfer onto the upper lid. This is vital for hooded or droopy lids where products are more likely to transfer or migrate throughout the day. Gel pencils, felt-tip liquids, and long-wear crayons are great options.
- For more eyeliner tutorials, check out the AI Makeup Tutorial: Your Guide to Smart Beauty Routines for video walkthroughs tailored to your eye shape.
- If you find liquid liner challenging, try using a dark eyeshadow with an angled brush to create a soft, diffused line that’s easier to correct if mistakes happen.
Section 5: How to Make Eyes Look Bigger With Makeup
Brightening and Opening Techniques
- Light in the right places: Use a pale, matte or satin eyeshadow on the lid and inner corner to catch light and visually expand the eye. Shades like vanilla, light peach, or champagne work well for all skin tones. Apply with a small brush for precision.
- Strategic highlighting: A pop of highlighter on the brow bone and inner eye corner instantly lifts and opens droopy eyes. For a natural effect, pick a highlighter just one or two shades lighter than your skin. Avoid chunky glitter; look for finely milled or cream-based formulas.
- Lower waterline: Apply a nude or pale peach pencil to the lower waterline to reduce redness and make eyes appear larger. Steer clear of stark white, which can look unnatural; peachy tones counteract redness for a fresher appearance. For a more awake look, add a dab of shimmer to the very center of the lower lash line.
For especially droopy or tired eyes, try the "open eye" trick: use a small brush to apply a tiny bit of shimmery shadow just above where your iris is most visible (center of the upper lid), drawing attention to the widest part of your eye.
Lashes That Lift
- Curl your lashes: Always use an eyelash curler before mascara. Focus on the outer lashes for lift. Hold the curler at the base for 8-10 seconds, then move up the lash in two more gentle squeezes to create a natural curve, not a crimp. For stubborn lashes, heat the curler slightly with a blow dryer (test temperature on your hand first).
- Mascara: Go for lengthening rather than volumizing formulas, focusing on the outer half of the lashes. Wiggle the wand at the base, then sweep outward and up. For extra lift, try waterproof mascara, which holds curl longer. For even more drama, layer a fiber mascara or use a lash primer first.
- False lashes: Choose wispy, demi-style lashes that are longer at the outer corners. Avoid heavy, straight-across styles that weigh the eye down. Demi or "cat-eye" shaped lashes are ideal; trim the inner corner for a custom fit and use clear glue for a seamless look. For a more natural effect, cut a full lash strip in half and apply only to the outer third of your lash line.
If you have trouble applying falsies, try individual lash clusters at the outer corners for control and comfort. If you wear glasses, opt for shorter but flared styles so lashes don’t brush the lenses.
Color Choices for Droopy Eyelids
- Matte neutrals like taupe, warm brown, and soft plum add structure. These shades are universally flattering and work well for contouring the lid and creating depth without drawing attention to texture or folds.
- Shimmers are best reserved for the mobile lid or inner corner only. Avoid heavy metallics in the crease or outer V, as they can accentuate puffiness or fine lines.
- Experiment with subtle color to brighten, but avoid dark shades in the crease. Soft mauves, peaches, or dusty roses can add freshness without closing off the eye. For a special occasion, try a pop of teal or bronze along the lower lash line, keeping it soft and blended.
Want to see how different mascara, liner, and lash styles look on your eyes? Test them with virtual try-on in Makeup Check AI before you buy. The app’s augmented reality feature lets you preview dozens of styles and brands instantly, helping you choose what flatters your unique eye shape best. You can even compare side-by-side before and after images for confidence in your selections.
Section 6: Adapting to Hooded, Almond, and Monolid Eyes
Hooded Eyes
- Crease placement: Fake a higher crease by blending shadow just above the hood, not in the natural fold. Use a medium matte shadow and a soft, rounded brush, keeping your eyes open during application to see where the color will show. Build pigment slowly for a seamless gradient.
- Avoid shimmer in the crease: Use matte shades to recede and create depth. Shimmers and metallics can emphasize the hood and draw attention to texture or puffiness.
- Liner tips: Use a thin line, tightlined or with a small upward flick. If your hood is very prominent, try a "floating" liner above the crease for a graphic, modern look that still creates lift. Avoid thick, heavy wings, which can get lost under the fold.
- Extra tip: Keep the inner half of the lid light and bright to counteract shadow from the hood. This visually pushes the lid forward and opens the eye.
Almond Eyes
- Maximize symmetry: Enhance the natural shape with a classic wing or smoked outer corner. Almond eyes are balanced and can pull off both subtle and dramatic looks. For a daytime look, stick to soft neutrals blended into the outer third; for night, intensify color and add a bold winged liner.
- Balance: Use light on the center of the lid and dark on the outer third for dimension. For a "halo" effect, sandwich a shimmer or metallic shade in the center of the lid between darker shades on either side, blending well for a seamless transition.
- Color play: Almond eyes suit most shades; feel free to experiment! Jewel tones, pastels, or even bold colors like emerald, violet, or copper can enhance the natural almond shape. For special occasions, pair a soft cut-crease with a colorful liner for a fresh twist.
Monolid Eyes
- Gradient effect: Layer shadows from lash line up for depth. Start with a dark matte shade at the roots, then use a medium shade above, finishing with a light or shimmery highlight near the brow bone. Blend well to avoid harsh lines—monolids are perfect for seamless gradients.
- Bold liner: A slightly thicker line at the center of the lash line adds the illusion of depth and fullness. Use gel or liquid liner for precision, and set with black shadow for longevity. Try experimenting with graphic liner looks or colored liners to add dimension.
- False lashes: Natural styles with a clear band work best, as monolids can hide the base. Curl lashes well and use a waterproof mascara to hold shape. For extra drama, try "under-lashes"—applying tiny clusters beneath the natural lash line for a fuller, more lifted appearance.
- Extra tip: Monolids can pull off bold, artistic eyeshadow looks—experiment with negative space liner, cut creases, or color blocking for editorial flair.
For a more detailed breakdown by your unique features, check the AI Makeup App: The Ultimate Guide to Smarter Beauty Routines. You’ll find specific eye shape guides, product picks, and stepwise tutorials. Makeup Check AI can further refine recommendations based on skin tone, brow shape, and preferred makeup style, making your routine even more personalized and effective.
Conclusion
Unlocking the secret to flattering eye makeup for droopy eyelids starts with knowing your shape and applying proven techniques. From upward-blended matte shadows and precise eyeliner to strategic highlighting and the right mascara or lashes, these steps instantly lift and brighten any eye. With the help of technology like Makeup Check AI, you can scan your face, receive personalized guidance, and try on hundreds of looks virtually—giving you the confidence to perfect your makeup routine for any occasion. Remember, the best results come from customizing techniques to your individual features, so don’t be afraid to experiment and find your signature eye look.
Consistency and experimentation are key. Practice new techniques with different brushes and products to discover what works best for your unique eye shape and skin type. Take advantage of digital tools and virtual try-ons to preview new looks risk-free. Whether you’re seeking a subtle daytime lift or a dramatic, glamorous transformation, there’s an eye makeup strategy for you. Embrace the versatility that comes with understanding your features, and use it to enhance not just your eyes, but your overall confidence and style.
FAQ
Q: How do you do eye makeup for droopy eyelids?
A: Use light matte shades on the lid, blend a darker matte above the natural crease, and place a V-shaped shadow on the outer corner, blending upward. Keep eyeliner thin with an upward flick and highlight the inner corner and brow bone for lift. Focus lashes and mascara on the outer corners for extra lift.
Q: What eyeshadow colors are best for droopy eyelids?
A: Matte neutrals such as taupe, warm brown, and soft plum are ideal. Avoid dark shades in the crease, and use shimmer only on the mobile lid or inner corner to open the eyes. Soft peach, rose, or champagne can add brightness without emphasizing folds. Experiment with subtle pops of color along the lower lash line for variety.
Q: Should you avoid eyeliner if you have droopy eyelids?
A: No, but keep it thin and angled upward. Tightlining is effective, and avoid heavy liner on the lower lash line, which can drag the eyes down. A small upward flick or kitten wing can create the illusion of a lifted outer corner. Waterproof formulas help prevent smudging on droopy or hooded lids.
Q: Where should you put eyeshadow on hooded or droopy eyes?
A: Place darker matte shadows slightly above the natural crease and on the outer corner, blending up and out. Highlight the lid, inner corner, and brow bone to create lift. Avoid placing dark or shimmery colors in the natural crease, as this can accentuate droopiness.
Q: How do you make droopy eyelids look lifted with makeup?
A: Use upward-blended shadows, thin eyeliner with an upward flick, inner-corner highlights, and curled lashes or demi-wispy falsies to lift and open the eyes. Keep all blending moving toward the tail of your brow, and choose lengthening mascaras that emphasize the outer lashes.
Q: What mascara or false lash style works best for droopy eyelids?
A: Choose lengthening mascara and lashes that are longer at the outer corners (demi or cat-eye style) to enhance lift without weighing the eye down. Wispy, fluttery styles are best; avoid heavy, straight-across lashes that can create a droopy effect. Curl your natural lashes well before application for best results.