beginner eye makeup for unique eye shapes: Step-by-Step Guide & App Tools
Beginner eye makeup for unique eye shapes: Identify your eye shape, master eyeshadow placement & eyeliner for hooded, almond, monolid & more. Try looks with our app.

Estimated reading time: 14 min
Key Takeaways
- Learn how to tell your eye shape before applying makeup for best results.
- Discover beginner-friendly eyeshadow placement and eyeliner tips for almond, hooded, monolid, round, and downturned eyes.
- Understand how to make eyes look bigger and brighter using highlighting, mascara, and blending techniques.
- Avoid common beginner mistakes by tailoring your routine to your unique eye shape.
- Use AI tools like Makeup Check AI to generate personalized looks and tutorials for your features.
Table of Contents
- Section 1: How to Tell Your Eye Shape
- Section 2: Essential Tools & Products for Eye-Shape-Specific Makeup
- Section 3: Eyeshadow Placement by Eye Shape
- Section 4: Eyeliner for Your Eye Shape
- Section 5: Mascara, Highlighting, and Opening Up the Eyes
- Section 6: Common Beginner Mistakes & How to Fix Them
- Conclusion
- FAQ
Section 1: How to Tell Your Eye Shape
Why Eye Shape Matters for Makeup
Understanding your unique eye shape is the foundation of flattering beginner eye makeup. Each shape—whether almond, hooded, monolid, round, deep-set, or downturned—affects how eyeshadow and eyeliner should be placed for optimal lift, size, and symmetry. When you identify your eye shape, you can avoid generic techniques and focus on what enhances your features.
The right placement can make your eyes look larger, more lifted, or more defined, while the wrong placement can have the opposite effect. For example, using a heavy crease color on a monolid can make eyes look smaller, while a lifted shadow on downturned eyes can create instant youthfulness. Customizing your approach is the key to making even the simplest makeup look professional and flattering.
Easy Steps to Identify Your Eye Shape
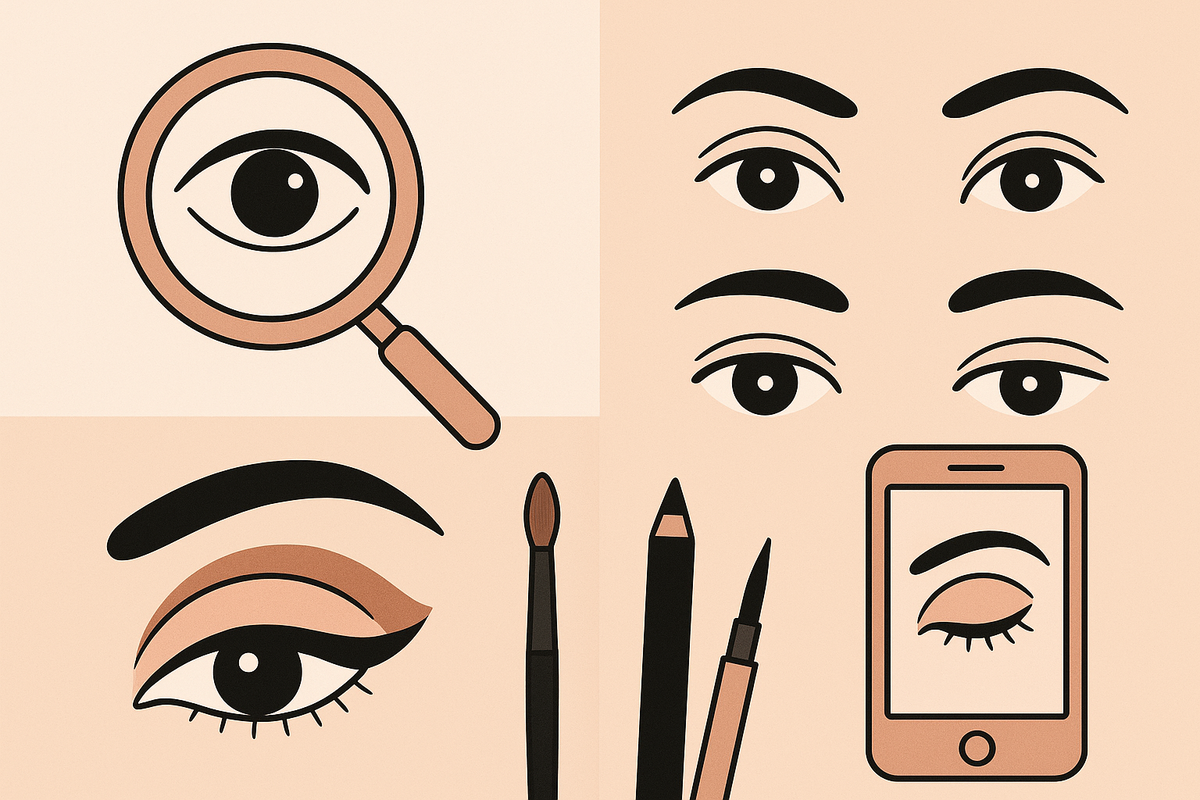
- Look straight ahead in a well-lit mirror, with relaxed brows and eyes. Take a selfie if you want to see your features more objectively.
- Locate your crease: Is it visible, partially hidden, or absent? This is the space between your mobile lid and brow bone when your eyes are open.
- Check the outer corners: Do they point up (uplifted), down (downturned), or straight? This affects how makeup shapes your eyes.
- Consider the eyelid space: Is there a lot of visible lid, or does the skin fold over? Hooded and monolid eyes have less visible movable lid.
- Measure eye distance: Is the space between your eyes less than, equal to, or more than one eye width? This tells you if your eyes are close-set, average, or wide-set.
Descriptions of Main Eye Shapes
- Almond Eyes: Slightly pointed ends, visible eyelid, iris touches top and bottom eyelid. Balanced and versatile. Almond eyes often fit most classic eyeshadow and eyeliner styles and are considered the most symmetrical shape.
- Hooded Eyes: Extra skin droops over the crease, hiding the lid when eyes are open. The mobile lid is only partially visible, and makeup can easily transfer to the upper lid if not placed carefully.
- Monolid Eyes: No visible crease; eyelid is flat from lash line to brow bone. This shape is very common among East Asian individuals and requires unique techniques for dimension.
- Round Eyes: Whites are visible around the iris; eye appears more circular, open, and large. Round eyes benefit from techniques that elongate and add subtle lift.
- Downturned Eyes: Outer corners dip below the inner corners, creating a soft, downward tilt. Lifting techniques are essential here for a more awake look.
- Deep-Set Eyes: Eyes are set deeper into the socket, with a more prominent brow bone. Heavy crease colors can make eyes recede even further, so lighter shades work best.
- Close-Set vs. Wide-Set: Distance between eyes is less/more than one eye width. Placement of highlight and shadow can help balance spacing.
If you're unsure, upload a selfie to Makeup Check AI for instant, AI-powered eye shape analysis and a full beauty report that breaks down your features in detail, showing you exactly where your crease sits, your eye tilt, and how much lid space you have. This can take out the guesswork if you're still uncertain after following the steps above.
Section 2: Essential Tools & Products for Eye-Shape-Specific Makeup
Must-Have Eye Makeup Tools
- Blending Brush: Soft, fluffy brush for seamless eyeshadow transitions. Look for dome-shaped brushes with synthetic or natural bristles. For beginners, a medium-sized blending brush (like MAC 217 or a dupe) is a staple for diffusing harsh lines.
- Flat Shader Brush: Packs color onto the lid for intensity. This is especially useful for monolids and hooded eyes, where targeted placement is needed. Patting, rather than swiping, gives stronger color payoff.
- Detail/Bullet Brush: Precision for the inner corner and lower lash line. A small, dense brush helps apply highlight or deepen the outer V without muddying your look.
- Angled Liner Brush: Sharp lines and winged looks tailored to your eye shape. Works with powder, gel, or cream liners. Thin, stiff bristles are best for clean flicks.
- Eyelash Curler: Opener for all eye types, especially hooded or deep-set. Curling before mascara makes lashes appear longer and prevents them from drooping over the lid.
Beginner-Friendly Eye Products by Shape
- Eyeshadow Primer: Prevents creasing—key for hooded and oily lids. A good primer (like Urban Decay Primer Potion or e.l.f. Putty Eye Primer) ensures shadows stay vibrant and in place all day.
- Neutral Matte Shadows: Ideal transition shades for all eye shapes. Taupes, soft browns, and beiges blend seamlessly and can be used in the crease or above it, depending on your shape.
- Shimmer/Highlight: For the inner corner and brow bone to make eyes look bigger. Champagne, pearl, or light gold work for most skin tones and instantly brighten.
- Gel or Pencil Liner: Easier to control for beginners, especially when mapping liner for your eye shape. Retractable pencils or soft gels (like Maybelline Eye Studio Gel Liner) are smudge-proof and forgiving.
- Lengthening & Volumizing Mascara: Essential for opening up small, monolid, or hooded eyes. Tubing mascaras are ideal for sensitive eyes or those prone to smudging.
Optional Extras
- False Lashes: Choose styles that flatter your eye shape—wispy for almond, flared for downturned, clustered for round. Demi or half lashes are excellent for a subtle lift without overwhelming the eye.
- Makeup Remover Swabs: For quick corrections, especially with eyeliner. Pre-soaked swabs or clean Q-tips dipped in micellar water are lifesavers for beginners.
- Eye Tape or Shields: Great for getting sharp lines or preventing fallout with bold looks, especially if experimenting with cut-creases or dramatic wings.
For a personalized shopping list and product recommendations based on your features and budget, try the AI-powered reports in Makeup Check AI. The app recommends tools and shades that fit your complexion, eye color, and shape, streamlining your kit and saving you money on products you won't use.
Section 3: Eyeshadow Placement by Eye Shape
General Placement Principles
Eyeshadow placement by eye shape is crucial for balanced, flattering looks. The goal is to define, lift, and open the eyes—while avoiding techniques that shrink or droop your natural shape. Always start with a transition shade in the crease or orbital bone, then layer deeper colors strategically.
Placement should enhance your natural structure. For example, monolids benefit from a vertical gradient, while hooded eyes need color slightly above the crease. Avoid applying dark shadow all over the lid unless going for a dramatic smoky look, as this can make eyes recede. Instead, focus depth where you want lift and brightness where you want to draw attention.
Eyeshadow for Almond Eyes
- Apply a mid-tone matte just above the crease to accentuate the natural shape. Use a windshield wiper motion for a diffused effect.
- Deepen outer corners in a soft V for subtle lift. Use a smaller brush and dark brown or plum to add dimension without harshness.
- Highlight the center lid with shimmer to enhance symmetry. Pat a metallic or satin shadow with your finger for maximum impact.
- Tip: Almond eyes can pull off both round and elongated looks; try both to see which you prefer for day vs. night.
Hooded Eye Makeup Placement
- Blend transition shade slightly above the real crease to create the illusion of a larger lid. This "fake crease" technique helps open up hooded eyes.
- Keep lid shades matte to avoid accentuating puffiness. Soft taupes, mauves, or warm browns work well.
- Highlight the brow bone and inner corner for an open effect. Use a cream or powder highlight and blend thoroughly to avoid harsh lines.
- Tip: When eyes are open, check that your eyeshadow is still visible—this is more important than how it looks when your eyes are closed.
Monolid Eye Makeup Placement
- Apply color in a gradient from lash line up, using a darker shade closest to the lashes. This creates dimension where there's no visible crease.
- Focus shimmer or highlight on the center of the lid for a 3D pop. Press with fingertip for maximum intensity.
- Blend upward and outward to elongate eyes. Use a clean brush to softly diffuse edges towards the brow bone and temple.
- Tip: Graphic liner or floating crease looks are especially striking on monolids due to the flat canvas.
Eyeshadow for Round, Downturned, and Deep-Set Eyes
- Round: Blend outer corner shadow diagonally for lift; avoid full-lid shimmer. Focus darker shades just past the outer third, blending towards the tail of the brow.
- Downturned: Keep darker shades slightly above the outer corner to lift the eyes. Use an angled brush to create a "winged" effect with shadow.
- Deep-Set: Use lighter shades on the lid and avoid heavy crease colors. Place shimmer or light matte on the mobile lid to bring it forward, and use a soft taupe in the crease for definition.
Example routine for downturned eyes: Place a neutral matte shade in the crease, a slightly deeper tone at the outer third, and blend up and out. Add a champagne shimmer to the center and inner lid, skipping heavy liner on the lower lashes to keep the look lifted.
Blending and Transition Shades
Always blend edges with a clean brush for a seamless look. Use a shade slightly deeper than your skin tone as the first transition, then layer deeper shades for more drama. For more on smart blending and digital try-ons, check out the in-depth AI Makeup Tutorial: Your Guide to Smart Beauty Routines.
Extra tip: If you struggle with muddy blending, apply a bit of translucent powder above your crease before eyeshadow—this gives a "grippy" but smooth surface for blending transition shades.
Section 4: Eyeliner for Your Eye Shape
Almond Eye Eyeliner
- Classic winged liner complements the natural symmetry. Start thin at the inner corner and gradually thicken as you extend outward, flicking slightly up at the outer edge.
- Tightline upper lashes to add subtle definition. Use a waterproof pencil to fill the gaps between lashes for a fuller look without harsh lines.
- Optional: Add a pop of color to the lower lash line for contrast. Jewel tones like emerald, navy, or plum look striking on almond eyes.
- Try double wings for special occasions—draw a second thin wing from the lower lash line for a graphic statement.
Eyeliner for Hooded Eyes
- Keep liner thin across the lid; thicken only at the outer third. Too thick a line can disappear under the fold when eyes are open.
- Angle the wing upward—draw with eyes open for accurate placement above the fold. You may need to slightly exaggerate the angle for the "lifted" effect.
- Try gel or waterproof formulas to prevent transfer. Smudge-proof liners (like Stila Stay All Day or Inglot 77 Gel) work especially well.
- Tip: Map your wing with a pencil before committing to liquid. If you make a mistake, use a pointed Q-tip with micellar water to clean up the line.
Monolid Eye Eyeliner
- Use a thicker line close to the lashes for impact and visibility. The liner should be visible with eyes open, so don't be afraid to build up the thickness.
- Experiment with graphic, floating, or straight-across liner styles. Monolids provide a smooth canvas for creative liner placement.
- Smudge pencil liner for a soft, smoky effect. Use a small brush or cotton swab to blend the edges for a "smoky lash" look that opens the eyes.
- Tip: Try colored liners (like teal, burgundy, or gold) to make brown or dark eyes pop.
Eyeliner for Downturned, Round, and Deep-Set Eyes
- Downturned: Focus liner on the outer half and flick upwards. Avoid extending liner downward, which can emphasize droopiness.
- Round: Extend liner horizontally rather than curving with the eye to elongate. Start thin and gradually thicken towards the outer edge.
- Deep-Set: Keep liner close to the lashes to avoid making eyes appear smaller. Opt for soft brown or bronze instead of harsh black for a daytime look.
- For all these shapes, avoid lining the entire lower lash line with dark color—this can close off the eye. Instead, use a lighter or shimmery liner at the inner third.
Waterline and Tightlining Tips
- Use nude or white pencil on the lower waterline to make eyes look bigger. Choose a soft, waterproof formula to avoid irritation.
- Black or brown liner on the upper waterline creates fuller-looking lashes without closing off the eyes. Look straight ahead and gently lift your lid to apply.
- For sensitive eyes, look for hypoallergenic and ophthalmologist-tested pencils designed for waterline use.
Section 5: Mascara, Highlighting, and Opening Up the Eyes
Mascara Application for Different Eye Shapes
- Almond: Focus on outer lashes for a cat-eye effect. Use a zig-zag motion with the wand to coat each lash, and add an extra coat to the outermost lashes for a flared finish.
- Hooded: Use waterproof mascara to avoid smudging on the upper lid. Tilt your head back slightly while applying to prevent transfer, and try a curved wand for better access to root of the lashes.
- Monolid: Curl lashes before applying a lengthening mascara for maximum lift. Consider a waterproof formula to hold the curl all day; start at the base and sweep upwards for separation.
- Round: Apply more to the center lashes to open up the eyes. Focus on lengthening formulas and consider using a lash separator comb to avoid clumps.
- Downturned: Concentrate mascara on outer upper lashes to lift the appearance. Wiggle the wand through the outer corners and use a lash-defining formula for separation and upward lift.
Pro tip: For all shapes, avoid heavy lower lash mascara if your eyes are small or set close together. Instead, lightly touch the lower lashes with the tip of the wand to define without overwhelming.
Highlighting for Bigger, Brighter Eyes
- Apply shimmer or satin eyeshadow to the inner corners and just under the brow arch. This reflects light and instantly brightens the eye area, making you look more awake.
- Blend a light, matte shade onto the center of the lid for a "pop" effect. This is especially effective for deep-set, hooded, or monolid eyes to bring the lid forward.
- Use a nude pencil in the waterline to make eyes look larger and more awake. Avoid stark white, which can look unnatural on some skin tones.
- Try a champagne or pink-toned highlight for fair skin, and gold or bronze for medium to deep skin tones.
Bonus: Brow Grooming for Eye Emphasis
- Brush brows upward and fill sparse areas for structure. Well-groomed brows frame the eyes and can lift the whole area visually.
- Highlight under the arch to further lift the eye area. Use a matte or satin highlight just beneath the highest point of your brow.
- For a natural look, use hair-like strokes with a pencil or pen. For definition, add a touch of clear or tinted brow gel to set the shape.
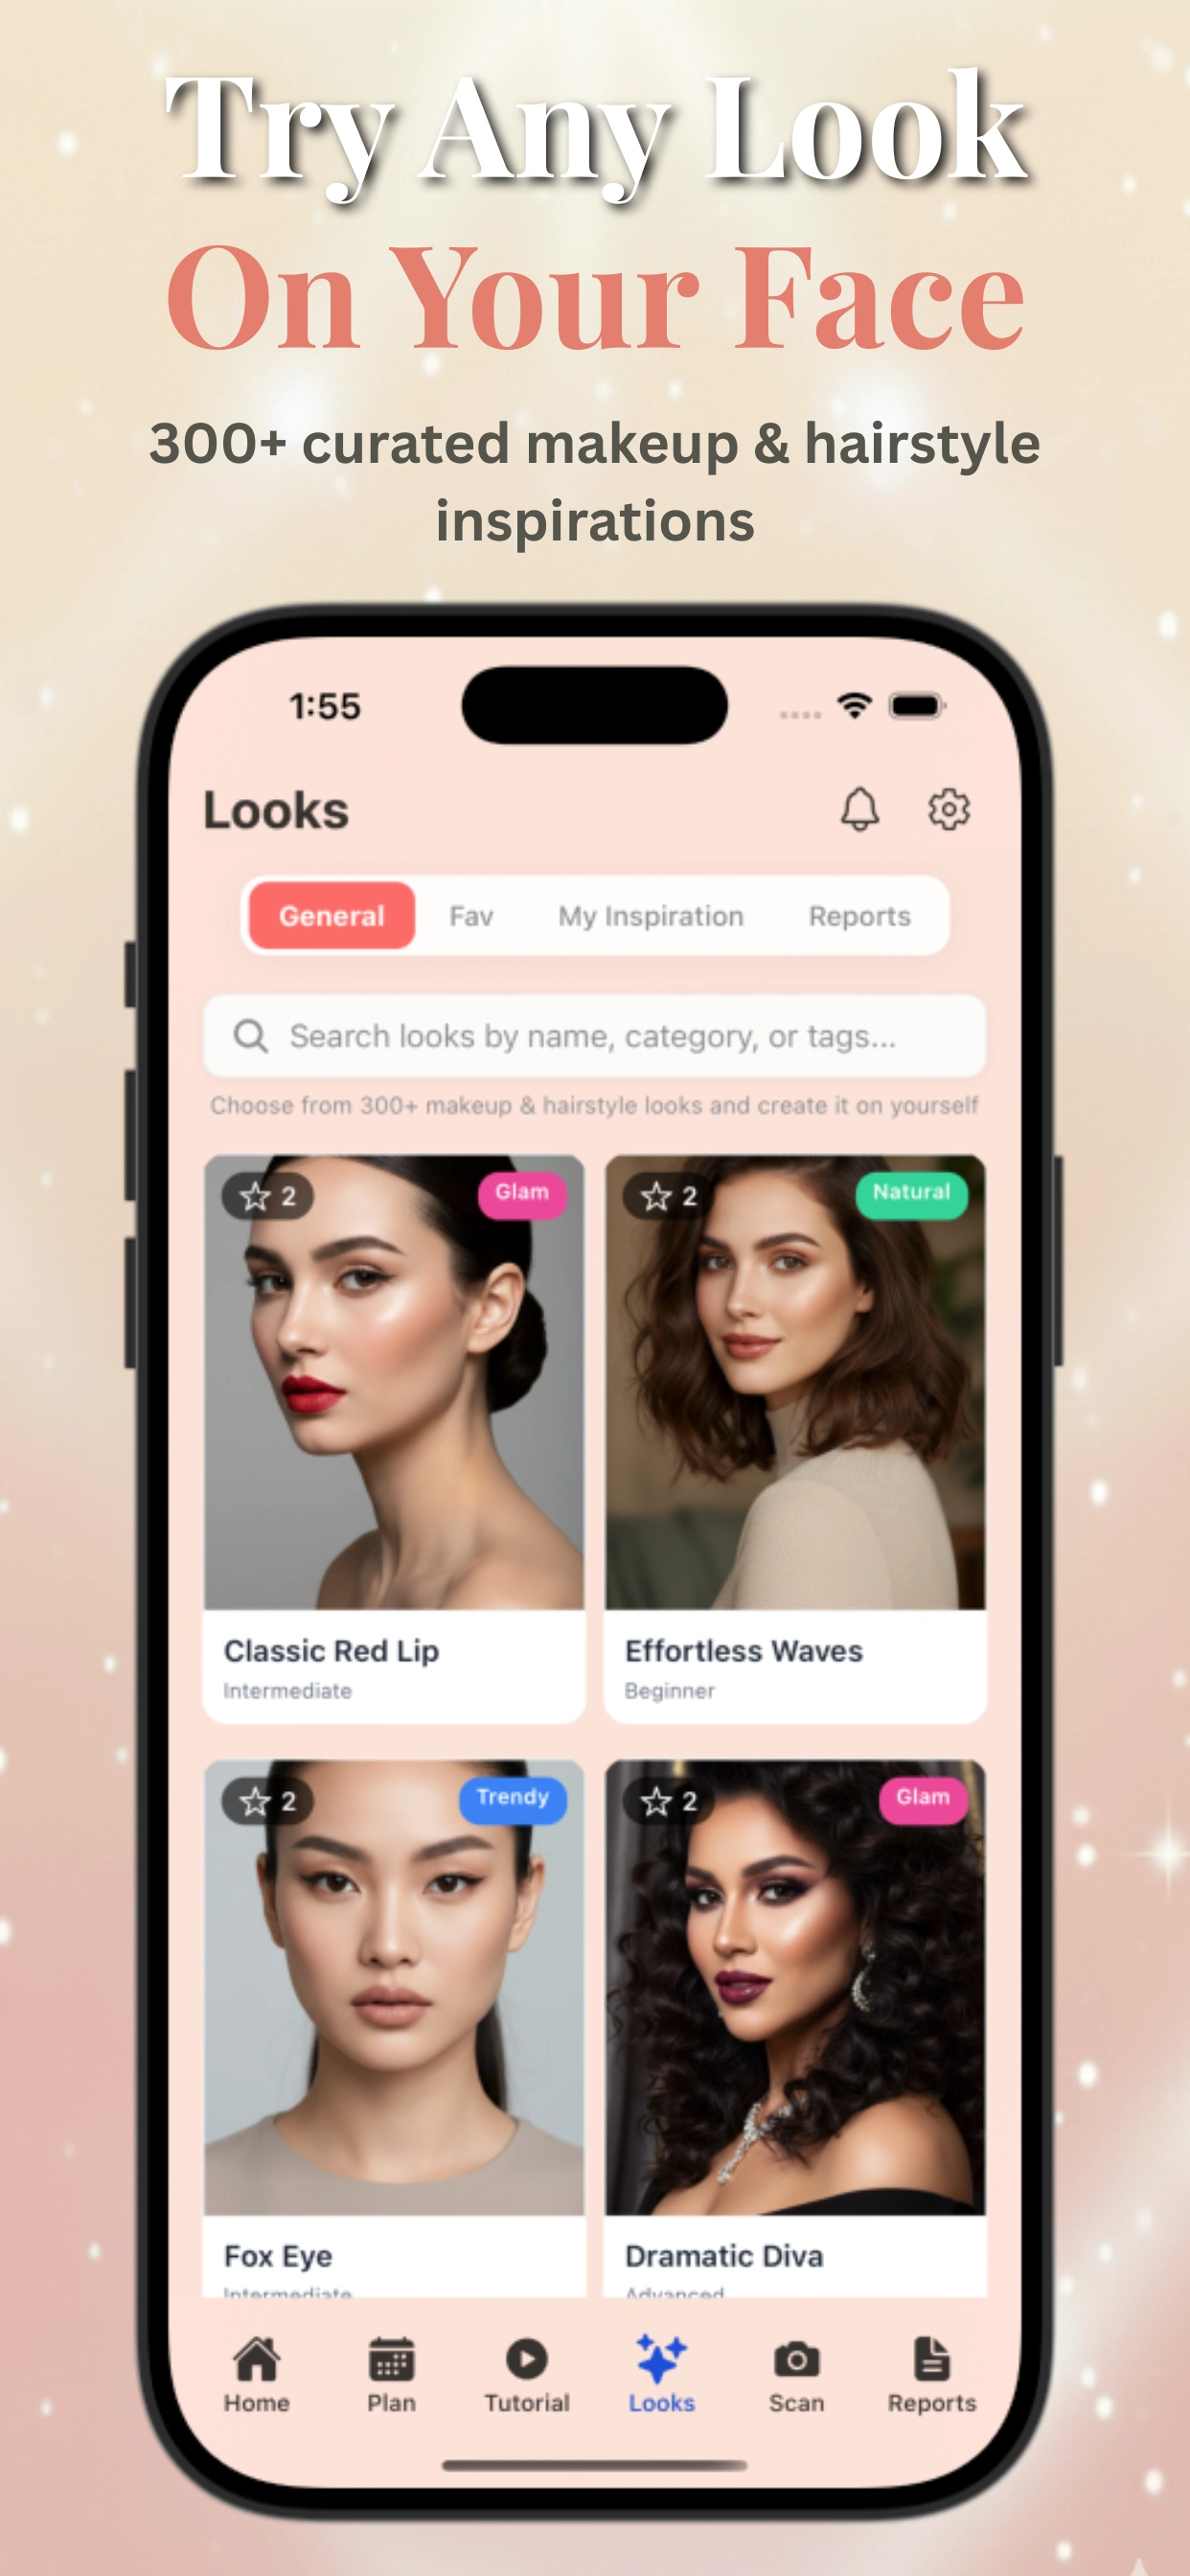
Try different mascara and highlight placements virtually with the Makeup Check AI app's AR try-on feature, or explore more in AR Beauty Try On: The Future of Virtual Makeup and Skincare. The app lets you see side-by-side comparisons of volume, length, and placement, helping you discover your ideal lash and highlight combo.
Section 6: Common Beginner Mistakes & How to Fix Them
Top Eye Makeup Mistakes by Shape
- Using crease placement for all shapes: Hooded and monolid eyes need above-crease or gradient techniques. Applying shadow only in the crease for these shapes can result in lost color and definition.
- Too-thick eyeliner on small or hooded lids: Can shrink the visible lid space. A thick line may disappear entirely when eyes are open, especially for hooded shapes.
- Heavy dark shadow across the entire lid: Makes eyes look smaller, especially for deep-set and round eyes. Instead, focus darker colors on the outer third or along the lash line only.
- Neglecting the lower lash line: Missing a smoked-out lower lash can make eyes appear unbalanced. A soft shadow or pencil under the eye adds dimension and ties the look together.
- Ignoring brow bone and inner corner highlight: Missed opportunity to fake a more open, lifted eye. These highlights create contrast and give the illusion of larger eyes.
- Skipping primer on oily or hooded lids: Causes creasing and fading. Always use a primer or light concealer as a base for even color payoff.
- Not adapting looks from tutorials: Online tutorials often use one eye shape as a model. Copying technique for a different shape can result in a look that doesn't flatter your unique features.
How to Fix and Avoid These Mistakes
- Follow eye-shape-specific placement guides instead of "one size fits all." Refer to diagrams or AR overlays from apps to guide your hand as you apply makeup.
- Use a light hand and build color gradually, blending thoroughly. It's easier to add more color than to remove excess.
- Map eyeliner and shadow with eyes open to see the real effect—especially for hooded and monolid shapes. This ensures your design is visible when your eyes are relaxed.
- Correct smudges with a cotton swab dipped in micellar water. For eyeliner, a pointed swab can also sharpen wings and edges.
- Use AI-powered tutorials to compare your technique in real time. The AI Makeup App: The Ultimate Guide to Smarter Beauty Routines covers these features in detail, letting you see virtual corrections on your image.
- Practice with different brushes and techniques to learn what works for your unique eye structure. Don't be afraid to experiment and take photos of your progress to track improvement.
Where to Find Personalized Feedback
Apps like Makeup Check AI let you scan your face, try on 300+ looks, and get instant feedback with video analysis—so you can practice and improve without guesswork. Unlike generic tutorials, these tools use your selfie to demonstrate exactly where to place each product, offering corrections and suggestions tailored to your features. This is especially valuable for beginners who are learning through trial and error.
Conclusion
Mastering beginner eye makeup for unique eye shapes starts with knowing your own features. From almond to hooded, monolid to downturned, each eye shape requires tailored eyeshadow placement and eyeliner techniques to lift, widen, or emphasize your natural beauty. With the right tools, a little practice, and personalized digital guides, you can avoid the most common beginner mistakes and create looks that truly flatter your face.
Ready to see what works for you? Use Makeup Check AI to scan your features, generate step-by-step tutorials, and experiment with hundreds of looks—all personalized for your unique eye shape and style. Whether you want a natural look for every day or a statement style for a special occasion, learning eye-shape-specific techniques is the fastest way to improve your skills and confidence.
FAQ
Q: How do I figure out my eye shape for makeup?
A: Look in the mirror and note your crease (visible, hidden, or absent), the direction of the outer corners (up, down, straight), and the amount of visible eyelid. Compare to common shapes like almond, hooded, or monolid. For instant analysis, upload your photo to Makeup Check AI.
Q: What eye makeup looks best for hooded eyes?
A: For hooded eyes, blend eyeshadow above the natural crease, keep lid shades matte, and angle eyeliner wings upward. Highlight the inner corner and brow bone to open up the eyes.
Q: How do you do beginner eye makeup for monolids?
A: Use a gradient technique, placing the darkest color at the lash line and blending upward. Try bold liner close to the lashes and focus shimmer in the center of the lid for dimension.
Q: What eyeliner is most flattering for downturned eyes?
A: Apply eyeliner to the outer half of the eye, flicking it slightly upward. This lifts the eye and creates a more balanced, lifted appearance.
Q: How can I make small eyes look bigger with makeup?
A: Highlight the inner corner and brow bone, use a nude pencil on the lower waterline, focus mascara on the center lashes, and avoid heavy dark shadow on the full lid.
Q: What eyeshadow placement should I use for round eyes?
A: Concentrate darker shades on the outer corner, blending diagonally upward, and avoid putting shimmer all over the lid. This elongates and subtly lifts round eyes.