How to Achieve the Optimal Selfie Pose for AI Makeup
Learn how to master the optimal selfie pose for AI makeup to ensure natural, precise results. Discover lighting, angles, and tips for perfect application.
Estimated reading time: 7 minutes
Key Takeaways
- Clear, even lighting and a neutral pose are essential for accurate AI makeup mapping.
- Proper preparation (clean skin, groomed brows) gives the AI a flawless canvas.
- Subtle head tilts and the right camera height define your best angles without distortion.
- Simple troubleshooting—like adding fill light or adjusting landmark points—fixes common hiccups.
- Practice and feedback help you discover your personalized selfie pose for shareable, natural-looking virtual makeup.
Table of Contents
- Introduction
- Understanding AI Makeup Tools
- The Importance of the Optimal Selfie Pose for AI Makeup
- Step-by-Step Guide to Finding the Optimal Selfie Pose
- Conclusion
- Additional Resources
Introduction
Achieving the optimal selfie pose for AI makeup means positioning your face and camera in a way that lets artificial intelligence detect and enhance your features with pinpoint accuracy. When your lighting is even and your angle is clear, AI makeup tools can map your features and blend colors flawlessly through the best angles for makeup selfies guide. In this tutorial, you’ll learn why pose matters, the key elements of a standout selfie, step-by-step setup instructions, and practical tips to troubleshoot any challenges. By the end, you’ll be ready to unlock a natural-looking, precision-driven virtual makeup look that’s social-media ready.
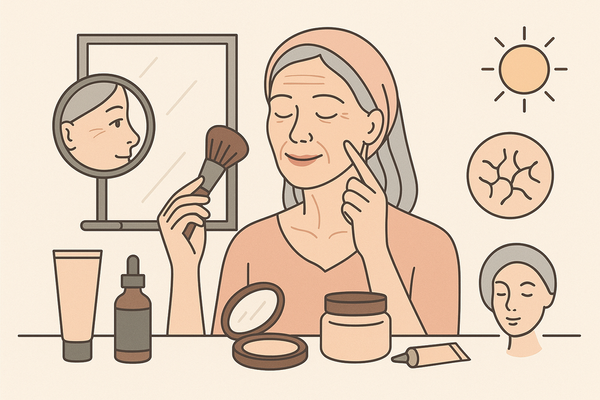
Understanding AI Makeup Tools
AI makeup tools apply digital cosmetics by:
- Detecting facial landmarks (eyes, cheekbones, jawline) via computer vision.
- Analyzing photo quality, lighting, and angles to adapt textures and colors.
- Rendering makeup in real time or on static images for a seamless, natural finish.
When your image is clear, well-lit, and centered, these platforms deliver the most accurate results. For expert guidance on capturing face-centric photos, see Makeup.com expert tips on how to take the best selfie.
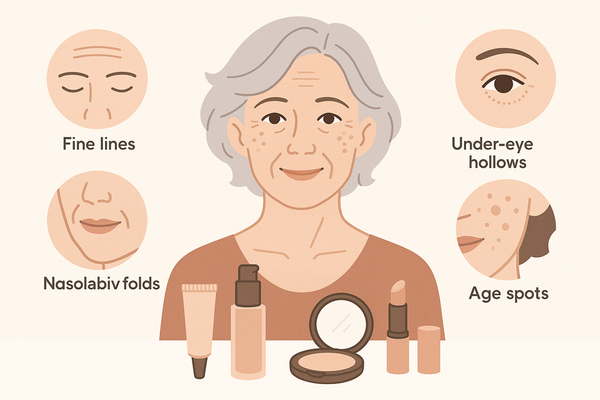
The Importance of the Optimal Selfie Pose for AI Makeup
A consistent, neutral selfie pose allows AI algorithms to precisely place foundation, blush, and lipstick exactly where they belong. Common pitfalls include:
- Poor lighting → uneven exposure and patchy virtual foundation.
- Extreme angles → distorted facial landmarks and misaligned makeup.
- Shadows or obstructions → missing contour points on cheekbones or jawline.
By maintaining a frontal, unobstructed pose, you’ll minimize digital artifacts and achieve realistic, shareable virtual makeup.
Step-by-Step Guide to Finding the Optimal Selfie Pose
Preparation
- Clean, moisturized skin for a glare-free base.
- Groomed brows and hair to reveal temples and forehead.
- Remove glasses, hats, or hairstyles that block key landmarks.
- Reference the Facetune selfie makeup guide for advanced prep tips.
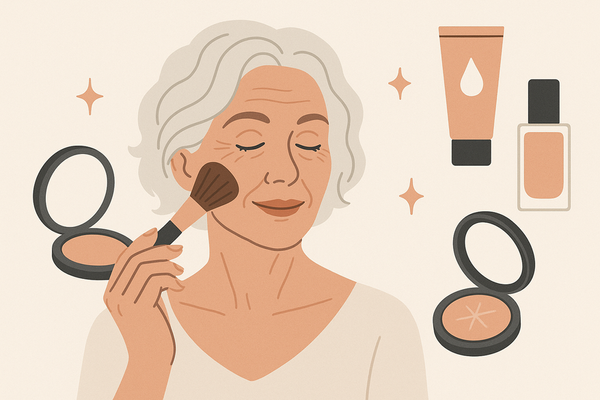
Lighting
- Use soft, even natural light—face a window or shoot during golden hour.
- Avoid harsh overhead or side lighting that casts confusing shadows.
- Employ a ring light or softbox at eye level for consistent illumination.
- Explore selfie lighting makeup tips for more setups.
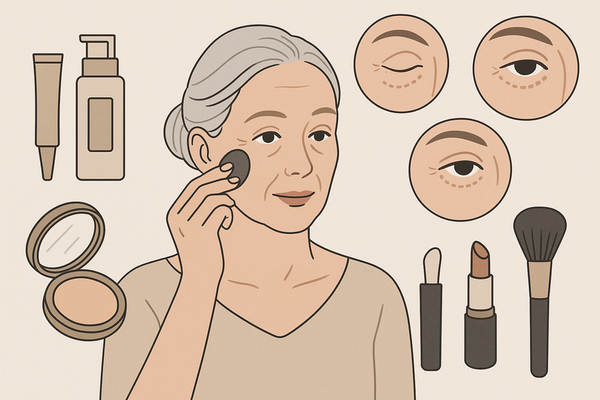
Angles and Face Orientation
- Hold the camera slightly above eye level, tipping your chin downward just a bit.
- Rotate your head 5°–10° to each side to accentuate cheekbones without hiding features.
- Take test shots at 0°, 5°, and 10° head turns to compare AI makeup results.
Positioning
- Maintain an arm’s length distance (40–50 cm) so your face fills 70–80% of the frame.
- Keep the lens at or just above eye level to avoid chin shadows or forehead bulges.
- Relax your shoulders, lengthen your neck, and face the lens head-on.
Practical Tips and Tricks
- For uneven lighting, add a secondary light at a 45° angle to fill shadows.
- Adjust for face shapes: turn slightly for round faces, stay neutral for angular jaws.
- Use your app’s “landmark correction” tool if the AI misplaces points.
- See makeup photography hacks and tips for extra ideas.
Examples and Visual References
- Neutral, Golden-Hour Shot: Straight-on angle with warm window light helps AI capture every feature.
- Slight 5° Tilt: A subtle turn emphasizes cheekbones for precise contour and blush placement.
- Ring Light at Eye Level: Eliminates harsh shadows, giving the AI a distortion-free view.
Conclusion
Mastering the optimal selfie pose for AI makeup delivers:
- More natural, precise virtual makeup application.
- Fewer digital artifacts and patchy spots.
- Enhanced shareability and realistic results.
Practice with different lighting, angles, and positioning until you discover your personalized pose. For even more precise guidance on capturing and optimizing your selfie pose, try Makeup Check AI, which analyzes your images and suggests the best angles and lighting for AI-powered makeup application.
Additional Resources
- best angles for makeup selfies guide
- Facetune selfie makeup guide
- Makeup.com expert tips on how to take the best selfie
- selfie lighting makeup tips
- makeup photography hacks and tips
FAQ
How does lighting affect AI makeup application?
Soft, even lighting reveals your true skin tone and contours, allowing the AI to match foundation, highlights, and shadows more accurately. Harsh or uneven light can create dark patches or glare that confuse the algorithm.
Can I use any angle for my selfie?
While you can experiment with different angles, a slight head tilt (5°–10°) and a camera positioned just above eye level often yield the best AI detection. Extreme angles may distort your features and misplace digital makeup.
What should I do if AI misaligns makeup on my features?
Most apps offer a “landmark correction” or manual adjustment tool. Simply drag misplaced points to the correct location—this fine-tuning ensures the AI applies makeup exactly where you want it.