Ultimate Selfie Lighting Makeup Tips: Perfect Your Beauty Photos
Discover essential selfie lighting makeup tips for flawless beauty photos. Learn how to use lighting setups and makeup techniques to capture stunning selfies.
Estimated reading time: 7 minutes
Key Takeaways
- Proper lighting reveals true colors, smooths skin texture, and highlights your best features.
- Natural and artificial lights each have advantages—balance color temperature and brightness for flattering selfies.
- Essential tools include ring lights, LED panels, softboxes, and reflectors—select based on budget and space.
- Prep your shooting area, adapt your makeup application, and optimize camera settings for consistent results.
- Troubleshoot glare, uneven lighting, and color shifts with simple adjustments and diffusers.
Table of Contents
- Introduction
- Understanding Lighting Basics
- Choosing the Right Lighting Setup
- Practical Makeup Photography Techniques
- Equipment and Tools Recommendations
- Troubleshooting Common Lighting Issues
- Final Tips and Best Practices
- FAQ
Introduction
Capturing flawless beauty selfies demands more than a steady hand and a pretty face. Ultimate selfie lighting makeup tips are practical strategies that combine optimal illumination and makeup techniques to produce true-to-life, flattering beauty photos. Good lighting reveals accurate colors, highlights textures and contours, and minimizes harsh shadows and imperfections. Whether you’re a beauty blogger, makeup artist, or selfie enthusiast, this guide provides actionable advice on setting up your light sources and photographing your makeup routines for consistent, stunning results. Need guidance on photoshoot-ready makeup looks? Check expert advice.
Understanding Lighting Basics
Knowing how light behaves is the foundation of every great beauty selfie.
Natural vs. Artificial Lighting
- Natural Light
Sunlight through a north- or east-facing window yields even illumination and true color rendering. Window light softens skin texture and smooths contours, ideal for capturing foundation and blush tones. - Artificial Light
Ring lights, LED bulbs, and softboxes replicate daylight indoors. Positioning and power settings matter: too strong creates flat looks; too weak hides detail.
Key Factors: Color Temperature, Brightness, Contrast
- Color Temperature
Daylight range is 5000–6500 K for accurate makeup tones. Avoid warm (≤3000 K) or cool (≥7000 K) lights that shift product hues. - Brightness
Balance output to illuminate features without overexposure. Dim adjustable lights incrementally; test shots reveal the sweet spot. - Contrast
Use soft, diffused light to smooth shadows and reduce texture emphasis. Harsh direct bulbs can exaggerate pore size and fine lines.
Choosing the Right Lighting Setup
Selecting the best gear and arranging it properly transforms average selfies into magazine-worthy shots.
Natural-Light Setup
- Face a bright window in the morning or late afternoon for softer, warmer rays.
- Avoid direct midday sun, which creates harsh highlights and deep shadows.
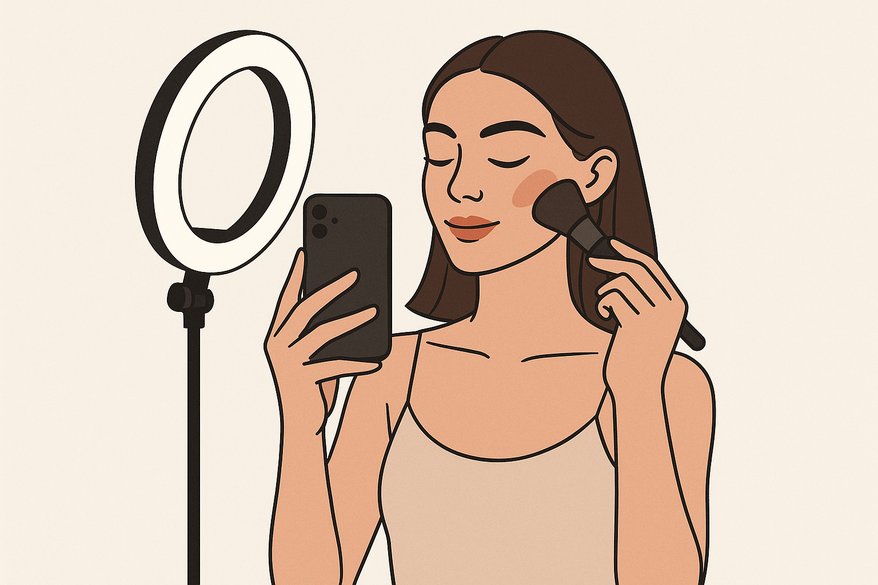
Ring Lights
- Features
Circular LED array producing even, shadow-free illumination and a signature catchlight in the eyes. - Tips
Mount around your camera or smartphone lens for consistent brightness; adjust the dimmer to match ambient light.
LED Panels & Softboxes
- LED Panels
Offer adjustable brightness and color temperature for versatile home-studio setups. - Softboxes
Encase bulbs in diffusing fabric to spread light over a larger area, minimizing harsh shadows.
Reflectors
- Use white or silver reflectors beneath the chin or to the side to bounce light into shadowy areas.
- Collapsible options let you fine-tune fill light on the go.
Practical Makeup Photography Techniques
Step-by-step instructions to set up your space, apply makeup for photos, and fine-tune camera settings.
Space Setup Steps
- Choose a spot near a daylight-balanced window or set up your ring light/LED panels.
- Turn off yellow lamps and overhead fluorescents to prevent color clashes.
- Place your primary light directly in front and experiment with angles to discover your best shadow profile.
Makeup Application Tips
- Use a mattifying primer to control shine under bright lights.
- Increase color payoff slightly—flash and bright LEDs can wash out subtle hues.
- Avoid products with high SPF or silica, which can cause flashback (white cast) in photos.
For more on how to apply foundation evenly, see our guide.
Camera Setting Adjustments
- White Balance
Set to “daylight” or “tungsten” to match your light source for true-to-life skin tones. - Exposure
Raise exposure until your face is bright but not blown out; test-shoot and fine-tune. - Focus & Sharpness
Tap your phone screen on the eye area to ensure crisp details on lashes and brow edges.
Equipment and Tools Recommendations
A breakdown of budget-friendly and pro options for every lighting tool you need.
Ring Light
- Budget: Clip-on phone ring light—portable, USB-powered.
- Pro: Large adjustable ring light with dimmer and color temperature control.
LED Panel
- Budget: Compact desk LED panel with daylight-balanced bulbs.
- Pro: Full-size RGB panel with app control for custom lighting styles.
Softbox
- Budget: Mini phone softbox diffuser—slips over small bulbs.
- Pro: Studio softbox kit with adjustable stands and grid attachments.
Reflector
- Budget: DIY option using a whiteboard or bedsheet.
- Pro: Collapsible five-in-one reflector kit (white, silver, gold, black, diffuser).
Diffuser
- Budget: Translucent shower curtain or DIY parchment paper.
- Pro: Professional diffusion panel or octagonal softbox.
Troubleshooting Common Lighting Issues
Quick solutions to fix glare, uneven lighting, and color distortion on the fly.
- Glare
Move lights further away or place a diffusion filter between your light source and face. - Uneven Lighting
Adjust angles of key and fill lights, add a reflector on the darker side, and verify symmetry. - Color Distortion
Remove mixed-temperature bulbs, switch to daylight-rated LEDs, and recalibrate white balance.
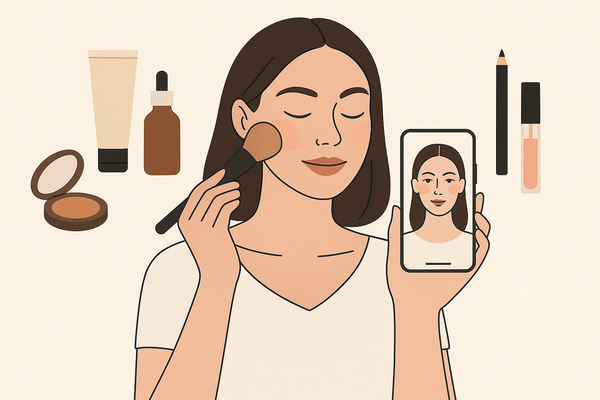
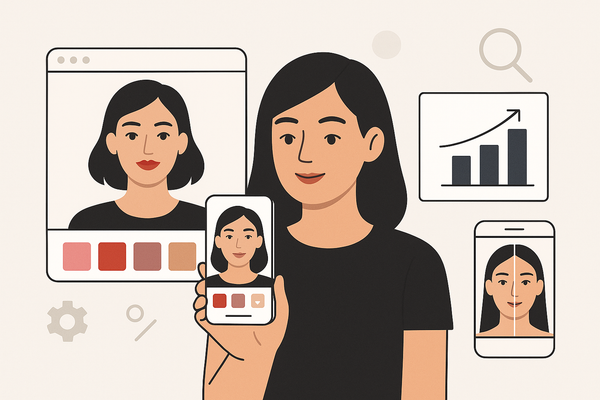
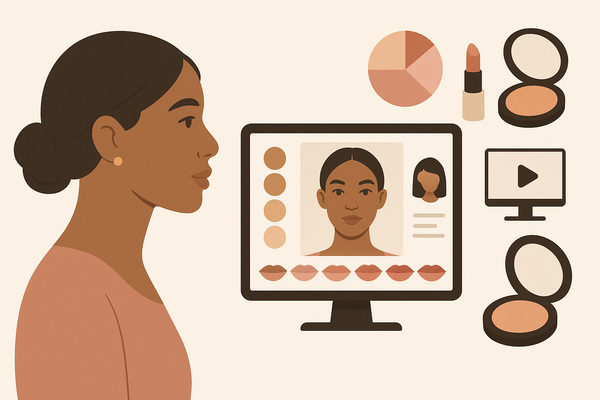
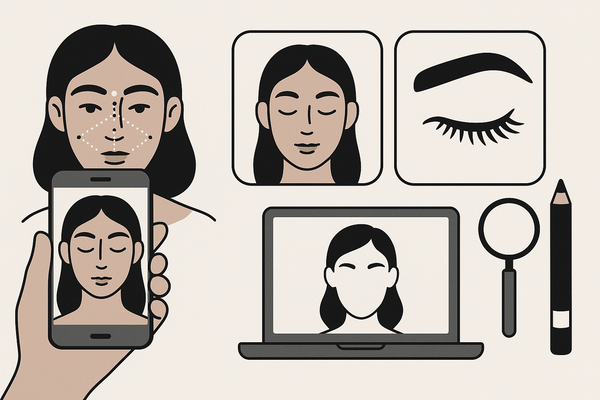
If you want extra feedback on how your makeup appears under various lights, try Makeup Check AI, an AI tool that analyzes and optimizes your look for selfies. Here’s a quick overview of how it works:
Final Tips and Best Practices
Recap Key Selfie Lighting Makeup Tips
• Prioritize natural or daylight-balanced artificial lighting.
• Position lights in front at eye level, 1–2 ft away.
• Use soft diffusion to minimize texture and harsh shadows.
• Match makeup intensity to your lighting and camera setup.
Encourage Experimentation
• Take multiple test shots with varied angles, distances, and intensities.
• Tailor techniques to your skin tone, makeup palette, and personal style.
Dos and Don’ts Checklist
Do:
– Use daylight LEDs; don’t rely on overhead room lights.
– Test white balance; don’t mix warm and cool lights.
– Practice test shots; don’t skip prep before posting.
Don’t:
– Overexpose your face; underexpose and hide detail.
– Ignore shadow fill; neglect reflectors.
FAQ
- What is the ideal color temperature for selfies?
Aim for 5000–6500 K to ensure accurate makeup tones and natural-looking skin. - How do I avoid harsh shadows?
Use softboxes or diffusers and add a reflector beneath or beside your face to fill in shadows. - Which light distance works best?
Position lights 1–2 ft from your face for even coverage without overexposure. - Can I mix natural and artificial light?
It’s possible but tricky—match color temperature and turn off competing bulbs to prevent color casts. - How do I prevent flashback in photos?
Avoid SPF-heavy or silica-rich products; test shots will reveal if any white cast appears.