10 Makeup Photography Hacks to Elevate Your Beauty Shots
Discover 10 makeup photography hacks to enhance your beauty shots with effective lighting, gear, and editing techniques for stunning results.
Estimated reading time: 8 minutes
Key Takeaways
- Accurate Color starts with proper lighting and white balance.
- Lighting Setups like clamshell, softboxes, and ring lights reveal true texture.
- Right Gear – from macro lenses to tripods – ensures crisp detail.
- Composition techniques guide the viewer’s eye and highlight your focal points.
- Natural Editing preserves skin texture and avoids over-saturation.
- Bonus Hacks like DIY reflectors and colored gels add creative flair.
Table of Contents
- Understanding the Basics of Makeup Photography Hacks
- Essential Lighting Techniques for Makeup Photography Hacks
- Camera Gear and Settings Recommendations for Makeup Photography Hacks
- Composition and Background Tips for Makeup Photography Hacks
- Post-Processing and Editing Techniques for Makeup Photography Hacks
- Additional Makeup Photography Hacks
- Conclusion & Call-to-Action
Understanding the Basics of Makeup Photography Hacks
Define Makeup Photography
Makeup photography is the specialized art of capturing true shade, finish, and texture of cosmetics. It focuses on accurate color, sharp detail, and clear representation of shimmer, matte, or satin products.
Why It Matters
In beauty blogging and on social media, strong makeup photos help creators and brands stand out. Good images build trust, drive engagement, and make products look real and desirable. A clear shot can mean more followers, clicks, and sales.
Common Challenges
• True-to-life color capture – Poor lighting or wrong white balance can shift hues.
• Reflections and glare – Oily skin or glossy products cause bright hotspots.
• Detail loss – Fine shimmer or texture can blur if focus or light is off.
Real-World Example
A beauty influencer shared two Instagram posts: one in mixed daylight and one under a single softbox. The softbox shot showed every sparkle in the eyeshadow, boosting likes by 40%.
Essential Lighting Techniques for Makeup Photography Hacks
Lighting can make or break your makeup photos. Mastering light turns good shots into great ones.
Natural Lighting
Use soft, indirect daylight. A north-facing window gives an even glow and true color. Avoid direct sun that creates harsh highlights and deep shadows.
Artificial Lighting
- Softboxes & Beauty Dishes
Large diffused light sources soften shadows and reveal skin texture. - Ring Lights
Circular LED lights wrap around your lens, highlighting facial features and reducing blemish shadows. - Diffusers & Reflectors
Diffuse light evenly and bounce fill light under the chin or cheeks with foam boards or V-flats.
Clamshell Lighting Setup
- Main light above and in front at a 45° angle.
- Fill light or reflector below the chin to soften shadows.
- Backdrop light or V-flats behind the subject for a clean white background.
Tips to Avoid Glare
• Angle lights slightly off-center to reduce hotspots.
• Attach a grid or snoot to focus the beam where you want it.
For advanced selfie lighting tricks, check out this guide.
Camera Gear and Settings Recommendations for Makeup Photography Hacks
Choosing the right tools sets the stage for clarity and detail.
Cameras Overview
- Smartphone
Pros: Portable, built-in editing apps. Cons: Smaller sensor can add noise in low light. - DSLR
Pros: Large sensor, manual control. Cons: Bulkier, steeper learning curve. - Mirrorless
Pros: Compact, fast autofocus. Cons: Battery life can be shorter.
Lenses
- Macro lens (60–100mm)
Ideal for extreme close-ups of skin texture or shimmer. - Prime 50mm f/1.8
Offers sharp clarity and soft background bokeh to isolate your subject.
Detailed Settings Guide
- Aperture: f/2.8–f/5.6 for sharp focus on eyes or lips with blurred background.
- ISO: under 400 to keep digital noise low.
- Shutter Speed: ≥1/100s to prevent blur.
- White Balance: custom or preset to match your light source.
Stabilization Tools
- Tripod
Look for sturdy legs and adjustable height. - Smartphone Clamp or Mini-Tripod
Great for vlog-style demos or flat-lay setups.
Pro tip: In low light, a mirrorless camera at f/2.8 and ISO 200 produced sharper, more detailed shots compared to a smartphone, especially around eyelashes and glitter.
Composition and Background Tips for Makeup Photography Hacks
Good composition guides the viewer’s eye and makes your makeup pop.
Composition Principles
- Rule of Thirds
Place eyes or lips on grid lines for a balanced frame. - Leading Lines
Use brushes or arms angled toward the face to draw focus. - Negative Space
Leave blank areas around your subject for breathing room.
Background Selection
- Neutral Palettes
White, grey, or soft pastels keep focus on makeup. - Textured Backdrops
Marble, wood, or soft fabric adds context without stealing attention.
Prop Usage
- Minimalist Props
Show a brush or open compact beside the face. Keep it simple to avoid clutter.
Shot Styles with Purpose
- Extreme Close-Up
Highlights eyeshadow, glitter, or skin finish. - Before-and-After
Side-by-side shots with identical framing to show transformation. - Product & Application Tools
Show packaging or swatches on hand for a full product story.
Learn the best angles for makeup selfies and get professional photoshoot makeup advice.
Trust tip: Always check your background for stray hairs or lint. A clean frame builds credibility.
Post-Processing and Editing Techniques for Makeup Photography Hacks
Edit with care. Enhance clarity and color but keep it real.
Editing Goals
Maintain a natural look. Boost true-to-life color and crisp detail without going overboard.
Step-by-Step Editing Workflow
- Import RAW or highest-quality JPEG.
- Adjust white balance to fix color cast.
- Increase exposure or brightness to open shadows.
- Subtly boost contrast and vibrance for punch.
- Apply sharpening (50–70% radius) to reveal fine makeup lines and shimmer.
Recommended Tools
- Adobe Lightroom
Full control on desktop or mobile; great for batch editing. - Snapseed
Quick mobile edits with simple sliders. - Facetune
For light skin retouching; use sparingly to keep texture.
Pitfalls to Avoid
- Over-saturation
Can turn lipstick or eyeshadow neon and fake. - Skin Over-Smoothing
Loses natural pores and skin character.
Expert tip: Set up a custom preset in Lightroom for consistent brightness, contrast, and sharpness across all your shoots.
Additional Makeup Photography Hacks
Add these quick tricks to take your beauty shots further.
DIY Reflector Hack
Use a white foam board or aluminum foil over cardboard to bounce fill light under the chin and brighten eyes.
Angle Experiments
- Overhead Shots
Lay brushes and palettes flat for styled flat-lay images. - Side Angles
Emphasize cheekbone contours and highlight placement.
Creative Lighting Effects
- Colored Gels
Create mood shots with pink or lavender gels over your lights. - Patterned Gobos
Cast artistic shadows by shining light through lace or leaves.
Quick Fixes
- Blot Oily T-Zone
Use a tissue or translucent powder before shooting. - Eyelash Mist
Spray a fine mist of water on lashes for a dewy texture in close-ups.
Trustworthy tip: Label and store your gels and reflectors in zip bags to avoid dust or scratches.
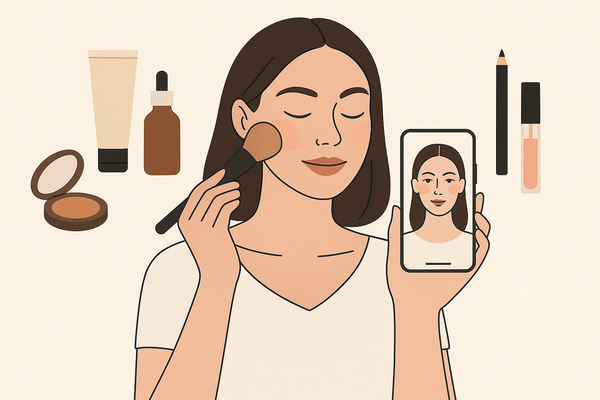
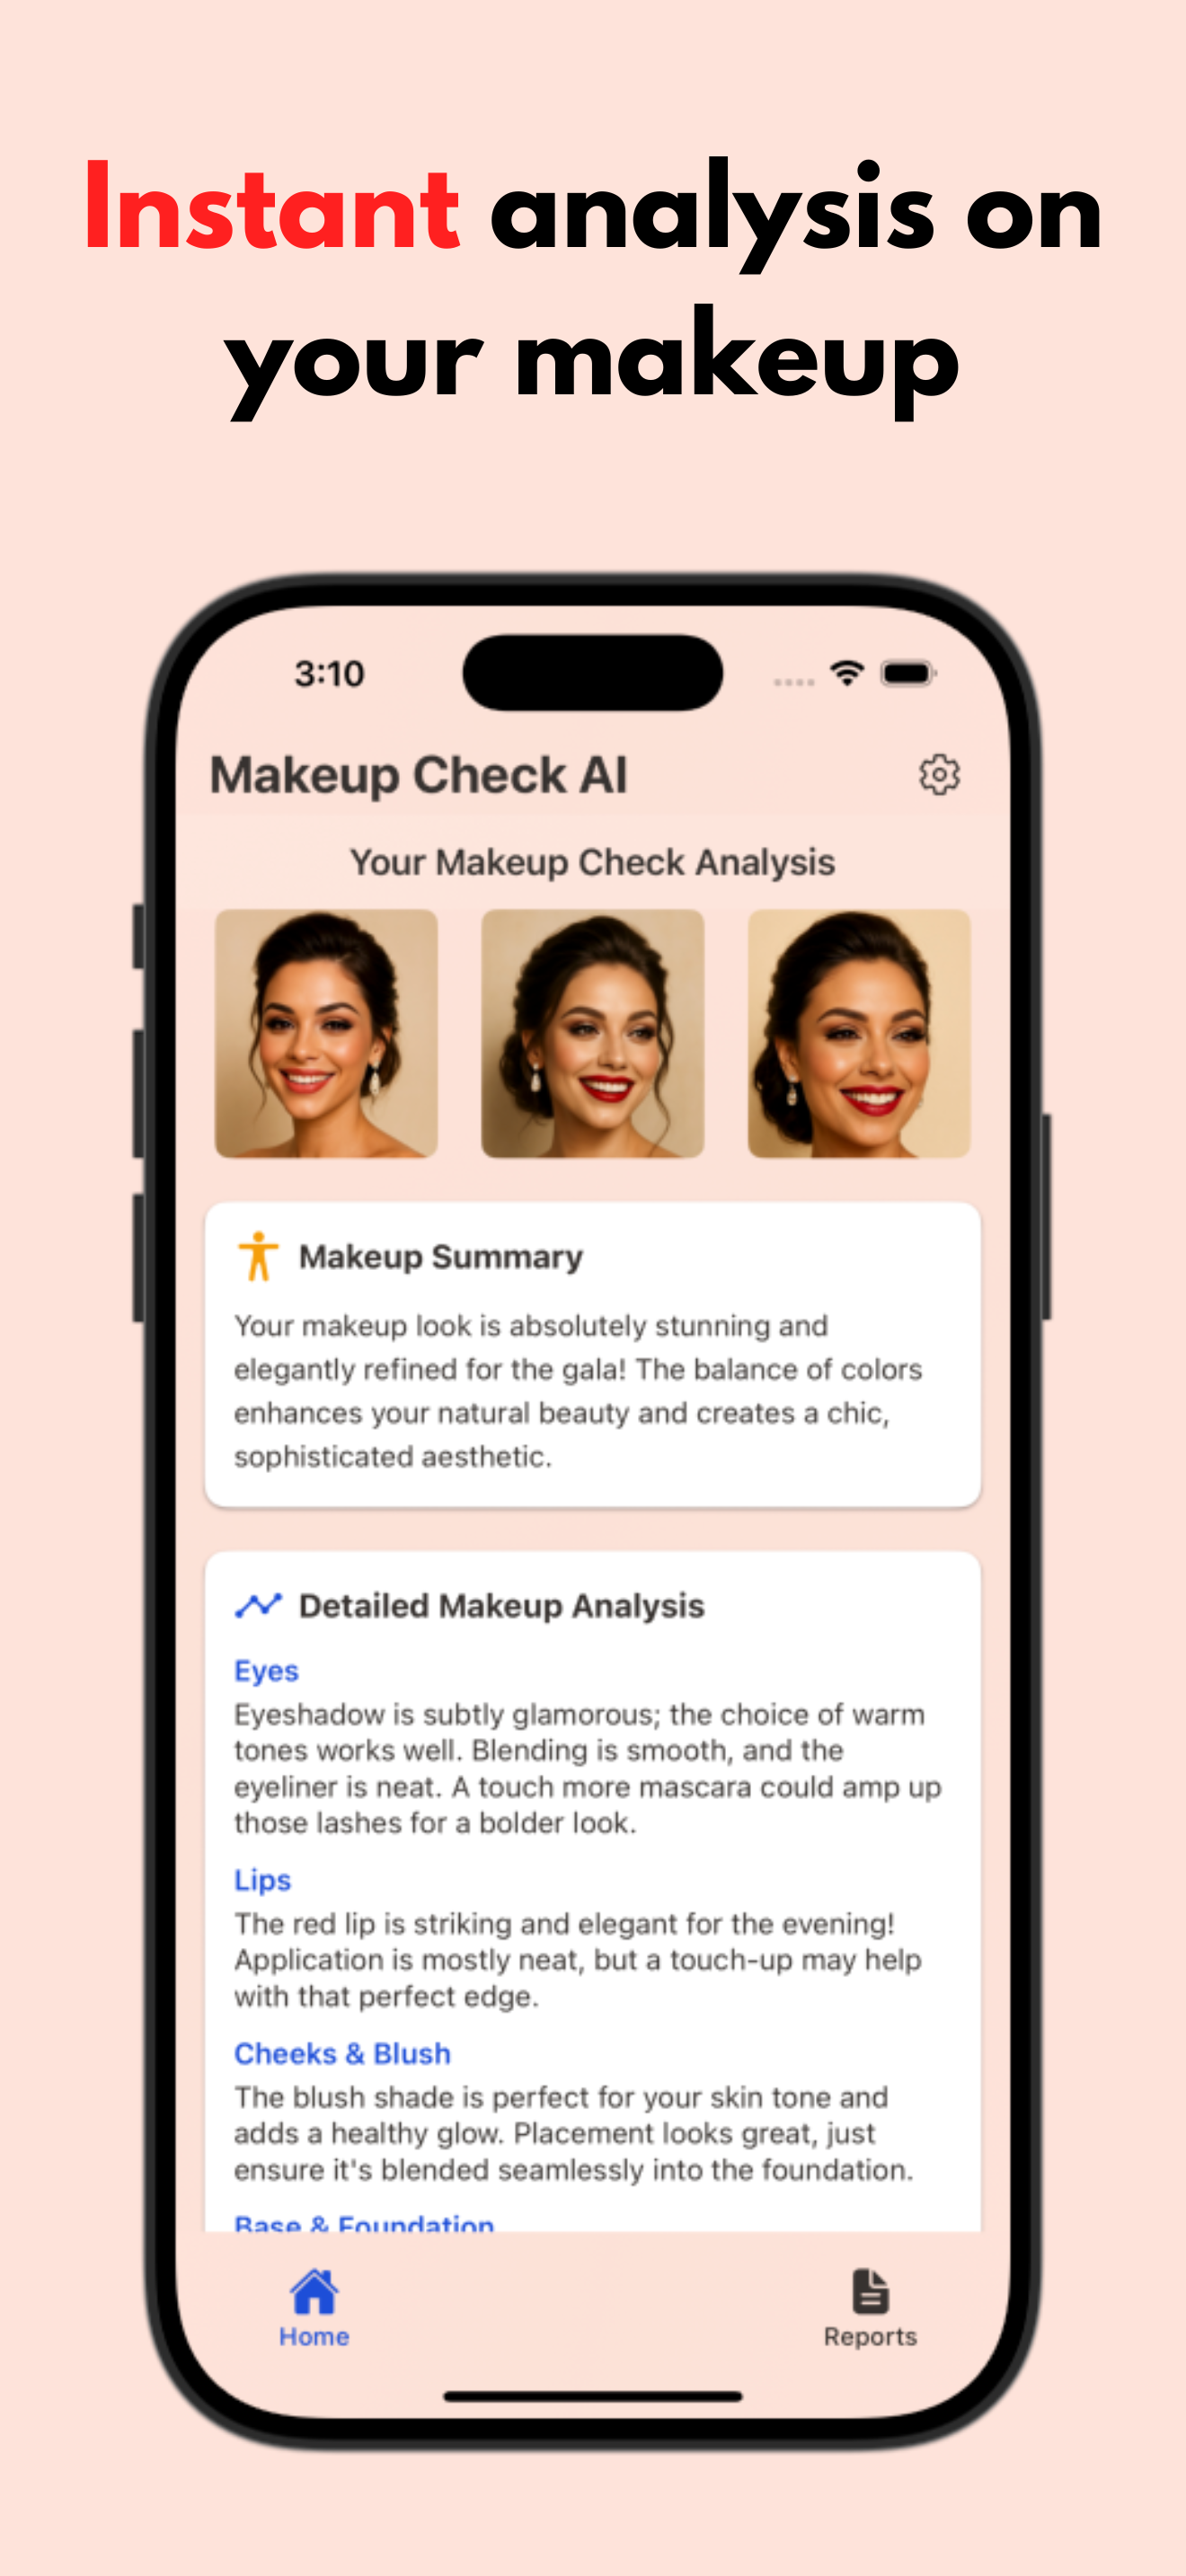
For quick feedback on your beauty shot techniques, try Makeup Check AI, which analyzes your makeup photos and offers tailored tips.
Conclusion & Call-to-Action
We’ve explored 10 makeup photography hacks across six key areas: basics, lighting, gear & settings, composition, editing, and bonus tips. Try at least one hack in your next shoot to see instant improvement. Share your before-and-after shots or ask questions in the comments below—let’s elevate our beauty shots together!
FAQ
Q: How do I achieve true color capture in makeup photography?
A: Use a custom white balance or preset that matches your light source and shoot in RAW to correct any shifts in post-processing.
Q: What lighting setup is best for close-up detail?
A: A clamshell setup with a softbox above and a reflector below the chin provides soft, even light that reveals texture without harsh shadows.
Q: How can I avoid over-editing skin texture?
A: Apply sharpening sparingly and avoid heavy skin-smoothing tools. Aim to enhance details like shimmer while preserving natural pores.