Mastering Symmetry Enhancing Makeup Techniques: A Guide to Balanced Beauty
Learn expert symmetry enhancing makeup techniques to correct common facial asymmetries and boost your confidence with balanced beauty.
Estimated reading time: 12 minutes
Key Takeaways
- Understand facial asymmetries and how symmetry affects perceived attractiveness.
- Use contouring, highlighting, and blending to sculpt a balanced face.
- Master brow mapping, eyeshadow placement, and lip liner strategies for even features.
- Apply color theory and choose the right tools to enhance symmetry.
- Avoid common mistakes and use expert tips for a natural, harmonious look.
Table of Contents
- Introduction to Facial Symmetry
- The Role of Makeup in Enhancing Symmetry
- Key Makeup Techniques
- Face Shape Customization
- Tools and Products
- Common Pitfalls
- Expert Tips and Tricks
- Conclusion
Introduction
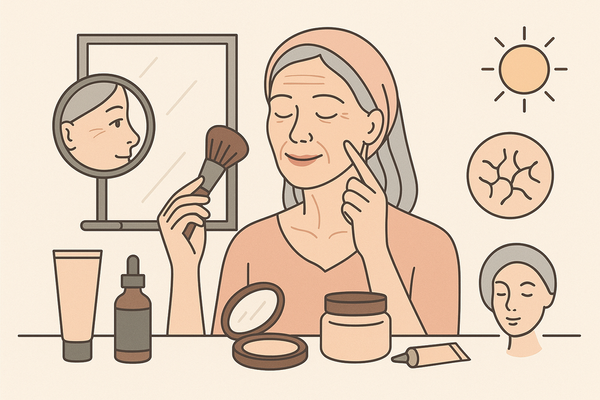
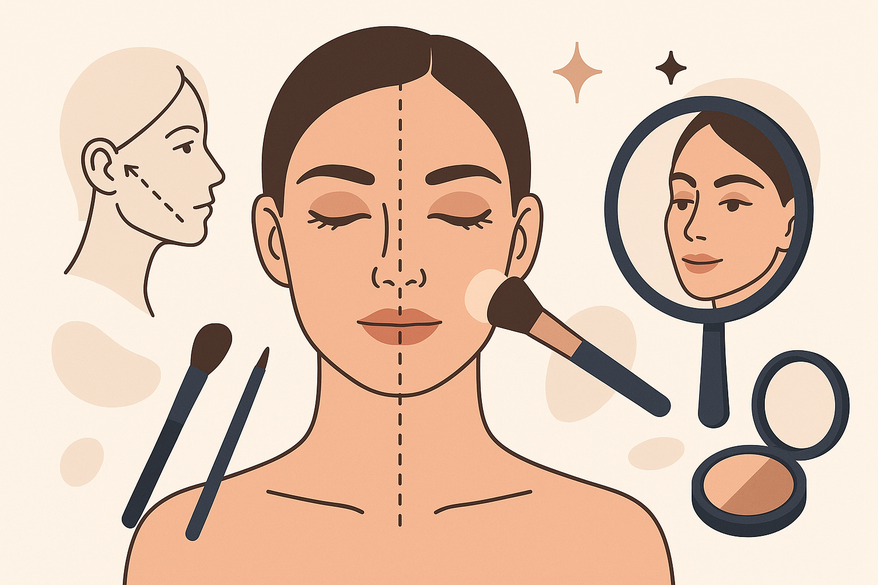
Facial harmony plays a major role in how we perceive attractiveness. Symmetry enhancing makeup techniques tap into this natural preference by creating the illusion of balanced, even features. Symmetry refers to the equal arrangement of facial features on either side of the vertical midline. When features mirror one another, we subconsciously associate that balance with health and youth (facial feature guide).
In this guide, you will learn evidence-based, practical methods to correct uneven brows, lopsided lips, and fuller cheeks on one side. By following these steps, you can highlight your best features, minimize asymmetries, and enjoy a confidence boost. These tips focus on facial symmetry, boosting self-esteem, and creating an optical balance you can rely on every day.
1. Understanding Facial Symmetry
Facial symmetry measures the extent to which the left and right halves of your face mirror one another. Perfect symmetry is rare, and most people have subtle differences.
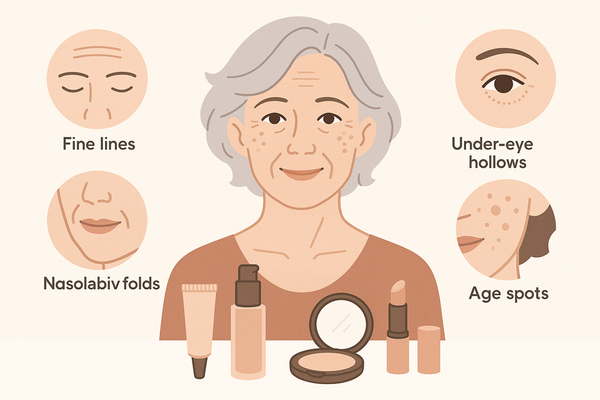
Common asymmetries include:
- Uneven eyebrow height or shape
- Differing eyelid creases or droopiness
- Lopsided lips or uneven lip fullness
- One cheek appearing fuller or higher than the other
Factors that contribute to these imbalances:
- Genetics—natural bone structure and muscle placement
- Muscle use—habitual expressions that develop one side more
- Aging—gravity and collagen loss that affect one side faster
Even slight asymmetries can disrupt facial harmony. By understanding your unique facial landscape, you can apply symmetry enhancing makeup techniques more precisely and create a polished, balanced look. For more on brow mapping, check brow symmetry techniques and this video tutorial.
2. The Role of Makeup in Enhancing Symmetry
Makeup is more than color—it’s a tool for optical balance. Strategic shading can recede prominent areas, while highlights bring forward features you want to accentuate. This visual balancing acts like sculpting light and shadow to harmonize your face.
Psychological benefits of symmetry:
- Increased self-esteem—balanced features boost confidence
- Enhanced attractiveness—symmetry linked to perceptions of health and youth
- Positive first impressions—photos and in-person views both benefit
Well-executed symmetry enhancing makeup techniques not only refine your look, but also contribute to better mental well-being. On camera and off, balanced features signal vitality and professionalism. Learn more at the facial feature guide.
3. Key Symmetry Enhancing Makeup Techniques
A. Contouring for Symmetry
Contouring uses a product one to two tones darker than your skin to shade and slim areas that appear too full.
Step-by-step:
- Map Asymmetry: Identify the side with extra width—nose wing, cheek, or jawline.
- Apply Contour: Use an angled brush to draw a fine line where you want recession.
- Blend Smoothly: Use small circular motions, blending upward and outward for a natural shadow.
Contouring evens out fullness and sculpts each side so they appear similar. For more on precision contouring, see the AI contouring tutorial.
B. Highlighting for Symmetry
Highlighting applies a shade one to two tones lighter to bring forward areas you want to emphasize.
Step-by-step:
- Identify Low Points: Bridge of nose, brow bone, center of chin.
- Dot Highlighter: Apply small dots on these areas.
- Blend with Sponge: Use a damp beauty sponge to pat and diffuse product at the center of each feature.
Highlighting counterbalances contour and draws attention evenly across both sides. For additional tips, revisit the facial feature guide.
C. Blending Tips
Seamless transitions prevent harsh lines that break visual harmony.
Tools and technique:
- Use a damp beauty sponge or a synthetic blending brush.
- Employ bounce-and-pat motions for even diffusion.
- Lighten pressure at edges to avoid color rings.
Good blending is the backbone of optical balance—it merges light and shadow into a cohesive result.
Explore more at the facial feature guide.
D. Brow Mapping
Brow mapping divides the brow into three key points—start, arch, tail—to ensure evenness.
Step-by-step:
- Mark Start: Align pencil vertically from nostril to brow.
- Mark Arch: Pivot pencil from nostril through outer iris.
- Mark Tail: Pivot pencil from nostril to outer corner of eye.
- Fill Sparse Areas: Use short, hair-like strokes with a brow pencil.
- Blend with Spoolie: Brush through each brow to soften color and check symmetry.
Brow mapping creates structured, balanced arches that mirror one another. Discover more in the brow symmetry techniques and video tutorial.
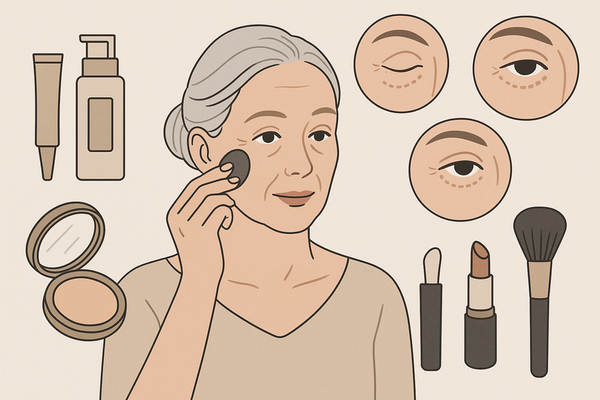
E. Eyeshadow Placement
Eyeshadow can correct uneven crease height and lid shape.
Techniques for balance:
- Lift Lower Lid: Place shadow slightly higher on the droopier eye.
- Neutral Base: Apply a skin-tone shadow to flatten a deeper crease.
- Eyeliner Tricks: Extend liner on the smaller eye to elongate. Tight-line to unify lash gaps on both sides.
Even subtle shifts in eyeshadow placement can equalize the appearance of your eyes. For advanced techniques, see asymmetric makeup tips.
F. Lip Liner Strategy
Lip liner is essential for evening out lopsided lips.
Step-by-step:
- Trace Natural Line: Outline both lips lightly.
- Overdraw Thinner Side: On the side that looks smaller, trace slightly outside your natural line.
- Blend Liner into Lipstick: Fill in lips with matching lipstick, press lips together, and use a brush to smooth transitions.
By adjusting the lip border, you create a more symmetrical smile. Learn more in the symmetrical face makeup guide.
G. Color Theory for Symmetry
Understanding warm vs. cool tones helps control perception of depth.
Tips for use:
- Warm Tones Bring Forward: Peach or apricot blush on a flatter cheek.
- Cool Tones Recede: Taupe contour on the fuller side.
- Balanced Application: Combine warm highlights and cool shadows to even out both cheeks.
Color theory is the secret language of light and shade, helping you sculpt and harmonize features. Explore further at the facial feature guide.
Experiment with AI: Tools like Makeup Check AI use facial analysis to suggest precise contour and highlight placement for optimal symmetry.
4. Tailoring to Different Face Shapes
Each face shape has unique asymmetries. Customize contour and highlight placement to your geometry:
- Oval Faces: Contour under cheekbones equally on both sides. Highlight center of forehead and chin to reinforce natural balance.
- Round Faces: Contour along temples and jawline to add angles. Highlight vertical center (nose bridge, chin) to elongate the face.
- Square Faces: Soften strong jaw angles with contour at corners of jaw. Contour temples to narrow the width of the upper face.
- Heart Faces: Contour sides of the forehead to reduce width. Highlight chin and bridge of nose to draw attention downward.
Face-shape customization ensures that your techniques work with, not against, your natural structure. For more inspiration, review the brow symmetry techniques and the facial feature guide.
5. Tools and Products for Effective Application
Essential tools:
- Angled Contour Brush – precise shadow placement.
- Dense Concealer Brush – spot correct small areas.
- Damp Beauty Sponge – seamless blending of cream and powder.
- Spoolie – groom and blend brow product.
- Detail Brush – define eyes and lips with fine lines.
Recommended products:
- Cream or Powder Contour (1–2 shades darker than your skin tone).
- Illuminating Highlighter (1–2 shades lighter than your skin).
- Full-Coverage Foundation/Concealer for an even canvas.
- Brow Pencils, Gels, and Stencils for mapping and fill.
- Fine-Tip Liquid or Gel Eyeliner for precise eye definition.
Quality tools and formulas ensure your sculpting, color theory, and blending techniques hold true throughout the day. See the facial feature guide and symmetrical face makeup guide for product picks.
6. Common Mistakes and How to Avoid Them
Avoid these pitfalls for a natural-looking harmony:
- Over-Contouring One Side: Always apply contour to both sides, adjusting for differences rather than ignoring the less prominent side.
- Harsh, Unblended Lines: Check in natural and artificial light. Use circular blending motions to soften edges.
- One-Size-Fits-All Technique: Assess each side individually and tailor shade depth, placement, and blending accordingly.
Awareness of these common mistakes keeps your symmetry work looking professional and cohesive. More tips in the symmetrical face makeup guide.
7. Expert Tips and Tricks
- Photograph Before and After: Use natural light snaps to compare both sides and make precise tweaks.
- Small Incremental Adjustments: Make tiny shifts in contour, highlight, or liner—drastic changes can look artificial.
- Complement with Hair Styling: Side parts or strategic bangs can further balance facial asymmetries.
- Reassess Regularly: Skin texture, product formula, and lighting evolve, so refresh your technique every few months.
Expert guidance and real-world testing are key to mastering these symmetry enhancing makeup techniques. For deeper strategies, see the correcting facial asymmetry guide.
Conclusion
Symmetry enhancing makeup techniques empower you to create balanced beauty through contouring, highlighting, blending, brow mapping, and color theory. By tailoring these methods to your face shape and using the right tools, you can correct common asymmetries and boost your confidence. Avoid errors like over-contouring one side or neglecting blend work. Leverage expert tips—photograph your progress, make small adjustments, and integrate hair styling—to achieve a truly harmonious look.
Practice these techniques to discover what works best for your unique features. Experiment, refine, and enjoy the confidence that comes with balanced, harmonious beauty.
FAQ
How do I identify my facial asymmetries?
Use natural light, take straight-on photos, and note differences in brow height, lip fullness, or cheek volume. Photographing before and after helps measure your progress.
Can I use powder products for contouring and highlighting?
Yes, both cream and powder products work. Creams blend seamlessly for a dewy finish, while powders offer longer wear. Just ensure you blend well to avoid harsh lines.
How often should I reassess my symmetry techniques?
Reassess every few months or when your lighting changes. Skin texture and product formulas evolve, so small tweaks keep your look fresh and balanced.
Will symmetry makeup work for all face shapes?
Absolutely. Tailoring contour and highlight placement to your face shape—oval, round, square, or heart—ensures that your enhancement techniques complement your natural features.