AI Contour Makeup Generator: Personalized Contour Maps, Step-by-Step Guidance, and Celebrity Looks
Discover how to master face contouring with our comprehensive tutorial and enhance your skills using an AI makeup generator for personalized guidance.
AI Contour Makeup Generator: Personalized Contour, Highlight, and More
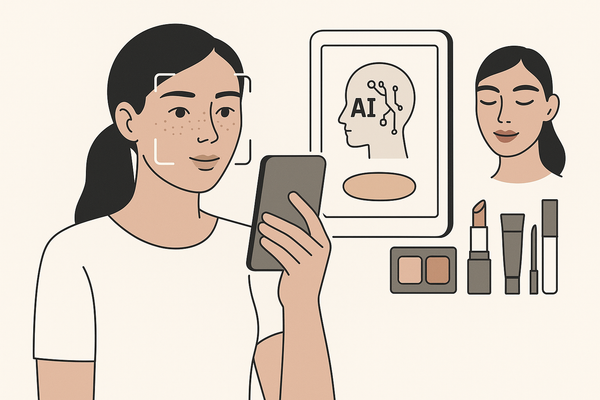
The AI Contour Makeup Generator is a smart tool designed to help you master contouring, highlighting, and complete makeup routines tailored to your unique facial features. Whether you’re a beginner or looking for new inspiration, this tool uses artificial intelligence to analyze your face and generate personalized contour maps, step-by-step guides, and even celebrity-inspired makeup looks.
How the AI Contour Makeup Generator Works
- Facial Analysis: Upload a clear selfie. The AI detects your face shape, bone structure, and skin tone.
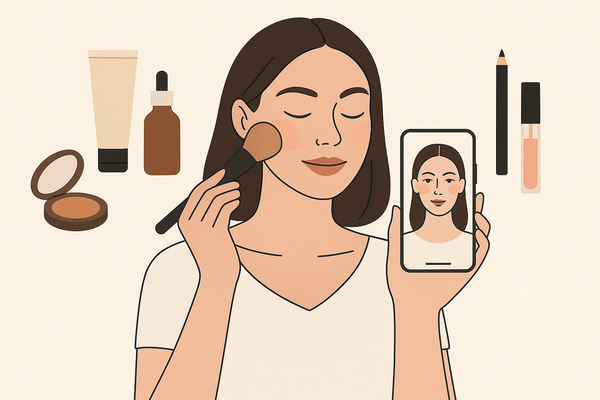
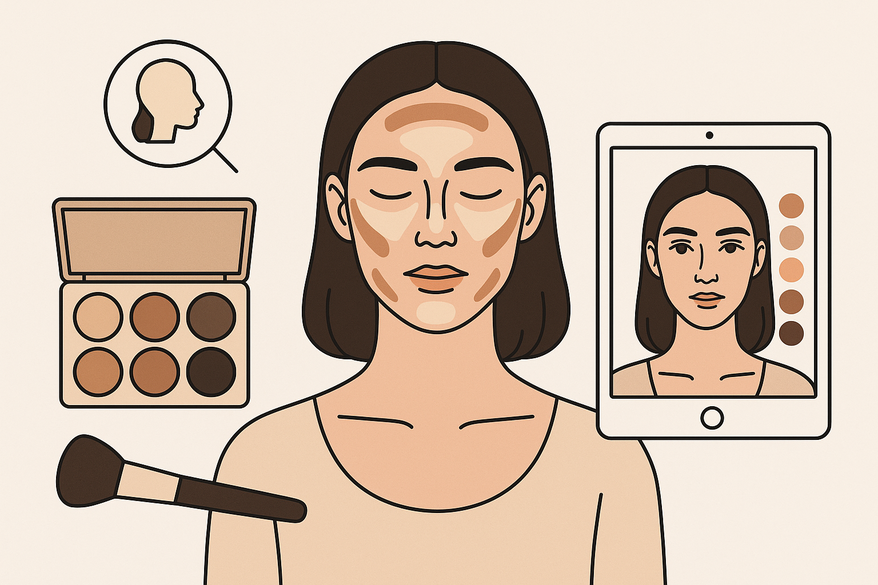
- Custom Contour Map: Instantly receive a visual overlay showing exactly where to apply contour, highlight, and blush for your face.
- Step-by-Step Instructions: Get written guidance for each step, including product recommendations and blending tips.
- Routine Options: Choose between a quick 5-minute routine or a full glam look.
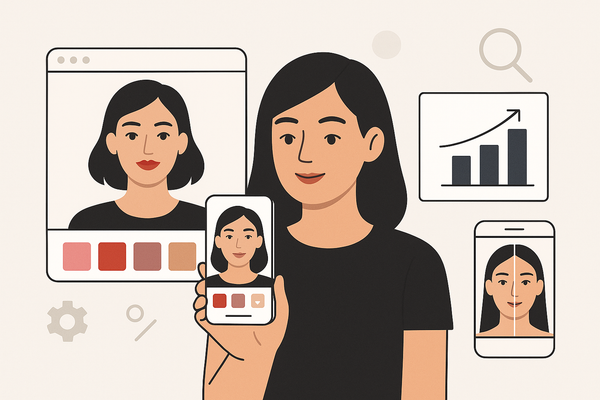
- Celebrity Looks: Explore AI-generated contour maps inspired by popular celebrity makeup styles.
Step-by-Step Contour and Highlight Guide
- Preparation: Cleanse and moisturize your skin. Apply primer for a smooth base.
- Foundation: Even out your complexion with your preferred foundation.
- Contour Application: Using your personalized map, apply contour to areas like the hollows of your cheeks, jawline, sides of the nose, and hairline.
- Highlight Placement: Apply highlighter to the high points of your face: tops of cheekbones, bridge of the nose, center of the forehead, and cupid's bow.
- Blending: Blend contour and highlight seamlessly with a brush or sponge for a natural finish.
- Finishing Touches: Add blush, set with powder, and finish with eye and lip makeup as desired.
Effortless 5-Minute Makeup Routine
For busy mornings or quick touch-ups, the AI generator can create a simplified routine:
- Step 1: Apply tinted moisturizer or BB cream.
- Step 2: Use cream contour and highlight sticks for fast, easy application following your AI map.
- Step 3: Blend with fingers or a makeup sponge.
- Step 4: Add a swipe of blush and mascara.
- Step 5: Finish with tinted lip balm.
Celebrity Makeup Looks Powered by AI
Curious how you’d look with contouring inspired by your favorite celebrities? The AI generator can analyze celebrity makeup trends and adapt them to your features, providing:
- Visual guides to recreate iconic looks (e.g., Kim Kardashian’s sculpted cheeks, Zendaya’s luminous glow, Rihanna’s bold highlight).
- Product and shade suggestions to match your skin tone.
- Breakdown of techniques used by celebrity makeup artists, tailored for your face shape.
Tips for Best Results
- Use natural lighting when taking your selfie for accurate analysis.
- Update your photo seasonally to account for changes in skin tone.
- Experiment with both subtle and dramatic contour maps to find your preferred style.
- Save your favorite looks for quick reference.
Frequently Asked Questions
- Is the AI Contour Makeup Generator suitable for all skin tones? Yes, the tool is designed to work with a wide range of skin tones and face shapes.
- Can I use the generator if I’m a beginner? Absolutely. The step-by-step instructions and visual maps make contouring accessible for all skill levels.
- Are the routines customizable? Yes, you can adjust complexity, product type, and even request specific celebrity-inspired looks.
With the AI Contour Makeup Generator, mastering contour and highlight techniques is easier and more personalized than ever, whether you want a quick routine or to channel a celebrity’s signature style.