Mastering Sculpted Makeup Techniques: A Step-by-Step Tutorial + AI Makeup Generator Guide
Learn sculpted makeup techniques with this step-by-step guide and explore the benefits of AI makeup generators for tailored beauty solutions.
Estimated reading time: 8 minutes
Key Takeaways
- Sculpted makeup uses contour to recede and highlight to lift, creating defined, youthful features.
- Cutting-edge AI tools like AI-driven sculpting enable virtual trials, personalized shade matching, and real-time adjustments.
- The right tools and a clear workflow—from prep to final blend—ensure seamless, runway-ready results.
- Common pitfalls such as harsh lines or patchy application are easily avoided with proper blending and lighting checks.
Table of Contents
- Introduction
- Understanding Sculpted Makeup Techniques
- Tools and Products
- Step-by-Step Tutorial
- Integrating the AI Makeup Generator
- Before-and-After Examples
- Conclusion & Call to Action
Introduction
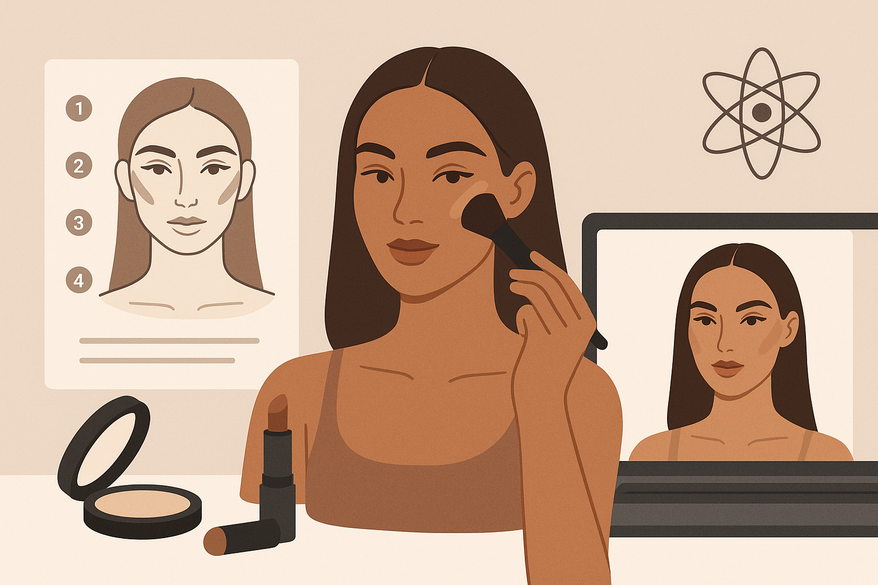
Sculpted makeup techniques are the art of manipulating light and shadow to define facial features for a lifted, youthful look. By contouring (two tones darker) to recede and highlighting (two tones lighter) to attract light, you create dimension and a natural sculpted structure early in your routine.
What was once a red-carpet secret is now a daily staple for beauty lovers. These sculpted makeup techniques enhance cheekbones, define jawlines, and lift brows, boosting confidence and overall well-being. As explained by top beauty pros, mastering this approach can transform your everyday look into something runway-ready. Read more on the perfectly contoured look.
Today, cutting-edge AI makeup generator tools revolutionize how we learn and apply these methods. Virtual trials, face-mapping, and real-time feedback let you test contour/highlight placements, fine-tune depth, and receive personalized product matches before ever touching a brush. Learn how AI is revolutionizing the beauty industry and discover trends shaping beauty tech.
Understanding Sculpted Makeup Techniques
“Sculpted Makeup Techniques” refer to the precise use of contour and highlight to carve out facial planes. Contour shades, two tones darker than your base, recede areas like the hollows of the cheeks. Highlight shades, two tones lighter, attract light to the cheekbone apex and brow bone, creating lifted angles. For more on refining your contour and highlight workflow, see our detailed guide.
Benefits of Sculpted Makeup Techniques
- Enhanced facial definition—sharper cheekbones, a defined jawline, lifted brows (sculpted skin techniques)
- Improved confidence and well-being, thanks to a polished finish
- Better support for skin tone, texture, and firmness when paired with proper skincare
Goals by Skill Level
- Beginners: Soft, subtle sculpt—light contour under cheek hollows and a dusting of highlighter on the cheeks.
- Advanced: Dramatic nose contour, bold temple shading, precise brow lifts for editorial-grade definition.
Balance Is Key
Contour recedes; highlight lifts. Together they carve a natural-looking structure, avoiding flat or muddy results. (Pro techniques)
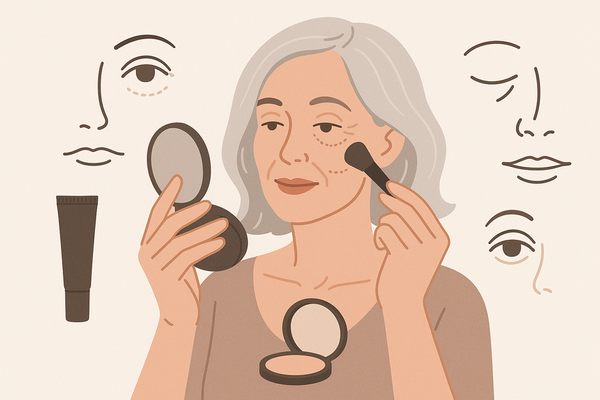
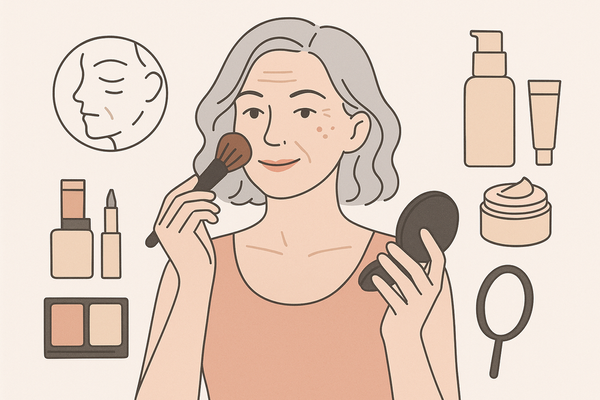
Tools and Products
Essential Tools for Sculpted Makeup Techniques
- Angled contour brush: Synthetic bristles, 15–20mm width—perfect for cheek hollows.
- Flat-topped blending brush: Dense, short bristles—ideal for precise contour edges.
- Tapered fan brush: Pinpoint application for cream or powder highlights.
- Beauty sponge: Damp, egg-shaped for seamless diffusion and stippling.
- Cream & powder contour palettes: Choose neutral undertones to suit most skin tones.
- Highlighters: Cream stick for buildable glow; powder formula for a delicate sheen.
- Setting products:
- Translucent powder (finely milled) to lock cream formulas
- Setting spray (matte or dewy) to meld layers and ensure longevity
Introducing the AI Makeup Generator
• Virtual trials: Upload your photo to test various contour/highlight schemes.
• Personalized suggestions: Face-mapping technology recommends products and shades.
• Real-time adjustments: Slider controls for contour depth, highlight intensity, and blending softness.
Dive deeper into AI-driven sculpting.
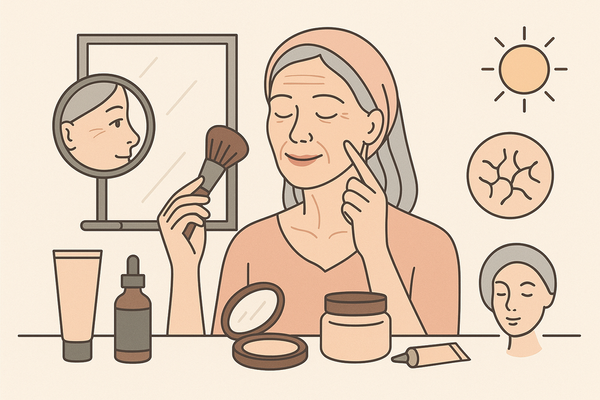
Step-by-Step Tutorial on Sculpted Makeup Techniques
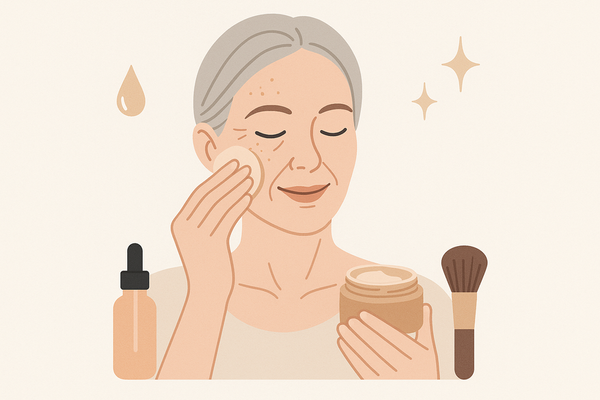
- Prep the Skin
– Cleanse, then moisturize according to your skin type.
– Apply primer: silicon-based for longevity or hydrating for dry skin.
– Build a medium-coverage foundation and spot-conceal under-eyes. - Map Out Contour Areas
– Use a cream or powder two shades darker to draw:
• Under cheekbones in an “E” or “3” shape toward jawline
• Along the jawline for a sharper chin
• Temples to frame and lift
• Sides of the nose for a slimmer bridge - Blend Thoroughly
– Work upward and outward with a damp beauty sponge or dense stippling brush.
– Use light pressure to diffuse pigment, avoiding streaks or harsh lines. - Highlight Strategic Points
– Apply a lighter shade on:
• Apex of cheekbones
• Bridge and tip of the nose
• Center of the forehead and brow bone
• Cupid’s bow
– Use a small fan brush for pinpoint accuracy. - Set with Powder
– Lightly dust translucent powder over cream products to lock them in place.
– Focus on the T-zone and under-eyes to prevent creasing. - Add Blush & Final Blend
– Sweep blush on the apples of cheeks and blend into the contour/highlight.
– Finish with a large fluffy brush to unify all layers.
Practical Tips & Common Pitfalls
- Blend upward—always lift features rather than drag down.
- Steer clear of orange-toned contours; match your skin’s undertone (neutral vs. warm).
- Build color in layers; wipe away excess with a clean brush.
- Check your work in natural daylight to ensure seamless transitions. (Expert tips)
Integrating the AI Makeup Generator
For quick, personalized guidance on contour and highlight placement, Makeup Check AI leverages advanced face-mapping to deliver real-time, customized suggestions. Here’s a brief look at how it works:
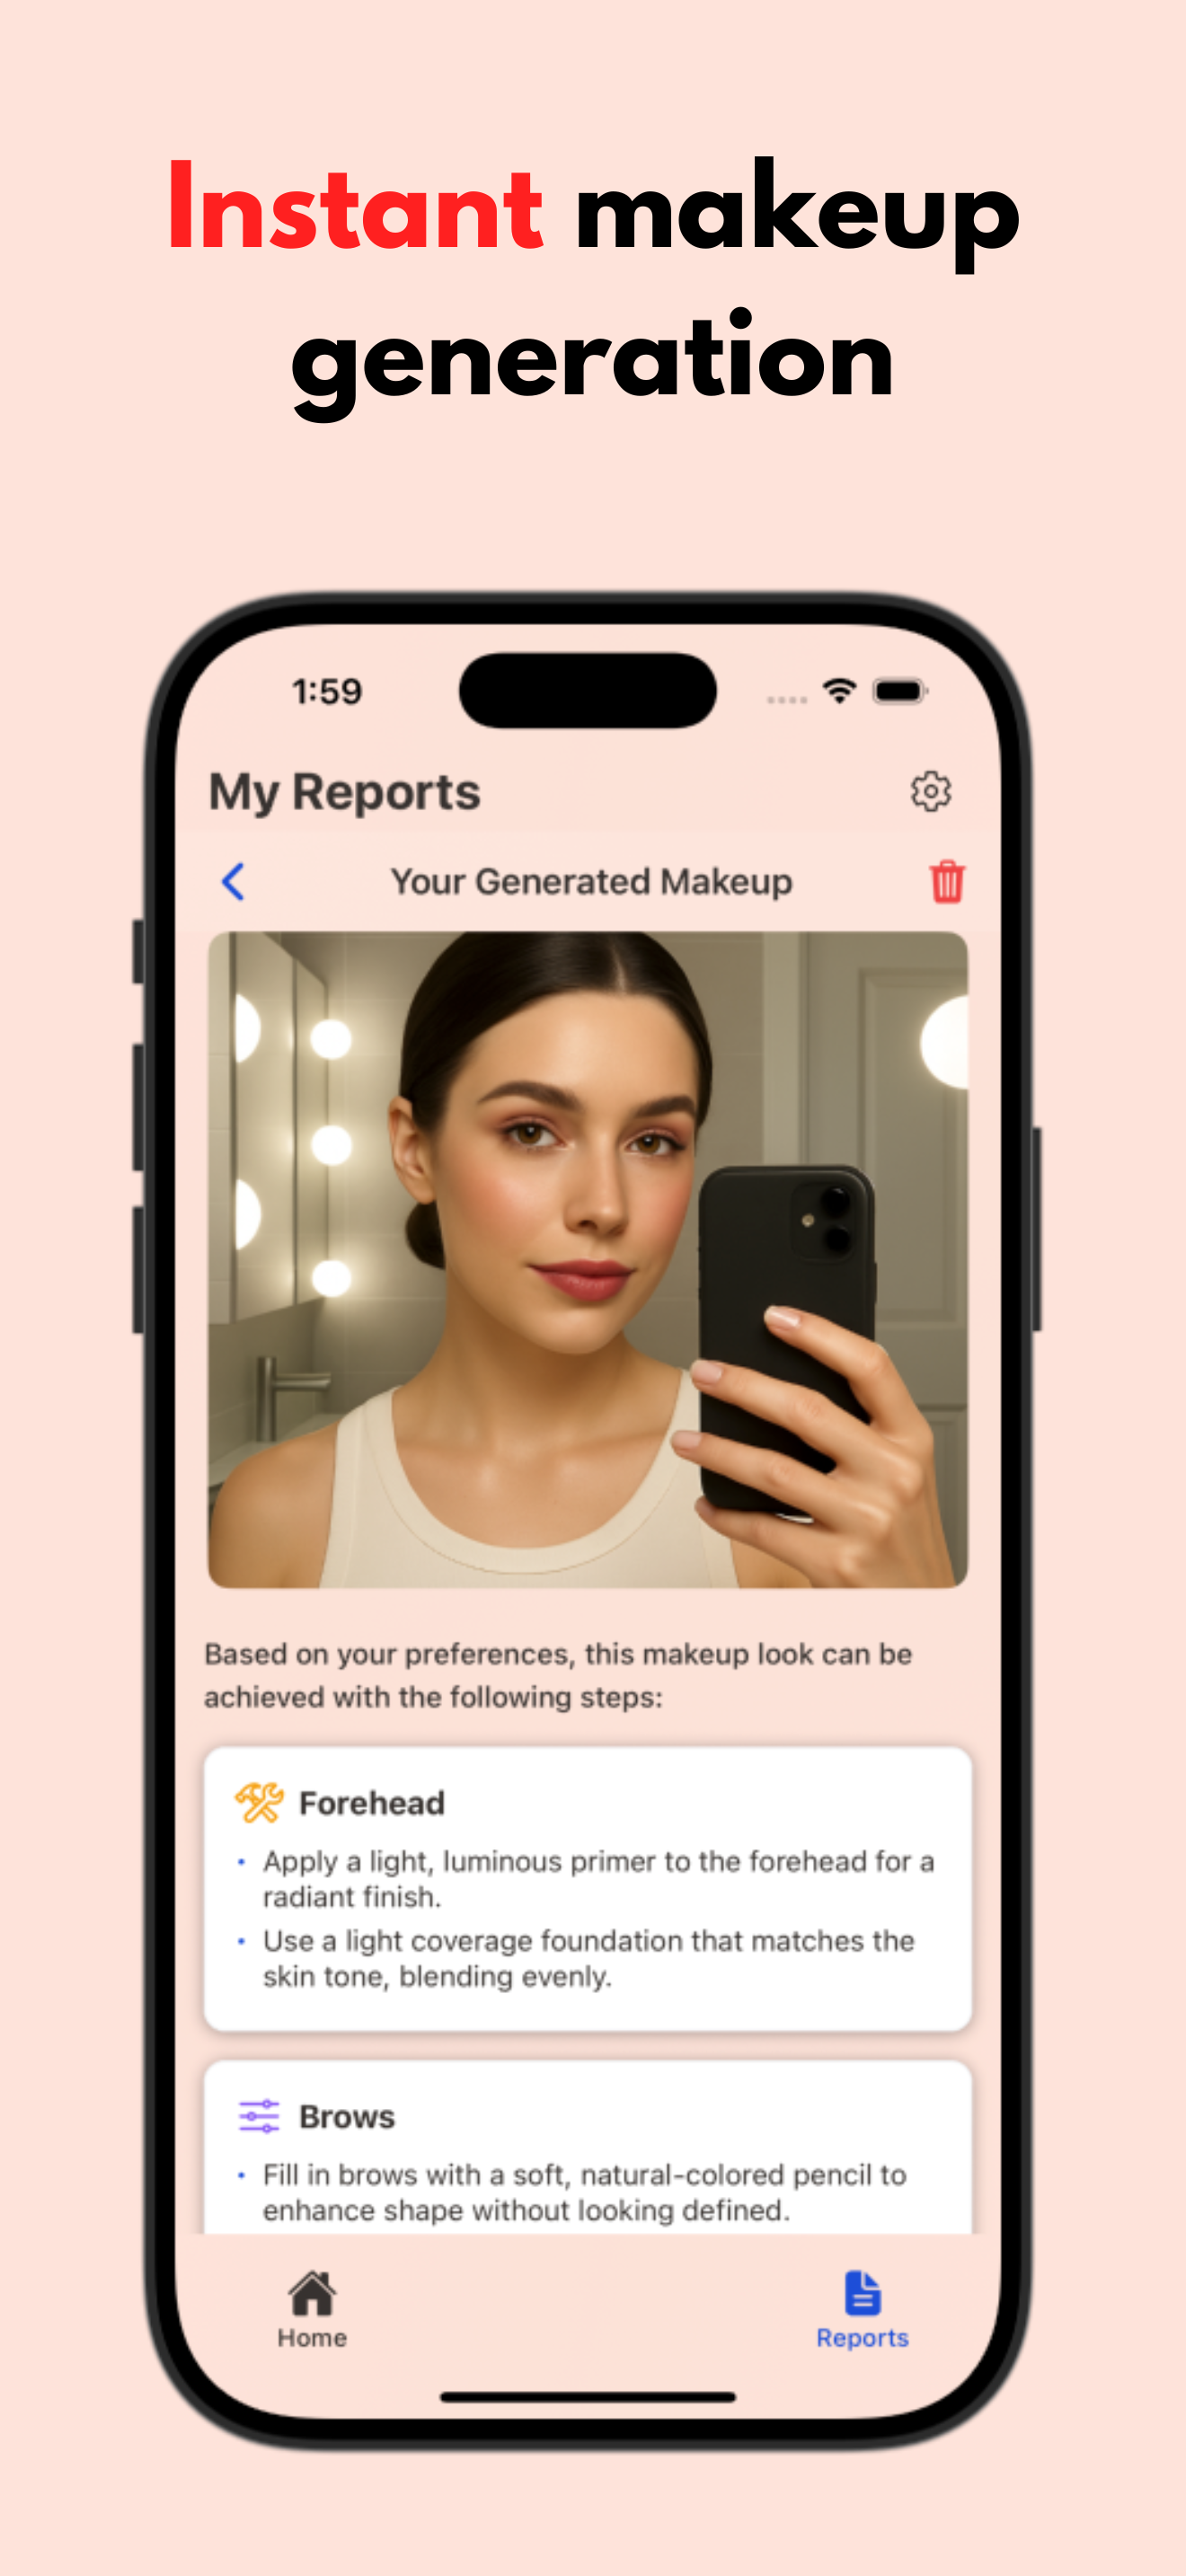
Step-by-Step AI Workflow
- Open your chosen AI makeup generator app or website.
- Upload a high-resolution, front-facing photo captured in natural light.
- Select the “sculpted makeup” preset or access the manual contour/highlight module.
- Adjust sliders for contour depth, highlight intensity, and blend softness.
- Review AI’s shade and product recommendations (foundation, contour palette, highlighter stick).
- Save the generated look and compare before/after images side by side.
Advantages of AI Integration
- Risk-free virtual trials—no product waste or time lost on trial-and-error.
- Customized mapping for your unique facial anatomy—face mapping ensures symmetry.
- Accelerated learning with instant visual feedback—improves technique faster than guesswork.
Before-and-After Examples
Case Study A (Traditional Only)
- Natural “Before” photo on clean skin.
- Manual application of sculpted makeup techniques: contour under cheeks, highlight on brow bone and cupid’s bow.
- Result: Sharper cheekbones, defined jawline, subtle lift. (Learn more)
Case Study B (Traditional + AI)
- Same client’s photo used in AI makeup generator.
- AI delivers an optimized contour/highlight map suited to face shape.
- Manual replication of the AI map yields: more symmetrical lift, balanced glow, and refined shading. (Details)
Visual Comparison Tips
• Present side-by-side images labeled “Before,” “Manual Contour,” “AI-Enhanced Contour.”
• Use arrows or circles to highlight differences in symmetry and light reflection.
Conclusion & Call to Action
Mastering sculpted makeup techniques elevates your facial definition and overall beauty routine. By balancing contour to recede and highlight to lift, you create a dynamic, youthful structure. The integration of an AI makeup generator offers risk-free, personalized guidance—allowing you to preview and tweak looks before commitment.
Experiment with both traditional sculpted makeup techniques and AI-powered previews to discover what works best for your unique features. Share your before/after images below, leave questions in the comments, and join a community of beauty enthusiasts pushing the boundaries of contouring and highlighting. Embrace technology, refine your skill, and sculpt your most confident self today!
FAQ
Why does my contour look patchy?
Ensure your base is set but not overly powdered. Use a clean, damp blending sponge and gentle taps to smooth patches.
How do I pick the right contour/highlight shades?
Test swatches on the jawline in natural light. Use AI shade-matching tools in beauty apps for precise undertone matches.
Is sculpted makeup suitable for mature or textured skin?
Yes—opt for lightweight, hydrating formulas and blend thoroughly to avoid creases.
What are some troubleshooting tips for common issues?
• For oily skin: set cream contours with a light dusting of transparent powder immediately.
• If lines appear harsh: switch to a fluffy brush and buff edges softly.
• To soften an overly bright highlight: pat translucent powder over the edges.