How to Choose the Best Lighting for Makeup Tutorial – The Ultimate Guide
Learn how to choose the best lighting for makeup tutorial videos with tips on lighting essentials and troubleshooting for professional-quality results.
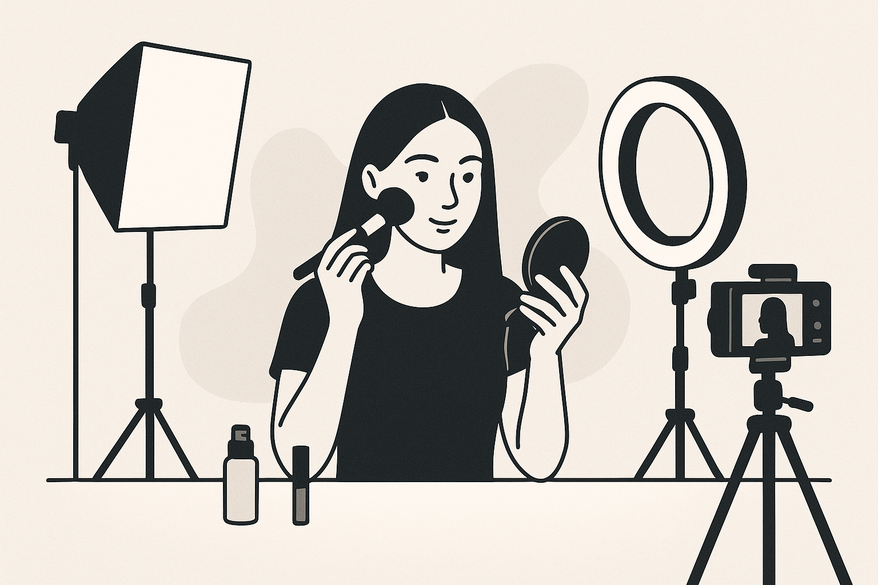
Estimated reading time: 6 minutes
Key Takeaways
- Authentic Color & Detail: Proper lighting ensures true-to-life skin tones and reveals every makeup nuance.
- Optimal Equipment: Use daylight-balanced (5,000–5,600K), high-CRI (≥90) lights for accurate color rendering.
- Three-Point Setup: Combine key, fill, and back lights to eliminate shadows and add dimension.
- Troubleshooting Tips: Adjust diffusion, match Kelvin ratings, and select flicker-free LEDs to solve glare and color issues.
Table of Contents
- Introduction
- Why Proper Lighting Matters
- Lighting Fundamentals: Brightness, Color Temperature & Light Sources
- Evaluating Different Lighting Types
- Step-by-Step Lighting Setup
- Fixing Shadows, Glare & Color Issues
- Final Thoughts & Next Steps
- FAQ
Introduction
When it comes to creating professional-quality beauty content, lighting can make or break your final result. Proper illumination ensures authentic color representation, highlights intricate details, and enhances video quality—boosting audience trust and engagement. Whether you’re a novice or a seasoned creator, mastering lighting for makeup tutorials will elevate your content and keep viewers coming back.
To supplement your setup, consider leveraging digital tools like Makeup Check AI for real-time color validation and personalized recommendations.
Why Proper Lighting Matters
- Accurate color reproduction: Prevents makeup shades from appearing too warm, cool, or washed out. High-fidelity light shows true reds, browns, and neutrals. (YouTube video)
- Enhanced clarity & texture: Crisp lighting highlights skin texture, shimmer, and matte finishes while avoiding harsh shadows that distort details. (colborlight article)
- Increased engagement & credibility: Well-lit videos look polished. Viewers trust professional visuals and are more likely to watch longer and subscribe. (YouTube video)
Lighting Fundamentals: Brightness, Color Temperature & Light Sources
- Brightness
Measured in lumens. Aim for ≥1,000 lumens per light to prevent grainy footage and showcase fine makeup details. - Color Temperature
Expressed in Kelvin (K). Daylight-balanced 5,000–5,600K delivers true-to-life skin tones and neutral white light. - Color Rendering Index (CRI)
Scale 0–100 measuring how accurately a light source reveals colors. CRI ≥90 ensures makeup pigments appear correctly.
Evaluating Different Lighting Types
| Lighting Type | Pros | Cons | Best For |
|---|---|---|---|
| Ring Light | Even, shadowless glow; enhances eye sparkle; compact | Unnatural circular catchlights; limited directional control | Small spaces; mobile vlogging |
| Softbox | Soft, diffused, natural look; versatile positioning | Bulky; longer setup; higher price point | Dedicated studio spaces |
| LED Panel | Adjustable brightness & color temp; slim; low heat | Often needs diffusion; varying CRI quality | Customizable, multi-angle setups |
| Natural Light | Free; soft, flattering daylight effect; accurate color | Unpredictable; weather/time dependent | Near windows; budget shoots |
Step-by-Step Lighting Setup
Follow this three-point lighting layout for flawless makeup videos:
- Key Light
Place at a 45° angle in front of your face, level with or slightly above eye line. - Fill Light
Set opposite the key at 50–75% intensity to soften shadows. - Backlight/Hair Light (Optional)
Position behind you to create separation from the background.
Fixing Shadows, Glare & Color Issues
- Uneven Lighting: Add or reposition a fill light or reflector.
- Color Distortion: Match all bulbs to the same Kelvin rating (~5,500K).
- Glare & Skin Reflections: Use diffusion panels and angle lights above eye level.
- LED Flicker: Choose “flicker-free” panels or adjust shutter speed/higher frame rates.
Final Thoughts & Next Steps
- Implement daylight-balanced (5,000–5,600K), high-CRI (≥90) fixtures for true-to-life tones.
- Use a three-point lighting setup to balance shadows and highlights.
- Experiment with placements, reflectors, and diffusion to suit your space.
- Explore additional resources:
FAQ
- What color temperature is best for makeup tutorials?
Aim for daylight-balanced lights between 5,000K and 5,600K for neutral, true-to-life skin tones. - How can I prevent harsh shadows on my face?
Use a three-point setup with a fill light at 50–75% intensity and consider a reflector to bounce light evenly. - Is natural light sufficient for professional-quality videos?
Natural light can be very flattering, but it’s unpredictable. Combine it with LED panels or ring lights for consistency. - What CRI rating should I look for in makeup lighting?
Choose fixtures with a CRI of 90 or above to ensure accurate color rendering of all makeup pigments.

