10 Expert Indoor Makeup Lighting Hacks for Flawless Results
Discover expert indoor makeup lighting hacks to achieve flawless results by eliminating shadows and correcting color distortion for perfect blending without natural light.

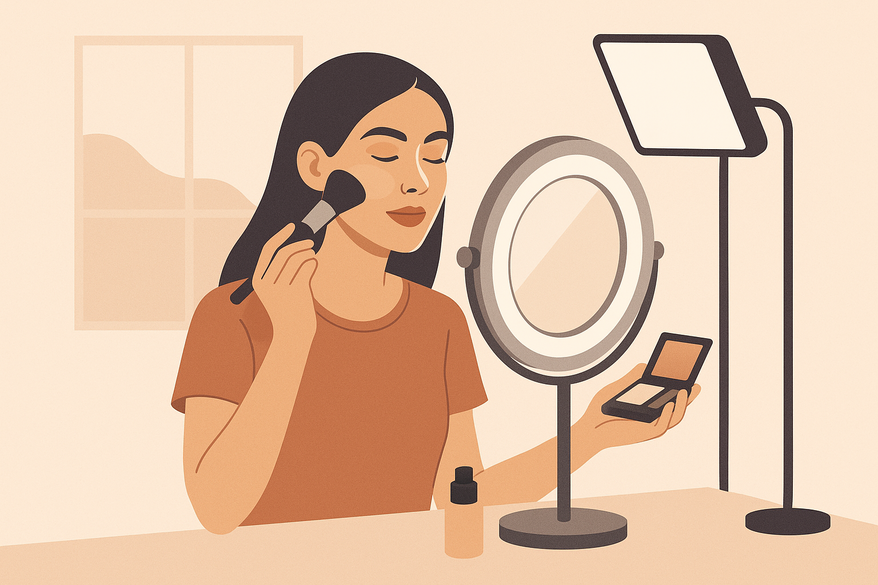
Estimated reading time: 8 minutes
Key Takeaways
- Optimal lighting helps reduce color distortion and harsh shadows.
- Aim for a CRI ≥ 90 and a color temperature of 5000K–6500K for better color rendering.
- Combine natural light with cool LEDs or ring lights for balanced illumination.
- DIY diffusers and budget-friendly bulbs can improve many spaces under $50.
- Regular maintenance and the right tools help keep your setup consistent and professional.
Table of Contents
- Introduction: Indoor Makeup Lighting Hacks Explained
- The Importance of Good Lighting for Makeup
- Understanding Different Types of Indoor Lighting
- Top Indoor Makeup Lighting Hacks
- DIY Techniques and Budget-Friendly Solutions
- Expert Tips and Product Recommendations
- Conclusion: Master Your Indoor Makeup with Lighting Hacks
- FAQ
Introduction: Indoor Makeup Lighting Hacks Explained
Indoor makeup lighting hacks are practical techniques and tools designed to optimize your indoor lighting environment for makeup application. By adjusting your light sources and setup, you can better see colors, avoid harsh shadows, and blend foundation, contour, and highlight more precisely—regardless of the room or time of day. Good illumination is important for makeup application. Without it, you may risk uneven foundation, mismatched tones, and contour lines that look different indoors versus outdoors.
In this guide, you’ll learn why proper lighting matters, how to choose and position different light types, and which budget-friendly DIY tricks are popular. Improve your lighting setup for more consistent, camera-ready makeup—morning, noon, or night.
The Importance of Good Lighting for Makeup
Proper light quality can improve makeup application results. Two key metrics to consider are:
- Color Rendering Index (CRI): Measures how accurately a light source shows true colors. A CRI of 90 or above is generally recommended to help foundations, blushes, and eyeshadows appear closer to their intended shades.
- Color Temperature (Kelvin): Indicates warmth or coolness of light. Daylight bulbs (5000K–6500K) approximate midday sun, while warm bulbs (below 3000K) cast yellow-orange hues.
Common indoor lighting challenges include:
- Harsh shadows that can obscure fine lines, blemishes, or blending details.
- Color distortion from overly warm or tinted bulbs, which may affect how foundation appears.
- Uneven illumination in windowless spaces—such as top-down overhead lights that accentuate under-eye hollows.
Potential effects of poor lighting:
- Uneven foundation leading to patchy coverage.
- Contour and highlight that appear differently in various lighting conditions.
- Blush tones that may not translate well outdoors, potentially leaving you looking washed out or overly flushed.
Example: A content creator compared two identical makeup looks under warm LED versus daylight-mimicking bulbs and noticed differences in how her skin tone appeared on camera—warm bulbs made her appear sallow, while 5500K LEDs provided more vibrant, accurate color. For more on refining your selfie-ready lighting, see our Selfie Lighting Makeup Tips guide.
Understanding Different Types of Indoor Lighting
Knowing your light sources—each with unique benefits and drawbacks—helps you tailor your setup for precise makeup application.
A. Natural Light (Window Light)
- Benefits: Generally provides true-to-life color rendering and balanced shadows for blending.
- Limitations: Varies with weather and time of day; not always accessible in interior rooms or at night.
B. LED Bulbs (Daylight-Mimicking)
- Benefits: Consistent, flicker-free brightness; often customizable with dimmable sockets and smart bulbs.
- Limitations: Quality varies—check Kelvin rating and CRI on packaging when possible.
C. Ring Lights & Vanity Mirrors
- Benefits: Front-facing, shadow-minimizing illumination; adjustable brightness and color-temperature presets.
- Limitations: Can be more expensive; requires desk or tripod space.
D. Standard Room Bulbs
- Benefits: Low cost and widely available.
- Limitations: Often cast warm/yellow tones and uneven shadows.
Pro Tip: Combine two light types—place a daylight lamp at eye level and let soft window light fill in side shadows for a balanced, flattering glow. For more on professional-grade lighting setups, see professional-grade lighting setups.
Top Indoor Makeup Lighting Hacks
- Hack #1: Use a Ring Light or Wide Vanity Mirror
- Setup: Mount a ring light at eye level, 2–3 feet from your face, on a tripod or desk mount.
- Specs: 5000K–5500K bulbs, CRI ≥ 90 for better color rendering.
- Result: Reduces harsh facial shadows and provides soft, even illumination.
- Hack #2: Adjust Your Mirror Near a Window
- Placement: Position your mirror perpendicular (90°) to the window—not backlit.
- Technique: Angle mirror so daylight washes evenly across your face, reducing side shadows.
- Benefit: Uses free natural light for a soft, diffused glow ideal for color matching.
- Hack #3: Invest in Portable, Adjustable Lighting Solutions
- Recommendation: Battery-powered LED makeup mirrors or clip-on ring lights with dimmer and color-temp controls.
- Feature: USB-rechargeable models—useful for travel or areas without outlets.
- Payoff: Consistent illumination anywhere in your home, without wiring hassles.
- Hack #4: Create Diffused Lighting with Household Items
- DIY: Drape a sheer white curtain over your window or clip parchment paper around a desk lamp.
- Effect: Softens harsh direct bulbs, smooths uneven hotspots, and reduces unflattering shadows.
- Tip: Layer two materials (e.g., fabric + parchment) for extra diffusion if light still feels too bright.
DIY Techniques and Budget-Friendly Solutions
- Choose Daylight-Mimicking Bulbs
- Buy LED bulbs labeled 5000K–6500K, CRI ≥ 90 when possible.
- Screw into desk lamps or portable floor lamps for front-facing light.
- Set Up a Window-Adjacent Makeup Station
- Layout: Place a small table and swivel mirror next to your largest window.
- Tip: Use a lightweight, adjustable mirror to fine-tune angles as light shifts throughout the day.
- Build a Homemade Light Diffuser
- Materials: White cotton fabric, parchment paper, or frosted plastic sheets.
- Instructions:
- Cut material slightly larger than the lamp head.
- Secure with binder clips or heat-safe tape.
- Test layering until shadows soften evenly.
- Add Battery-Powered LED Puck Lights
- Install around your mirror frame using included adhesive backing.
- Choose daylight-balanced LEDs for a uniform glow.
- Tip: Dim lights slightly to avoid washing out features or causing glare.
Budget Note: Many lighting improvements can be made for under $50, thanks to affordable, energy-efficient LED technology and widely available materials.
Expert Tips and Product Recommendations
- Opt for Mirrors with Adjustable Brightness & Color Temperature
- Look for presets such as Daylight (5500K), Neutral (4000K), and Warm (3000K).
- Benefit: Swap modes to preview your look under different environments (indoor, office, evening).
- Recommended Products:
- Neewer 18" Ring Light Kit (5500K, CRI > 90; $85–$110) with stand, phone holder, and dimmer controls—offers good color accuracy and flicker-free technology.
- Conair Reflections LED Lighted Makeup Mirror (3 color modes; $40–$55), tabletop design with hanging hook and USB charging.
- Vanity Planet Luminess Air LED Mirror (10 light settings; $45–$65), portable, compact, USB rechargeable, with Bluetooth connectivity for app-controlled lighting customization.
- Maintenance Tip: Wipe lights and mirror weekly with a microfiber cloth to remove dust and smudges—dust can diffuse light unevenly and affect color matching. Also, check bulb sockets for corrosion or loose connections periodically to maintain consistent brightness.
Conclusion: Master Your Indoor Makeup with Lighting Hacks
By applying these indoor makeup lighting hacks—from ring-light setups to DIY diffusers—you can reduce shadows, improve color matching, and achieve more consistent, professional-looking makeup day or night. Experiment with these tips, share your before-and-after photos, and tag us on social media. With the right budget-friendly tweaks and expert tools, better indoor makeup lighting is achievable for many.
If you’re curious how AI can help simulate your lighting scenarios virtually, explore Makeup Check AI for personalized, AI-powered guidance using current technology.
FAQ
- How do I handle different room sizes? For large rooms, use multiple adjustable lights or a large 18" ring light on a tall tripod. In compact spaces, stick-on LED strips, puck lights, or clip-on lights around your mirror frame can work well.
- What color temperature is best for makeup? Daylight bulbs (5000K–6500K) with a CRI above 90 generally provide more accurate skin tone and product color reproduction, both in photos and real life.
- Can I mix natural and artificial light? Yes. Pair a window’s soft daylight with a cool LED lamp at eye level. This hybrid approach can balance brightness and help maintain consistent color in cloudy or dim conditions.
- How do I transition makeup for day versus night? Use a mirror with toggleable light modes (cool to warm). Apply base and contour under daylight mode, then switch to warm to add evening-appropriate blush or highlight touches.
- Are there any safety tips for DIY diffusers? Use heat-resistant materials (like parchment) and keep fabric at least two inches from hot bulbs. Test your setup for several minutes to ensure no fire risk.
- How often should I replace my bulbs? LEDs can last 15,000–25,000 hours. Replace bulbs every 2–3 years or at the first sign of flickering to maintain stable brightness and color accuracy.