10 Essential Makeup Tips for Lefties: Enhance Your Routine
Discover top makeup tips for lefties with ergonomic hacks and product picks for effortless application. Perfect your makeup routine today.
Estimated reading time: 7 minutes
Key Takeaways
- Left-handed makeup application often clashes with right-handed tutorials and tools.
- Ergonomic adjustments like mirror placement, hand stabilization, and lighting boost precision.
- Specialized tools (angled brushes, short handles, silicone grips) are game-changers for lefties.
- Mirroring techniques and dedicated practice help you adapt any tutorial.
- Product picks—flexible-tip liners, stick-format bases, and adjustable mirrors—simplify your routine.
Table of Contents
- Introduction
- Understanding the Left-Handed Experience
- Specialized Techniques
- Product Recommendations & Tools
- Expert & Community Insights
- Practical Daily Tips & Do’s/Don’ts
- Conclusion
- Call-to-Action
Introduction
Left-handed makeup tips are application strategies, tool recommendations, and technique tweaks tailored to your dominant hand. Since most tutorials, brushes, and packaging assume right-handed use, lefties often feel off-balance. In this guide, you’ll find actionable advice to adapt your mirror setup, stabilize your hand, and conquer every feature—so you can apply foundation, liner, and contour with confidence.
Understanding the Left-Handed Experience
Left-handers develop motor patterns opposite to righties. When a right-handed tutorial shows a flick to the right, your left hand wants to arc left. This mismatch can cause:
- Difficulty copying mirrored video demos
- Unsteady eyeliner wings from reversed flick direction
- Your dominant hand blocking the view of the opposite eye
- Ergonomic frustration with standard brushes and angled applicators
With targeted adjustments, these obstacles become manageable—turning every makeup session into a seamless experience.
Specialized Techniques
Ergonomic Adjustments
- Mirror placement:
- Stand slightly to the right of a large mirror so your left hand doesn’t obscure your face.
- Hold a handheld or magnifying mirror in your right hand to inspect details.
- Lighting:
- Position lights directly in front or slightly to the left to avoid shadows from your hand.
- Hand stabilization:
- Anchor your left pinky on your cheek or temple for steady strokes; rest your elbow on a countertop.
- Use silicone brush grips or weight-balanced handles to reduce fatigue.
Eyeliner Techniques
- Pencil or gel first: Smaller corrections are easier before committing to liquid.
- Upper lash line step-by-step:
- Tilt your head back and look down into the mirror.
- Rest your left pinky on your cheekbone for stability.
- Draw tiny dashes from center to outer corner, then inner corner to center.
- Winged liner for lefties:
- Sketch wings upward toward the tail of your brow, not outward toward the temple.
- Draw faint wing guidelines on both eyes first, then connect with thin strokes.
- Clean under the wing with a cotton bud dipped in micellar water.
For an advanced approach, check our Cat Eye Makeup Tutorial.
Foundation & Base Application
- Palette setup: Dispense foundation onto the back of your right hand like a mixing palette; pick it up with your left.
- Application motion:
- Use downward sweeping motions: start at the nose bridge, sweep outward to the ears, then slightly upward to follow your left-hand arc.
- With sponges, tap in small bounces rather than broad sweeps for even coverage.
Learn more in our How to Apply Foundation Evenly guide.
Blush, Bronzer & Contour
- Formula choice: Cream or liquid products blend more forgivingly for uneven strokes.
- Blush: Smile to expose cheek apples, then apply in small circular strokes toward your temple.
- Bronzer/Contour: Draw a soft “C” from temple to mid-cheek, keeping your wrist relaxed for a sculpted line.
Mirrored Tutorials & Apps
- Seek left-handed creators or tutorials with built-in mirroring.
- Mentally flip right-handed demos: focus on brush angle and arc, not literal direction.
- Use slow-motion and pause features to study strokes, then adapt to your left hand.
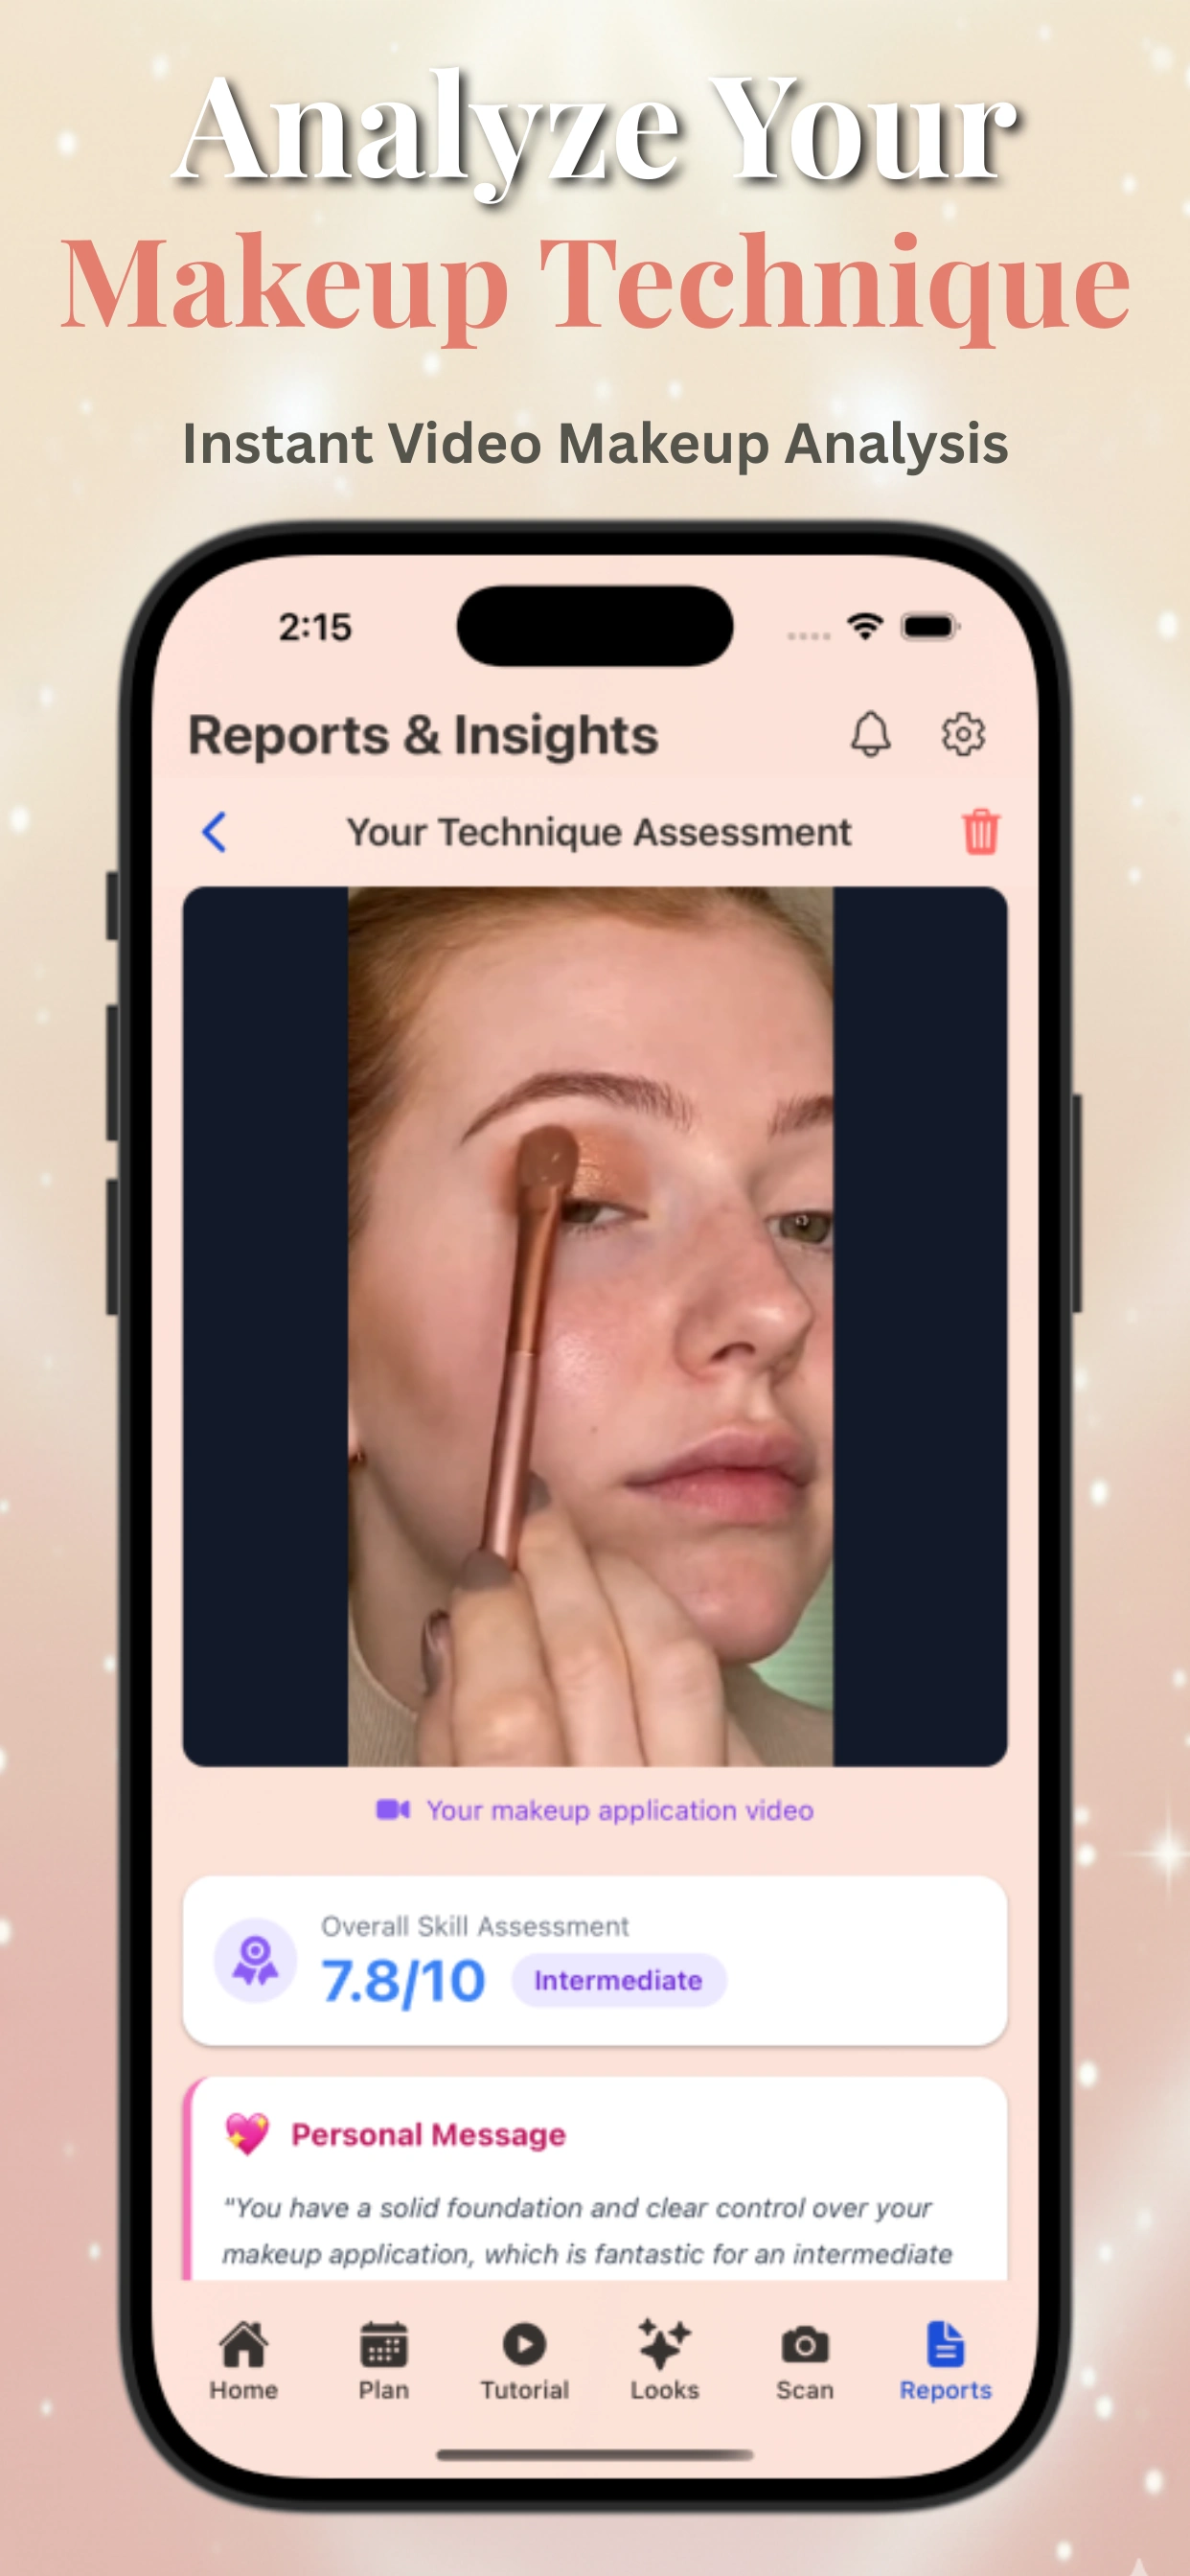
To elevate your routine, try Makeup Check AI, an app that mirrors tutorials, analyzes your strokes, and builds a personalized beauty plan.
Product Recommendations & Tools
Brushes & Applicators
- Short-handle brushes for control on delicate areas
- Angled eyeliner and brow brushes (slanted ferrule) for close lash-line work
- Dense, dome-shaped eye brushes for blending with lighter pressure
Helpful Tools & Accessories
- Adjustable swivel mirrors to keep your face unobstructed
- Magnifying mirrors for detailed liner, brow, and inner-corner work
- Grip-enhancing sleeves or silicone tool grips to reduce tremors
Product Modifications
- Felt-tip or brush-tip liquid liners with flexible tips for better pressure control
- Slim mascara wands for precise navigation into inner and outer corners
- Stick-format foundations, blushes, and contours for targeted placement before blending
Expert & Community Insights
Makeup Artist Tips:
- Tackle your trickiest eye first when your hand is freshest.
- Assess symmetry from a normal viewing distance rather than zoomed-in perfection.
Community-Sourced Anecdotes:
- Pinky-anchoring trick for liner and mascara stability.
- Light pencil guidelines before committing to liquid products.
- Dedicated practice days to build muscle memory (e.g., Eyeliner Mondays).
- Using flipped selfie-camera photos to check symmetry.
Practical Daily Tips & Do’s/Don’ts
Actionable Daily Tips:
- Practice liner and brows on no-makeup days to build confidence.
- Start with softer browns and taupes—they’re easier to correct.
- Hold your mirror below eye level for mascara; approach lashes from above.
- Outline lips with a pencil, rest your pinky on your chin, then fill in.
Do’s:
- Adapt every tutorial to your natural left-hand motion.
- Use adjustable mirrors and angled brushes for comfort.
- Build makeup in thin layers—easier to correct than heavy strokes.
- Clean up edges with a small concealer brush for crisp lines.
- Photograph finished looks from multiple angles to spot asymmetries.
Don’ts:
- Don’t force brushes into right-handed angles—rotate your wrist instead.
- Don’t start with highly pigmented products before mastering basics.
- Don’t neglect practice on your non-dominant side.
- Don’t label yourself “uncoordinated”—this is an ergonomics challenge.
- Don’t attempt complex looks when tired; save experimentation for focused practice.
Conclusion
By implementing ergonomic mirror setups, hand-stabilization techniques, mirrored tutorials, and targeted product picks, left-handed makeup application becomes intuitive and precise. Treat each technique as adaptable—rather than copying right-handed motions exactly—and build a unique routine that highlights your strengths. Embrace experimentation and refine your process until your left hand leads you to flawless finishes.
Call-to-Action
Share your left-handed makeup hacks, challenges, and before/after photos in the comments below to build a resource for fellow lefties. Explore related posts on mastering eyeliner, brush essentials, and ergonomic beauty setups. Join left-handed beauty communities on social media for peer support, product recommendations, and fresh tutorials. Your next flawless look is just a tweak away!
FAQ
- Q: Why do left-handed users struggle with traditional makeup tutorials?
A: Most tutorials, tools, and packaging are designed for right-handed users, so movements and brush angles feel reversed for lefties. - Q: How can I stabilize my hand for precise eyeliner application?
A: Anchor your pinky on your cheek or temple, rest your elbow on a steady surface, and use silicone grips to reduce shake. - Q: What are the best tools for left-handed makeup application?
A: Short-handle brushes, angled ferrule eyeliner brushes, flexible-tip liners, and adjustable swivel or magnifying mirrors. - Q: How do I adapt right-handed tutorials if I can’t find left-handed content?
A: Mentally flip the demonstration, focus on brush angle and arc, use slow-motion playback, and practice until your muscle memory aligns. - Q: Any quick daily tips for left-handed makeup beginners?
A: Practice simple steps on no-makeup days, start with softer shades, build in thin layers, and photograph your looks to check symmetry.