Makeup Check AI Interface Guide: Master Your User Experience
Explore the Makeup Check AI interface guide to enhance your experience. Master scanning, shade matching, and tutorials for accurate results and smooth navigation.
Estimated reading time: 8 minutes
Key Takeaways
- Comprehensive Interface: Navigate through Scan Face, Product Matches, Tutorial Library, History, and Settings with ease.
- Real-Time Analysis: Achieve precise shade matching using live camera scans or uploaded photos.
- Pro Tips: Follow best practices for lighting, lens care, and preference setup to optimize results.
- Diverse Use Cases: From quick shade checks to AR-guided tutorials and allergy-aware recommendations.
- Personalization: Tailor your beauty tech experience by adjusting for skin type, sensitivity, and style goals.
Table of Contents
- Makeup Check AI Interface Tool Overview
- Detailed Interface Walkthrough
- Pro Tips for Interface
- Use Cases
- Conclusion & Next Steps
- FAQ
Makeup Check AI Interface Tool Overview
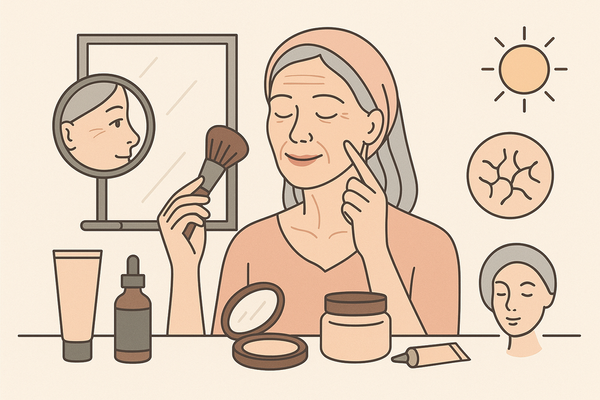
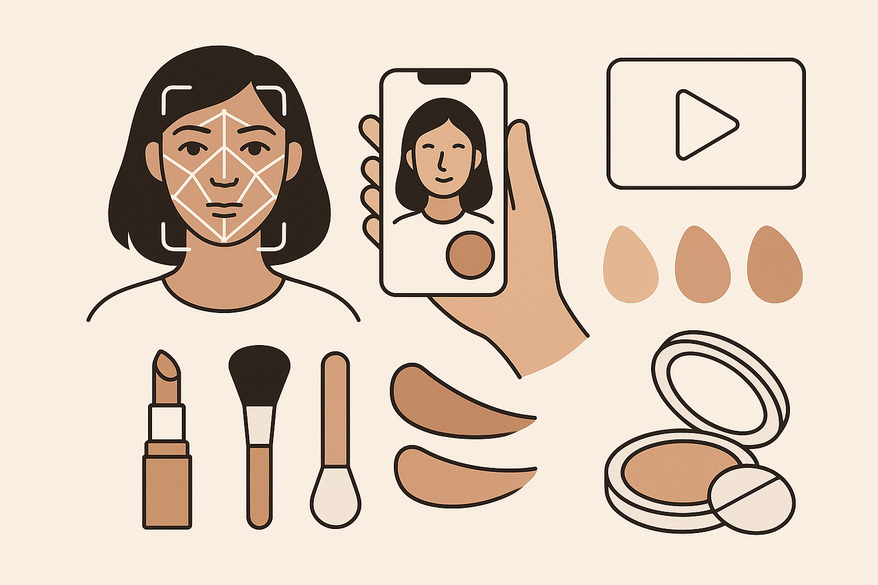
Makeup Check AI combines real-time face tracking, shade matching, and AR tutorials into one beauty tech package.
Its intuitive design makes launching scans and tutorials effortless. Easily navigate through each tab with Makeup Check AI's intuitive layout, powered by real-time face tracking and AR overlays.
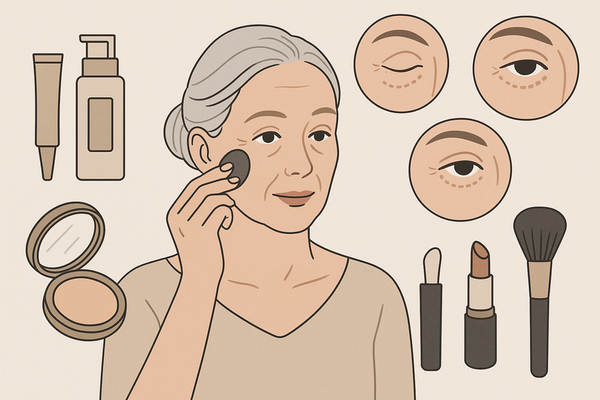
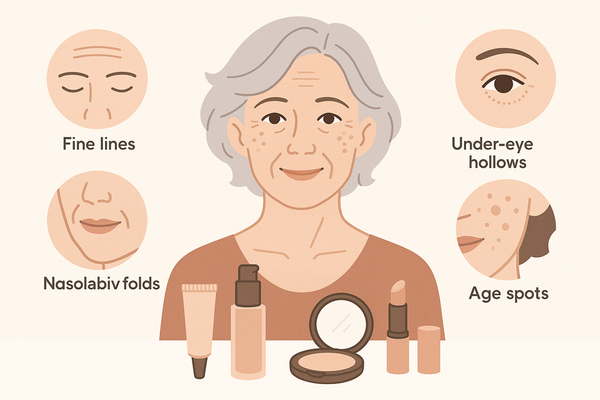
- What it is: A beauty technology tool that analyzes your face via live camera or uploaded photo; detects undertones and maps features for foundation matching; suggests color palettes and launches step-by-step virtual tutorials.
- Purpose in beauty tech: Bridges precise skin analysis with virtual artistry; uses AR overlays and face tracking for realistic try-ons; builds confidence and skill through interactive guides.
- Key benefits: Accuracy with multi-angle capture; personalization across skin type, concerns, and style goals; convenience of instant camera preview and guided application routines.
Detailed Interface Walkthrough
Home and Dashboard
- Tabs: Scan Face, Product Matches, Tutorial Library, History
- Live camera feed with on-screen alignment markers
- Recent scan thumbnails and notification alerts
- Quick-access buttons for your last results and tutorials
Navigation Menus and Toolbars
- Top bar: Profile icon, Settings gear, Help (?) button
- Bottom nav: Home, Scan, Tutorials, Matches, History icons
- Scan context toolbar: flash on/off, grid overlay toggle, front/rear camera switch, upload photo, lighting tips
Key Screens
- Scan Face: Alignment markers for eyes, nose, mouth; prompts like “Blink to continue” and “Turn head right”; progress indicator showing capture steps.
- Product Matches: Ranked foundation shade cards and compatible formulas; curated eye, lip, and cheek palettes; filters for finish, coverage, price, and brand.
- Tutorial Library: Personalized look list with preview thumbnails; “View Tutorial” buttons that launch step-by-step AR guides; AR overlay previews showing brush placement.
- History: Saved scans, favorited looks, past tutorial entries; side-by-side comparison view for before/after or multi-product comparisons.
- Settings: Camera permissions and profile details (skin type, allergies, favorite brands); notification preferences and privacy controls.
Pro Tips for Interface
Accurate Scans
- Remove existing makeup and disable beauty filters.
- Clean your camera lens and use neutral, diffused daylight.
- Keep a neutral expression and follow multi-angle prompts.
Efficient Navigation
- Pre-fill Settings with your skin type, sensitivities, and preferred brands.
- Use Product Matches filters (finish, coverage, price) to narrow options quickly.
- Favorite top looks to build a quick-access library in your History tab.
Common Pitfalls & How to Avoid Them
- Avoid colored or uneven lighting—opt for even, neutral illumination.
- Hold the device steady; movement can blur feature detection.
- Don’t skip preference setup—spend 1–2 minutes configuring Settings before scanning.
Troubleshooting Navigation
For glitches like camera launch failures or misalignments, check out our troubleshooting guide.
Use Cases
Quick Shade Match Before Shopping
- Tap “Scan Face” and complete the capture.
- Open Product Matches, apply finish and coverage filters.
- Save your top three shades to History for in-store swatching.
Learning a New Look with Guided Steps
- Select a suggested look from Product Matches or Library.
- Tap “View Tutorial” to launch the AR overlay and step counter.
- Use back/repeat controls to perfect each stroke and placement.
Customizing for Sensitive Skin/Allergies
- In Settings, add allergy info and exclude specific ingredients or brands.
- Re-run the analysis to refresh product suggestions free of allergens.
Adjusting to Style Goals
- Update your style preference (natural vs. soft glam) in Settings.
- Library reprioritizes tutorials and palettes based on your choice.
- Use side-by-side simulation to compare intensity levels.
Conclusion & Next Steps
You’ve explored every major area of the interface: Home/Dashboard, Scan Face, Product Matches, Tutorial Library, History, and Settings. By adopting proper scanning habits and fine-tuning your preferences, you’ll achieve faster, more accurate, and highly personalized makeup recommendations every time. For guidance on creating a truly personalized regimen, visit How to Build a Digital Beauty Routine with Makeup Check AI.
FAQ
- Do I need to remove makeup before scanning?
- Yes—clean, makeup-free skin yields more accurate undertone and texture analysis.
- Can I upload a photo instead of using the camera?
- Yes—tap the Upload icon on the Scan screen. Live capture offers more precise landmark mapping.
- How do I fix off-color matches?
- Re-scan under neutral lighting, clean the lens, verify skin type and finish in Settings, then compare top shade matches.
- Will it work across different devices?
- Supported on web and mobile; performance depends on camera quality and lighting. Keep the app updated for best tracking.
- Where are my past looks?
- All saved scans, favorites, and tutorials live in the History tab for easy retrieval.