10 Flawless Finish Makeup Tips for a Smooth, Long-Lasting Look
Discover 10 flawless finish makeup tips for a smooth, long-lasting look that enhances your natural beauty with ease. Learn skin prep, application, and more.
8 min read
Key Takeaways
- Skin prep is everything: Cleanse, moisturize, and prime to build a perfect canvas.
- Layer lightly: Thin applications and diligent blending prevent cakiness and streaks.
- Right tools matter: Use quality brushes, sponges, and the best formulas for your skin type.
- Lock it in: Set with finely milled powder and finish with a long-wear setting spray.
- Fix common pitfalls: Learn how to correct over-application, patchiness, and product mismatches.
Table of Contents
- Introduction
- Understanding a Flawless Finish
- Essential Skincare for a Flawless Base
- Step-by-Step Makeup Application Techniques
- Tools and Products Required
- Common Mistakes and How to Correct Them
- Advanced Techniques for a Polished Look
- Conclusion
Introduction
Achieving a flawless finish goes beyond simply applying foundation. It’s about creating a smooth, even, and long-lasting look that enhances your natural beauty while concealing imperfections. With the right strategy, you can replicate professional results at home.
In this guide, we’ll cover every step—from prep to polish—so you can enjoy a fresh, airbrushed appearance all day long.
Understanding a Flawless Finish
A truly flawless finish combines several key attributes:
- Smooth: No visible lines, bumps, or texture.
- Even: Uniform color distribution without patchiness.
- Natural: Skin-like appearance, never heavy or mask-like.
- Long-lasting: Oil control and fade resistance for all-day wear.
These characteristics all begin with healthy, hydrated skin. Without proper prep, even the best products will sit unevenly and fail to last.
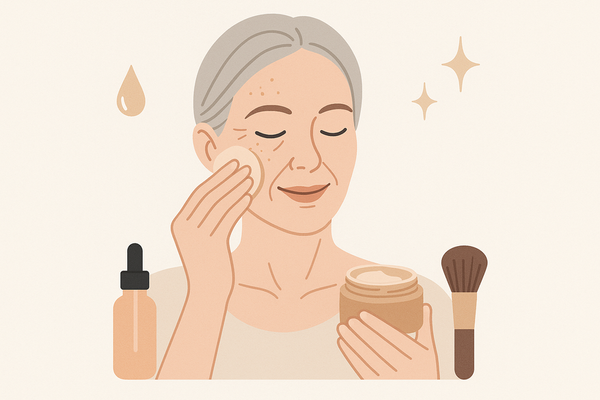
Essential Skincare for a Flawless Base
Before foundation, follow this ultimate pre-makeup skincare routine:
- Cleanse: Remove oil, dirt, and makeup with a gentle cleanser to ensure smooth adhesion and prevent clogged pores.
- Moisturize: Hydrate according to your skin type—dry, combination, or oily—to avoid flakiness and creasing.
- Prime: Apply a thin layer of silicone-based primer for pore smoothing or water-based for added hydration. This step creates a uniform surface and extends wear.
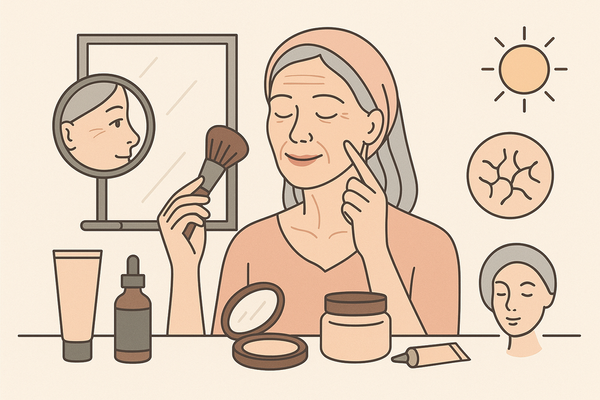
Step-by-Step Makeup Application Techniques
A. Foundation
- Shade Match: Test along the jawline in natural light to find your perfect hue.
- Formula Choice: Opt for lightweight, buildable liquids or mousses to avoid heaviness.
- Application: Using a damp sponge or flat brush, start at the center and work outward, dabbing or buffing in small circles for an airbrushed finish.
B. Concealer
- Shade Selection: One shade lighter under the eyes; exact match for blemishes.
- Application: Dot only on targeted areas and blend gently with your ring finger or a mini sponge.
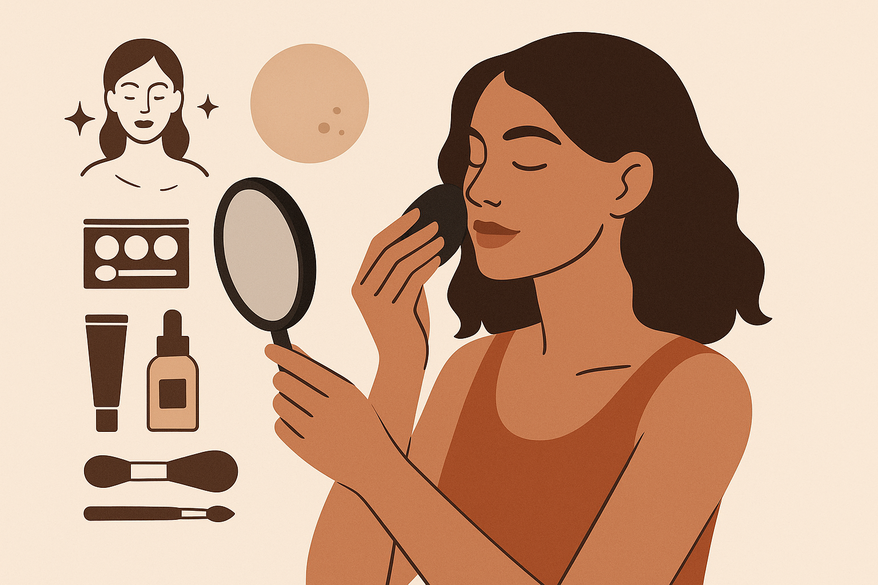
C. Blending
- Soften all edges—hairline, jawline, and nose—with a dense synthetic brush or clean damp sponge.
- Avoid visible demarcation for a seamless, skin-like finish.
D. Setting
- Powder: Press finely milled translucent or tinted powder into the T-zone with a fluffy brush.
- Setting Spray: Mist from 6–8 inches away to meld powders into skin and lock everything in place.
For a data-driven approach, try Makeup Check AI to analyze your base and customize shade matching, priming, and layering.
Tools and Products Required
- Brushes: Foundation brush, concealer brush, and a fluffy powder/blush brush for diffused application.
- Sponges: Damp beauty-blender style for seamless, airbrushed results.
- Blending Tools: Soft buffing brushes to finish edges.
- Recommended Products: Buildable foundation, hydrating concealer, silicone-based primer, and a finely milled setting powder.
Common Mistakes and How to Correct Them
- Over-application: Heavy layers look unnatural. Fix by building coverage gradually and blending thoroughly.
- Insufficient Blending: Visible edges or patchiness. Buff with a sponge or dense brush at hairline and jawline.
- Wrong Product Choice: Oil-based on oily skin or matte on dry skin. Match formulation to your skin’s needs.
- Cakey Finish: Powder settling in fine lines. Press a damp sponge over powder to absorb excess and re-blend.
Advanced Techniques for a Polished Look
- Contouring: Matte product 1–2 shades darker; apply in hollows, blend with a sponge or brush.
- Highlighting: Reflective cream or powder 1–2 shades lighter; tap gently on cheekbones, brow bone, and cupid’s bow.
- Layering Setting Sprays: Mist once after powder and again for final touch-ups to melt powder into the skin.
- Light Hand Rule: Use minimal product at each step to avoid an overdone effect.
Conclusion
Mastering a flawless finish hinges on diligent skin prep, thin-layer application, expert blending, and the right tools. Practice these techniques, correct common missteps, and add advanced touches to discover the perfect routine for your skin and lifestyle.
FAQ
- How do I choose the right primer for my skin?
- Select a silicone-based primer to smooth pores and fine lines if you have combination or oily skin; opt for water-based primers if you need extra hydration.
- What’s the best way to blend foundation seamlessly?
- Use a damp makeup sponge or a dense synthetic brush, working in small circular motions from the center outward and ensuring all edges are buffed.
- How can I make my makeup last all day?
- Prep with primer, build thin layers of product, set with translucent powder, and finish with a mist of setting spray.
- How do I avoid a cakey finish?
- Press excess powder off with a damp sponge and re-blend canvas areas. Build coverage lightly and blend each layer fully before adding more.