Essential Steps for a Basic Makeup Tutorial: A Beginner's Guide
Learn essential steps and tips in this basic makeup tutorial to help beginners confidently create their first makeup look. Discover techniques and products.
Estimated reading time: 10 minutes
Key Takeaways
- Skin prep is essential for a flawless base.
- Choosing the right tools and products streamlines your routine.
- A clear step-by-step application ensures even coverage.
- Blending and color matching create a natural finish.
- A final setting spray or powder locks in your look all day.
Table of Contents
- Introduction
- Section 1: Understanding the Basics
- Section 2: Essential Tools and Products
- Section 3: Step-by-Step Application
- Section 4: Techniques and Tips
- Section 5: Final Touches and Common Challenges
- Conclusion and Next Steps
Introduction
A basic makeup tutorial is a simple, clear lesson for beginners that covers skin prep, tools, products, application techniques, and finishing touches. By the end, you’ll have the core skills to start your makeup journey with confidence.
For beginners exploring digital makeup tools, Makeup Check AI offers an intuitive AI makeup generator and analysis, streamlining product selection and technique recommendations.
Section 1: Understanding the Basics
Key Makeup Terms
- Foundation: evens out skin tone for smooth coverage.
- Concealer: targets spots and under-eye shadows.
- Primer: grips makeup and boosts longevity.
- Blush: adds a healthy flush to cheeks.
- Setting Spray: locks your look in place all day.
Skin Types and Why They Matter
- Oily: look for mattifying formulas to control shine.
- Dry: choose hydrating, creamy products.
- Combination: mix mattifying and hydrating formulas as needed.
- Sensitive: pick gentle, fragrance-free options.
Why It Matters: Matching products to your skin type helps makeup last longer and feel comfortable. Test foundation on your jawline in natural light or use a skin tone analyzer for the perfect shade.
Source: Ipsy Makeup for Beginners
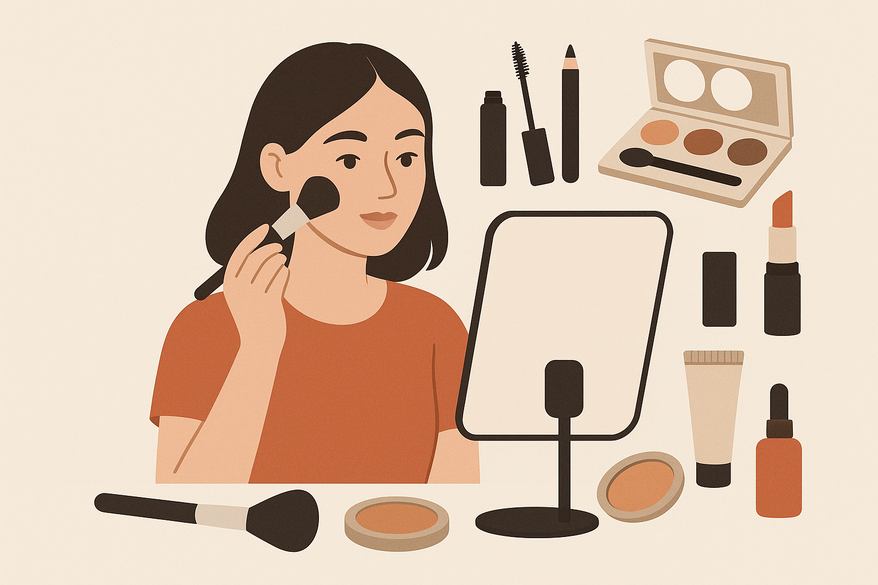
Section 2: Essential Tools and Products
Must-Have Tools
- Foundation Brush: flat or buffing for even base coverage.
- Concealer Brush/Beauty Sponge: precise spot coverage or seamless finish.
- Eyeshadow Brushes: fluffy for crease, flat for lids.
- Blush Brush: angled or round for apples of cheeks.
- Makeup Sponge: bounces product into skin when damp.
Product Essentials
- Primer to smooth lines.
- Foundation for an even tone.
- Concealer for imperfections.
- Neutral eyeshadow palette for versatile looks.
- Blush and bronzer for color and dimension.
- Mascara to open the eyes.
- Setting spray or powder to lock in makeup.
Beginner-Friendly Picks
Opt for affordable drugstore sets with synthetic brushes (easy to clean and cruelty-free). Multipurpose creams can double as blush, bronzer, or lip tint to save money and space.
Why Quality Basics Matter
- Better tools reduce product waste.
- Easier application speeds up your routine.
- Clean, well-made formulas minimize breakouts.
Sources: Ipsy, YouTube Tutorial, Natalie Setareh
Section 3: Step-by-Step Application
- Skincare Preparation
- Cleanse with a gentle cleanser.
- Moisturize for a smooth canvas.
- Primer: Pump a pea-size amount, spread thinly. (Ipsy)
- Foundation: Dot on T-zone and blend outward with brush or damp sponge. (complete guide)
- Concealer: Spot-apply under eyes and blemishes, dab gently. (Ipsy)
- Setting Powder: Press translucent powder into oily areas. (YouTube)
- Blush & Bronzer
- Blush: place on apples of cheeks, blend toward temples.
- Bronzer: sweep on cheekbones, jawline, temples.
- Eyeshadow: Sweep a neutral shade in the crease for depth. (Natalie Setareh)
- Mascara: Wiggle wand at lash base, sweep upward. (Natalie Setareh)
- Setting Spray: Mist in X and T motions from 8–10 inches away. (YouTube)
Section 4: Techniques and Tips
Blending Techniques
- Buff foundation and concealer around hairline and jawline.
- Use circular motions to dissolve harsh edges.
- Bounce sponges for a poreless finish.
Dive deeper into blending at how to apply foundation evenly.
Color Matching
- Test foundation on your jawline in natural light.
- Match concealer to under-eye area, not wrist.
Common Beginner Mistakes
- Over-applying product—start light and build up.
- Skipping blending—smooth transitions look polished.
- Jumping to bold colors too soon—stick to neutrals first.
Section 5: Final Touches and Common Challenges
- Soft Highlight: Sweep on cheekbones, nose bridge, inner eye corners.
- Bronzer Glow: Add warmth to temples and hairline.
- Setting Mist: One final spritz for all-day wear.
Frequent Challenges
- Cakey foundation—too much powder.
- Mismatched shades—off in sunlight.
- Harsh brows or eyeliner—blend softly.
- Patchy blending—use the right tools and thin layers.
Troubleshooting Tips
- Build coverage in thin layers.
- Blend thoroughly after each step.
- Choose the right brush: flat for concealer, fluffy for powder.
- Always swatch foundation on your jawline before buying.
Conclusion and Next Steps
Congratulations—you’ve mastered:
- Skin prep essentials
- Tools and products for beginners
- A nine-step makeup routine
- Blending, matching, and finishing techniques
- Common troubleshooting strategies
Practice consistently to build skill and confidence. When you’re ready to level up, explore our follow-up tutorials:
- Day-to-Night Makeup Transitions
- Contouring and Highlighting Masterclass
- Eye-Makeup Deep Dive
FAQ
- How do I choose the right foundation shade? Always test on your jawline in natural light and blend—use a skin tone analyzer for precision.
- What’s the best order to apply makeup? Start with skincare, then primer, foundation, concealer, powder, color products (blush/bronzer), eyes, mascara, and finish with setting spray.
- How can beginners avoid harsh lines? Use circular buffing motions and a damp sponge to diffuse edges.
- Can I use one product for multiple purposes? Yes—cream bronzer can act as eyeshadow, and cream blush can double as a lip tint.
- How do I make my makeup last all day? Prep with primer, set with powder, and finish with a setting spray for long-wear confidence.