DIY Makeup Hacks: Lipstick, Lip Gloss, Brush Cleaner & Powder Repair
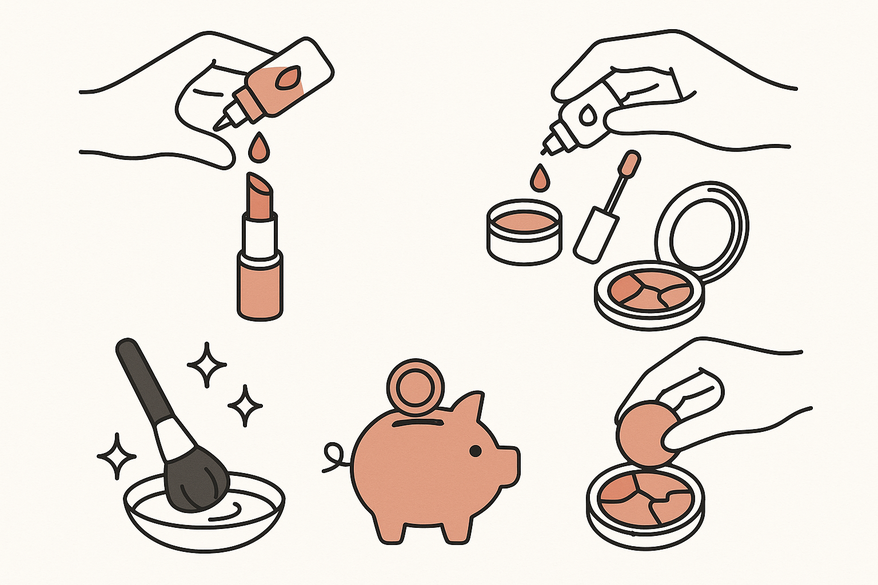
Discover DIY makeup hacks to make lipstick at home, create custom lip gloss, clean brushes and fix broken powder compacts, saving money and reducing waste.

Estimated reading time: 8 minutes
Key Takeaways
- Formulate natural lipstick using beeswax, oils, and pigments.
- Create custom lip gloss for your ideal tint, shine, and nourishment.
- Maintain hygienic brushes with a simple homemade cleaner.
- Rescue broken powder compacts to minimize waste and extend product life.
Table of Contents
- DIY Makeup Hacks Overview
- Make Lipstick at Home
- Create Custom Lip Gloss
- Homemade Brush Cleaner
- Fix Broken Powder Compact
- Conclusion
DIY Makeup Hacks Overview
What are DIY makeup hacks? They’re cost-effective, personalized beauty solutions that empower creativity, reduce packaging waste, and save money. By repurposing common ingredients, you can craft unique shades and textures, extend the life of your collection, and experiment without commitment.
- Personalization: Craft shades and textures that match your style.
- Cost savings: Cut back on store-bought makeup expenses.
- Sustainability: Reduce packaging waste and landfill makeup (learn more about clean and eco-friendly DIY beauty).
- Experimentation: Test unique formulas without large commitments.
Make Lipstick at Home
Goal: Formulate safe, natural lipstick at home using beeswax, oils, and pigments.
Ingredients & Tools (2026 Update):
- 2 tbsp beeswax pellets or vegan candelilla wax (for plant-based users)
- 1 tbsp organic coconut oil or olive oil
- Cosmetic-grade pigment (iron oxides, mica, or repurposed old lipstick/eyeshadow)
- 1–2 drops essential oil for scent (peppermint, lavender, or rose geranium)
- Small heat-safe glass container, double boiler or induction-safe pot, empty lipstick tube or sanitized jar, stainless steel stirring utensil
Step-by-Step Instructions (2026):
- Combine Base
Weigh and mix beeswax (or candelilla wax) with oil in a heat-safe glass container. - Melt on Low Heat
Gently heat using a double boiler or induction cooktop (low setting) until fully melted, stirring occasionally. - Add Pigment
Stir in your pigment or finely crushed powder until uniform in color and texture. - Scent & Pour
Add essential oil, stir well, and pour immediately into your tube or jar. - Solidify
Let cool and set for 20–30 minutes at room temperature. For faster results, refrigerate for 10 minutes.
Customization Tips:
- More oil = creamier finish; more wax = firmer stick.
- Blend multiple pigments or old lipstick bits (see our lipstick shade finder guide for tips).
- Add a pinch of cosmetic-grade mica for shimmer or a drop of vitamin E as a preservative.
- For vegan formulas, swap beeswax for candelilla or carnauba wax.
Safety & Quality Best Practices:
- Use FDA-approved, cosmetic-grade pigments and avoid craft pigments.
- Sterilize containers and tools with boiling water or 70% isopropyl alcohol before use.
- Perform a patch test for sensitivity on the inner arm before full application.
- Label each batch with date and full ingredient list.
Create Custom Lip Gloss
Goal: Blend a personalized gloss with your ideal tint, shine, and nourishment.
Ingredients & Tools (2026 Update):
- 1 tbsp petroleum jelly or natural alternative (shea butter, mango butter, or new plant-based gloss bases now available in 2026)
- Tiny pinch of pigment, crushed eyeshadow, or food-safe color (ensure it's lip-safe)
- ¼ tsp vitamin E oil, ¼ tsp almond, jojoba, or sunflower oil, optional mica or biodegradable glitter
- Small bowl, spatula or spoon, reusable lip gloss tube or jar (now widely available at beauty supply stores and online)
Step-by-Step Instructions (2026):
- Soften Base
Warm petroleum jelly, shea, or mango butter until soft (microwave for 10 seconds or use a warm water bath). - Mix in Tint
Stir in your chosen color until even and no streaks remain. - Add Nourishers
Blend in vitamin E and carrier oils for extra moisture and lip care benefits. - Incorporate Shine
Add mica or biodegradable glitter for shimmer (avoid plastic-based glitters for eco-safety). - Transfer & Cool
Spoon into your container; let set for 10–15 minutes at room temperature or chill for 5 minutes if needed.
Personalization Pointers:
- Boost shimmer with extra mica or eco-friendly glitter options now widely sold in 2026.
- Swap petrolatum for shea, mango, or cocoa butter for a petroleum-free, vegan formula.
- Use tinted oils (rosehip, cranberry, plum) for deeper, naturally pigmented color.
- Add essential oils (orange, mint, or vanilla) for a custom scent profile.
Homemade Brush Cleaner
Importance: Clean brushes prevent bacteria buildup, breakouts, and uneven makeup application. In 2026, dermatologists continue to emphasize weekly cleaning for optimal skin health.
Ingredients & Tools:
- 1 part gentle dish soap or fragrance-free baby shampoo
- 1 part olive oil or fractionated coconut oil
- Bowl, towel, lukewarm water, and silicone brush cleaning mat (widely available in 2026 for under $5)
Step-by-Step Instructions:
- Prep Solution
Mix soap (or baby shampoo) with olive oil in a bowl. - Swirl Brushes
Dip bristles and swirl for 10–15 seconds. For deeper cleaning, use a silicone brush mat to gently agitate bristles. - Rinse Thoroughly
Rinse under lukewarm water until water runs clear. Avoid getting water into the ferrule (metal part) to prevent shedding. - Reshape & Dry
Squeeze out water, reshape bristles, and air-dry flat or upside down to prevent water from seeping into the handle.
For more on maintaining pristine brushes, check out our comprehensive guide how to clean makeup brushes.
Fix Broken Powder Compact
Common Problem: Dropped compacts crack and create crumbs. In 2026, this remains one of the most-searched beauty fixes.
Materials Needed:
- Broken powder pieces in original pan
- 70% rubbing alcohol (now available in spray format for easier application)
- Spoon or spatula, paper towel, and plastic wrap (to avoid direct contact when pressing)
Step-by-Step Instructions (2026):
- Crush & Fine-ize
Crush larger pieces into a fine, even powder using the back of a spoon or spatula. - Add Alcohol
Spritz or drip 3–5 drops of 70% rubbing alcohol evenly to bind particles. Avoid oversaturating. - Press & Level
Cover with a piece of plastic wrap and press firmly to compact and smooth the surface. - Dry & Set
Let air-dry, uncovered, for at least 24 hours in a well-ventilated area. Alcohol will evaporate, leaving the powder re-bonded. - Clean Excess
Wipe away any residue from the pan edges before closing the compact.
Maintenance & Prevention Tips:
- Store compacts in padded bags or compartments, especially when traveling.
- Place a cotton pad or foam insert on top of the powder to absorb shock.
- Avoid dropping or heavy stacking; consider using compact cases with reinforced corners (new in 2026).
Conclusion
These DIY makeup hacks empower you to:
- Create personalized lipsticks and glosses.
- Maintain hygienic brushes with a homemade cleaner.
- Repair cracked powder compacts for zero-waste beauty.
- Experiment with ingredients to find your perfect formula.
Final Call-to-Action
Share your creations in the comments and tag #DIYMakeupHacks on social media. Want more tutorials? Sign up for our newsletter and stay ahead of the beauty curve!
FAQ
- How long does homemade lipstick last?
Stored in a cool, dry place, homemade lipstick can last 6–12 months. Always label with the date and avoid if you notice any change in scent or texture. - Is DIY makeup safe for sensitive skin?
Use cosmetic-grade ingredients, sterilize tools, and perform a patch test before full application. In 2026, hypoallergenic pigment options are more widely available for sensitive users. - Can I use natural colorants in lip gloss?
Yes—choose food-safe colors or cosmetic pigments and ensure they’re FDA-approved for lip use. New plant-based colorants are now easier to find in 2026. - How often should I clean my makeup brushes?
For best hygiene, deep-clean weekly and rinse lightly after each use if possible. Dermatologists in 2026 still recommend weekly deep cleaning for all users.