How to Develop Your Own Makeup Look: A Step-by-Step Guide
Learn to develop your own makeup look with this comprehensive guide. Analyze features, select products, and experiment confidently to create a personalized style.
7 min read
Key Takeaways
- Personalization is key: Tailor techniques to your face shape and undertone.
- Essential tools and products: Invest in brushes, primers, and quality formulas.
- Structured routine: Prep, feature focus, experimentation, and documentation.
- Color theory: Use warm, cool, complementary, and analogous schemes.
- Continuous refinement: Log your trials and adjust based on results.
Table of Contents
- Introduction
- Understanding Your Features: Face Shape Analysis & Skin Tone
- Fundamentals of Makeup: Essential Makeup Products & Tools
- Step-by-Step Guide to Developing Your Own Makeup Look
- Experimentation and Customization: Makeup Experimentation & Personalized Beauty
- Conclusion
Developing your own makeup look means crafting a personalized style designed to enhance your unique features, express your individuality, and suit your lifestyle. Instead of one-size-fits-all routines, this approach focuses on techniques and shades tailored just for you.
The personalized beauty trend is on the rise. Custom blending, targeted color selection, and individual styling boost confidence and inclusivity. As more people embrace self-expression, creating a signature look becomes empowering.
By the end of this guide, you’ll know how to analyze your features, select products, experiment confidently, and refine a signature look. You’ll move from basic application to artful customization with a clear, step-by-step process.
For personalized, AI-driven guidance on blending and shade matching, consider exploring Makeup Check AI.
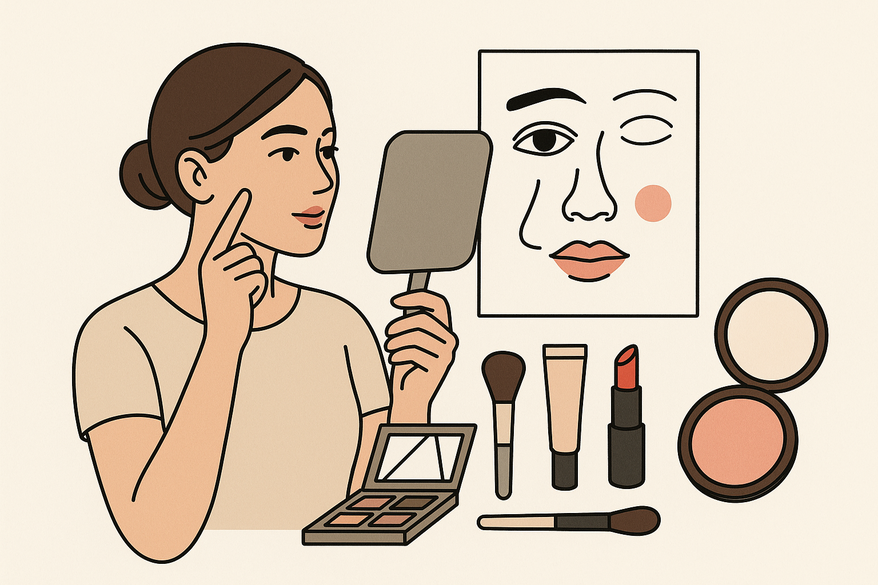
1. Understanding Your Features: Face Shape Analysis & Skin Tone
Before blending powders and colors, you must know your canvas. Accurate face shape analysis and skin tone assessment ensure everything you apply highlights your best features.
Identify Your Face Shape
- Oval: Forehead slightly wider than chin; balanced proportions.
- Round: Soft curves, full cheeks, equal width and length.
- Square: Broad forehead, strong jawline, angles at temples and jaw.
- Heart: Wider forehead, high cheekbones, narrow chin.
- Diamond: Narrow forehead and chin, widest at cheekbones.
How to measure:
- Stand in natural light, hold hair back.
- Use a soft tape or flexible ruler to measure:
- Forehead width (peak to peak)
- Cheekbone width (outer corner to outer corner)
- Jawline length (angle to angle)
- Face length (hairline to chin)
- Compare ratios against shape charts.
Determine Your Skin Tone vs. Undertone
- Skin tone: The surface hue (fair, light, medium, deep).
- Undertone: The subtle hue beneath (cool, warm, neutral).
Tests for undertones:
– Vein Test: Blue or purple veins indicate cool; green veins signal warm; mixture suggests neutral.
– Jewelry Test: Silver looks richer on cool undertones; gold flatters warm.
For a deeper dive into digital shade analysis, check out digital shade analysis.
Matching foundation, blush, and lipstick to your undertone prevents ashy or sallow effects. It elevates your overall look and ensures harmony.
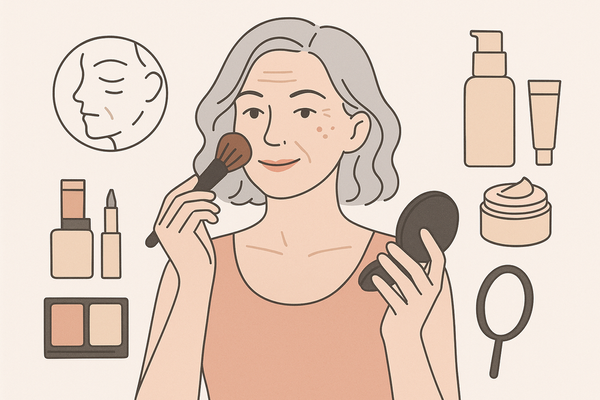
2. Fundamentals of Makeup: Essential Makeup Products & Tools
Mastering core products and tools lays the foundation for any look. Quality selection and proper prep maximize results and longevity.
Essential Makeup Products
- Skincare:
- Cleanser: Removes impurities for a fresh base.
- Moisturizer: Hydrates skin, smooths texture.
- SPF: Shields from UV damage, prevents premature aging.
- Primer: Blurs pores, fills fine lines, extends wear.
- Foundation & Concealer:
- Match undertone and skin tone.
- Coverage levels: sheer, medium, full.
- Apply foundation in thin sections, blending outward for best results (see apply foundation evenly).
- Powder: Sets liquid products and controls shine.
- Brow Products: Pencil, powder, or gel for shaping and volume.
- Eye Products:
- Neutrals for day, accent shades for depth.
- Eyeliner: pencil, gel, or liquid for definition.
- Mascara: lengthening, volumizing, or waterproof formulas.
- Cheek Products:
- Blush: adds flush on apples.
- Bronzer: sculpts in a soft 3-shape.
- Highlighter: illuminates cheekbones, brow bones, nose bridge.
- Lips:
- Lip liner: outlines and prevents feathering.
- Lipstick: matte, satin, or cream finishes.
- Gloss: adds dimension and shine.
Essential Makeup Tools
- Brushes:
- Foundation brush: flat or buffing style.
- Powder brush: fluffy for a light set.
- Blending brush: tapered for seamless shadow work.
- Angled brow brush: for precise eyebrow definition.
- Sponges:
- Damp beauty blender: stamps foundation for a poreless finish.
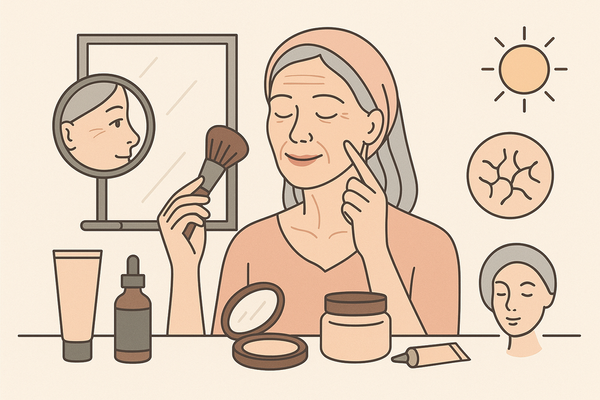
3. Step-by-Step Guide to Developing Your Own Makeup Look
This systematic routine helps you build—and refine—a look that reflects your features and style preferences.
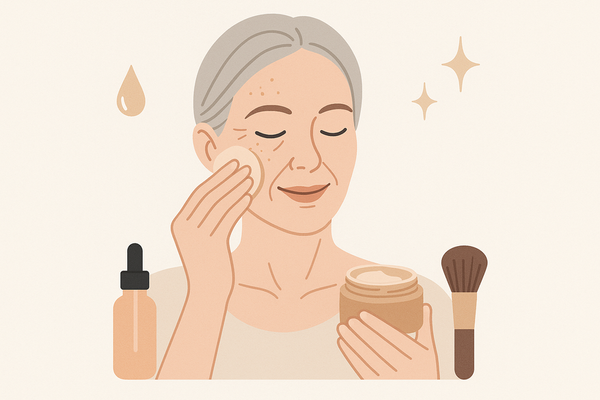
- Prep Skin
- Cleanse with a gentle, pH-balanced formula.
- Moisturize focusing on dry areas.
- Apply a lightweight primer to smooth texture.
- Tackle One Feature at a Time
- Brows (mapping):
- Mark start, arch, and tail points with a pencil.
- Fill sparsely with short strokes.
- Eyes:
- Transition shade in crease with a fluffy brush.
- Deepen outer V with a darker shade.
- Highlight center lid for dimension.
- Face:
- Spot-conceal blemishes or redness.
- Apply foundation in thin sections, blending outward.
- Set T-zone with translucent powder.
- Cheeks:
- Bronzer: sweep in a soft “3” along forehead to cheekbones to jawline.
- Blush: smile and apply to apple, blending slightly upward.
- Highlighter: tap on high points—cheekbones, cupid’s bow, brow bone.
- Lips:
- Line just within natural border.
- Fill with matching lipstick.
- Top center with gloss for a plump effect.
- Brows (mapping):
- Gradual Experimentation
- Start neutral: beige, taupe, soft pink.
- Increase intensity in small increments.
- Note reactions: Did a smoky eye make your eyes look droopy or lifted?
- Apply Basic Color Theory
- Warm vs. cool shades: complement your undertone.
- Complementary pairing: blue shadow with orange undertone lips.
- Analogous pairing: pink blush with mauve lips for harmony.
- Use a color wheel to visualize matching schemes.
- Documentation
- Photograph each step under consistent lighting.
- Log products, shades, and application techniques that succeeded or flopped.
- Review your log weekly and identify your favorite combos.
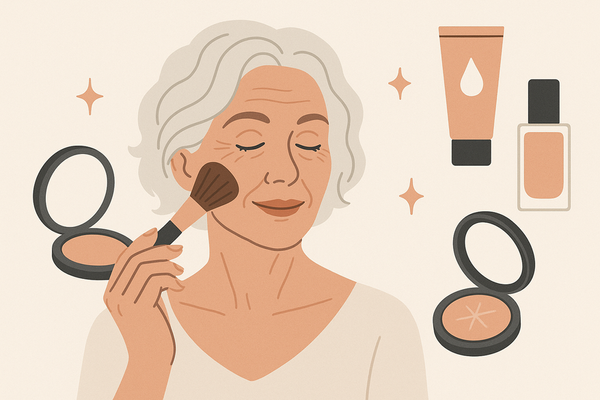
4. Experimentation and Customization: Makeup Experimentation & Personalized Beauty
Personalization happens when you take inspiration and make it your own. *Experiment boldly*, then refine to match your features and comfort zone.
Conclusion
Recap Process
- Analyze your face shape and skin tone.
- Master essential makeup products and tools.
- Follow a step-by-step build: prep, feature focus, color theory, documentation.
- Experiment regularly and customize trends.
- Avoid common mistakes through checks and journaled feedback.
Your personalized beauty journey will evolve. Each trial and adjustment teaches you more about how colors and techniques work for you.
Share your before-and-after images or tag your transformation on social media with #MyMakeupCheckAI. Join our community for feedback, inspiration, and encouragement as you continue to develop your own makeup look.
FAQ
- How long does it take to create a signature makeup look?
It varies, but expect to refine your routine over several weeks of experimentation and documentation.
- Do I need professional tools to get started?
No, begin with a basic selection of brushes, a sponge, and core products—upgrade as you discover your preferences.
- Can I create multiple looks for different occasions?
Absolutely. Use your documentation log to mix and match techniques for daytime, evening, and special events.