Camera-Ready Makeup Secrets: Achieve Flawless Photos Every Time
Discover camera-ready makeup secrets to perfect your photos with expert techniques and products. Achieve a flawless finish, balance shine, and avoid imperfections.
8-minute read
Key Takeaways
- Skin prep is essential: Cleanse, exfoliate, and moisturize to create a smooth, light-reflective canvas.
- Choose photo-safe formulas: HD and long-wear products resist flashback and remain true to tone.
- Master each step: Primer, foundation, concealer, contour, highlight, powder, and spray work together for a seamless finish.
- Adapt to lighting: Balance shine vs. luminosity and test under actual shoot conditions.
- Use the right tools: Quality brushes, sponges, and setting sprays lock in your look all day and night.
Table of Contents
- Introduction
- Understanding the Basics of Camera-Ready Makeup Secrets
- Step-by-Step Makeup Application
- Advanced Camera-Ready Makeup Techniques
- Product Recommendations and Tools
- Conclusion
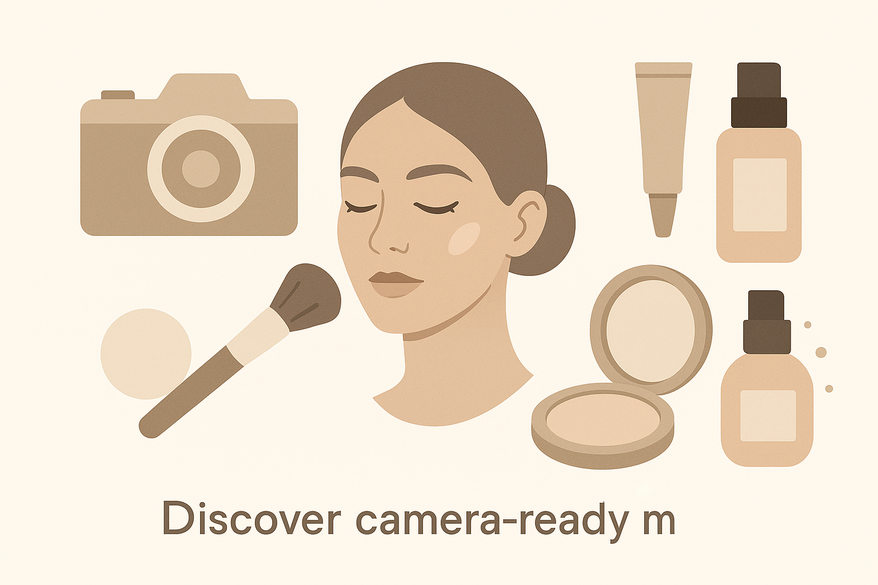
Camera-ready makeup secrets are the expert techniques and product choices that ensure your makeup appears flawless under any camera. Whether you’re shooting professional portraits, hopping on a video call, or attending a special event, cameras see things our eyes don’t. They can wash out natural tones or highlight tiny imperfections. In this post, you’ll learn how to master balance, pick the right products, and follow a pro method so your makeup looks beautiful on screen.
For an extra layer of confidence, consider using Makeup Check AI to analyze and refine your camera-ready looks.
Understanding the Basics of Camera-Ready Makeup Secrets
Skin Preparation
- Cleanse with a gentle, non-stripping cleanser.
- Exfoliate once or twice a week—chemical or physical—to slough off dead skin cells and smooth texture.
- Moisturize with a lightweight, hydrating formula so makeup glides on and never cakes.
Well-hydrated skin reflects light softly. It boosts natural glow without extra oil. This smooth canvas helps your foundation and color stick evenly.
Product Selection for Photography
- Look for “photo-finish,” “long-wear,” or “HD” makeup.
- These high-definition formulas resist flashback and hide texture under harsh lighting.
- Test products in both ambient light and with flash to see their true colors and finish.
Choosing photo-safe cosmetics means your makeup stays true to tone and never appears chalky in pictures.
Step-by-Step Makeup Application
Primer
- A primer is a base that blurs pores and fine lines.
- Oily skin? Use a mattifying, silicone-based primer to reduce shine.
- Dry skin? Pick a hydrating, serum-like primer for extra moisture.
Primer creates a smooth surface. It helps foundation spread evenly and stay put all day.
Foundation
- Choose a buildable, high-definition foundation that matches your undertone.
- Apply with a stippling brush or a damp makeup sponge for a seamless finish.
Stippling or bouncing motions work best to press product into the skin. This keeps texture invisible on camera.
Concealer
- Use a light-diffusing concealer to brighten under-eye areas.
- Tap it on blemishes to camouflage dark spots without creasing.
A soft, brightening concealer helps hide shadows and small imperfections in photos.
Contouring and Highlighting
- Contouring adds shading to enhance your bone structure.
- Apply to hollows of cheeks, jawline, and temples.
- Highlighting uses fine, light-reflective formulas on high points.
- Dab on tops of cheekbones, bridge of nose, and cupid’s bow.
- Avoid chunky glitter; it can catch flashes and look sparkly in all the wrong ways.
Follow a simple face map to shape and lift features for a sculpted, camera-ready look.
Powders and Setting Sprays
- Press a translucent setting powder into oily spots only—mainly the T-zone.
- Brush off any excess to avoid a white cast in photos.
- Finish with a fine-mist setting spray to meld all layers into a natural, skin-like finish.
Setting products lock makeup in place and control shine without dulling your glow.
Advanced Camera-Ready Makeup Techniques
Managing Shine vs. Luminosity
- Aim for a satin-matte finish—just enough glow without emphasizing pores.
- Use blotting papers or micro-finish translucent powders for midday touch-ups.
Balanced luminosity means your skin looks fresh, not greasy or flat.
Adapting to Lighting Conditions
- Natural daylight is soft and cool. Artificial or studio lights are warmer and more intense.
- Cameras tend to neutralize colors. Pump up blush and contour just a bit so features stay defined on screen.
Always test under the exact lighting you’ll be filmed or photographed in. For more pro photoshoot strategies, see expert photoshoot makeup tips.
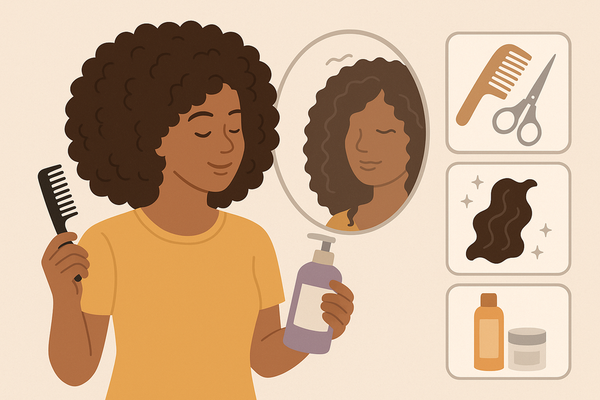
Product Recommendations and Tools
- Silicone-based or pore-filling primer
- High-definition foundation and concealer
- Translucent, photo-safe setting powder
- Finely milled contour and highlight powders
- Long-wear brow products and lip color
- Hydrating, fine-mist setting spray
- Quality brushes (flat foundation brush, fluff brush for powder)
- Damp makeup sponges
Whether you’re on a budget or booking shoots, these picks deliver the camera-ready results you need. For an HD-specific guide, check out our detailed tutorial.
Conclusion
- Thorough skin preparation sets the stage for flawless photos.
- Photo-specific, HD products guarantee true-to-skin color and finish.
- Precision application techniques control shine, texture, and longevity.
Try these camera-ready makeup secrets to find your perfect formulas for any lighting or camera. Share your own tips and before-and-after shots in the comments or tag us on social media!
FAQ
- Flashback (White Cast): Cause: SPF in primers or silica-based powders. Fix: Use photo-tested, flash-safe powders and test with flash photography ahead of time.
- Caking: Cause: Layering too much product or powder in one spot. Fix: Apply very thin coats, set with a spray, and blot before reapplying any powder.
- Smudging: Cause: Cream liners or non-waterproof mascaras. Fix: Switch to waterproof formulas and set them with matching translucent powder.