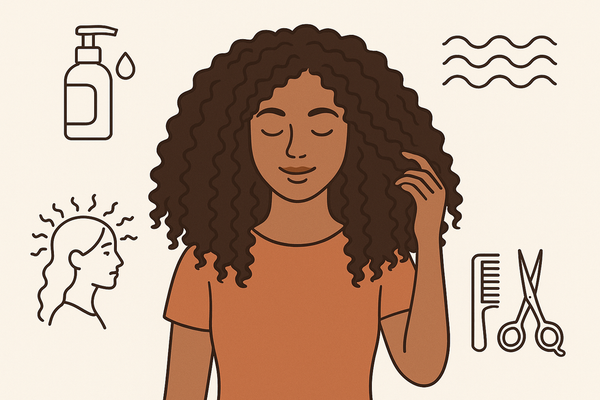
Ultimate Guide to Thick Curly Hair Routine
Master your thick curly hair routine with tips on frizz prevention, managing waves between washes, and fixing color or haircut issues.
Estimated reading time: 10 minutes
Key Takeaways
- Personalized multi-step regimen to hydrate and define dense curls
- Frizz-fighting strategies and moisture-locking tips
- Refresh techniques for waves on days 2–5
- Salon checklist for curl-friendly stylists
- Color and cut fixes for blue undertones and uneven layers
Table of Contents
- Section I: Understanding Thick Curly Hair
- Section II: Crafting Your Thick Curly Hair Routine
- Section III: Frizz Prevention Strategies
- Section IV: Managing Waves Between Washes
- Section V: Choosing a Curly Hair Specialist
- Section VI: Addressing Color and Style Issues
- Conclusion
- FAQ
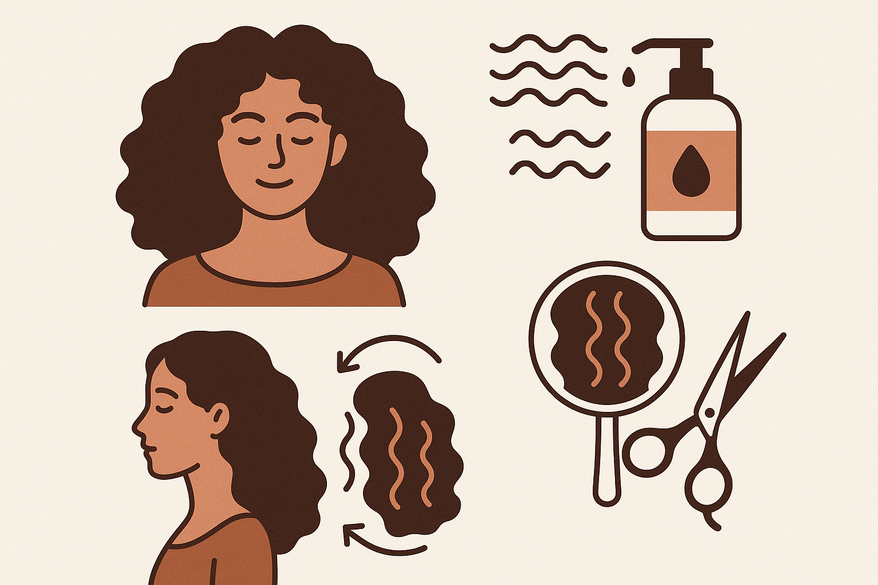
Section I: Understanding Thick Curly Hair
Thick curly hair is defined by high strand density and tight curl patterns that can repel moisture, leading to unique challenges.
- High strand density: More hairs per square inch on the scalp.
- Tight curl pattern: Spirals or coils that slow natural oil distribution.
- Porous cuticles: Overlapping layers like roof shingles.
- Common issues: Dryness, brittleness, frizz, tangles, and unpredictable shrinkage.
Many beauty enthusiasts complement their hair regimen with tools like Makeup Check AI for AI-powered tutorials and personalized tips.
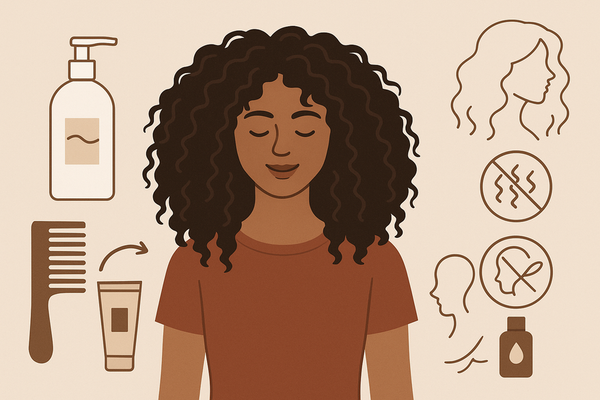
Section II: Crafting Your Thick Curly Hair Routine
Step 1: Pre-Wash Clarifying
Purpose: Remove mineral buildup (chlorine, saltwater, hard water) to ensure moisture penetration.
- Use a gentle clarifying shampoo (e.g., sodium cocoyl isethionate) once every 4–6 washes.
- Tip: Clarify before any deep-conditioning session for maximum effect.
Step 2: Gentle Cleansing
Choose between:
- Sulfate-free shampoo for a low-lather cleanse.
- Co-wash for minimal foam and extra slip.
Technique:
- Section hair into four quadrants.
- Massage product into the scalp with fingertips.
- Rinse thoroughly under lukewarm water.
Step 3: Deep Conditioning
- Deep: Rich formulas with high molecular weight emollients.
- Rinse-out: Lighter slip for daily hydration.
Application:
- Squeeze excess water after cleansing.
- Apply deep conditioner mid-shaft to ends and cover with a heat cap or steamer.
- Leave for 10–20 minutes, then rinse with cool water to seal cuticles.
Key ingredients: Shea butter, glycerin, hydrolyzed proteins.
Step 4: Leave-In Conditioner
Purpose: Provides ongoing slip and moisture lock.
Distribution:
- Use the “praying hands” method to glide product over sections.
- Aim for even coverage without overloading the roots.
Step 5: Styling Product Layering
Order:
- Leave-in conditioner
- Curl cream or volumizing foam (mousse for density)
- Gel for hold
Why? Cream or foam builds definition; gel locks in moisture and hold.
Step 6: Sealing with Oil
Apply 2–3 drops of light oil (argan or jojoba) to mid-lengths and ends to seal cuticles and control porosity.
Step 7: Drying Techniques
- Plopping: Secure wet hair in a cotton T-shirt to encourage clumping and reduce frizz.
- Diffusing: Use low heat/low airflow, hover 2–3 inches away, and cup sections until the cast forms.
Section III: Frizz Prevention Strategies
Cause #1: Moisture loss and dryness. Remedy: Build a hydration base with weekly deep conditioning.
Cause #2: Environmental factors. Combat with protective styles, leave-in oils, and soft fabrics.
- Swap terry cloth towels for microfiber or cotton T-shirts.
- Style on soaking-wet hair for even product spread.
- Seal with oil to lock in moisture.
Section IV: Managing Waves Between Washes
- Refresh spray: Mix water with leave-in or flaxseed gel.
- Co-wash mini-dose: Light co-wash on roots, then rinse.
- Pineapple & satin: High pony + satin bonnet at night.
- Clip-scrunch: Twist waves around fingers, clip until set.
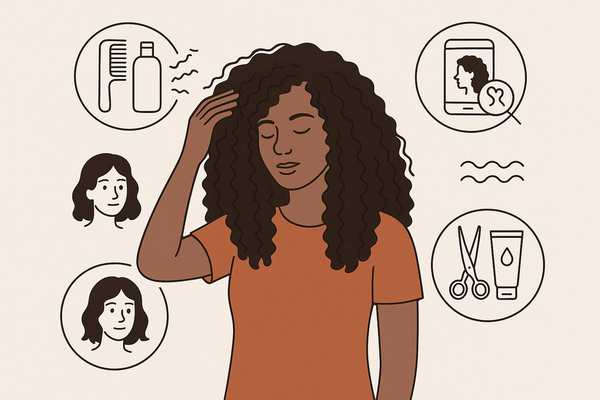
Section V: Choosing a Curly Hair Specialist
- Look for DevaCut, Ouidad, or Curly Girl–friendly training.
- Request dry-cut consultations to preview shape.
- Bring your daily products and inspiration photos.
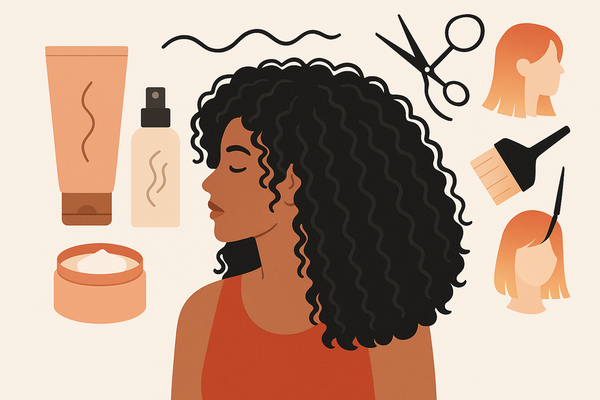
Section VI: Addressing Color and Style Issues
A. Blue Hair Not Showing Fix
- Clarify with a chelating shampoo.
- Apply a warm-toned glaze to neutralize blue undertones.
- Use a pigmented toning shampoo for maintenance.
- Deep condition to restore moisture.
B. Bad Layers Haircut Fix
- Identify: Uneven lengths and choppy ends.
- Opt for twist-outs or braid-outs to blend layers.
- Seek point-cutting at the dry stage for subtle shaping.
- Schedule micro-trims every 8–10 weeks.
Conclusion
You now have a comprehensive routine to:
- Hydrate and define your curls.
- Prevent frizz with targeted strategies.
- Refresh waves between washes.
- Choose the right curl-friendly salon specialist.
- Fix blue undertone issues and uneven layers.
Experiment with product pairings, adjust your layering order, and fine-tune your drying methods to see what your curls love most.
FAQ
- How often should I clarify? Clarify every 4–6 washes or before deep conditioning for optimal moisture absorption.
- Can I skip the gel? If you prefer less hold, use a lighter foam or cream, but your definition may vary.
- Is plopping necessary? Plopping reduces frizz and boosts curl clumping but air-drying or diffusing also work with adjusted technique.
- How do I find a curl-friendly stylist? Look for certifications like DevaCut or Ouidad, and always ask for a dry-cut consultation.
- Will this routine work on color-treated curls? Yes—just add a color-safe sulfate-free shampoo and extra protein treatments to address any damage.