Smokey Eye Makeup Look: Step-by-Step Tutorial and Tips
Master the smokey eye makeup look with this detailed tutorial and tips, including a guide for beginners and bronze variations for a soft glam finish.
Estimated reading time: 8 minutes
Key Takeaways
- A smokey eye enhances eyes with a seamless gradient from dark to light tones.
- Evening looks favor deeper pigments like charcoal, black, or jewel tones for maximum drama.
- The bronze smokey eye adds warmth using coppery and golden highlights.
- Beginners should stick to three shades and one fluffy brush to simplify blending.
- Pair smokey eyes with neutral lips and glowing skin for a balanced soft glam finish.
Table of Contents
- Introduction to Smokey Eye Makeup Look
- What Is a Smokey Eye Makeup Look?
- Evening Glamour: Evening Smokey Eye Tutorial
- Step-by-Step Tutorial for an Evening Smokey Eye
- Focusing on the Bronze Smokey Eye
- Adaptations for Smokey Eye for Beginners
- Additional Tips for Achieving a Soft Glam Makeup Look
- Smokey Eye Makeup Look Recap
- FAQ
Introduction to Smokey Eye Makeup Look
The smokey eye makeup look is a timeless staple in evening glam, celebrated for its sultry, sophisticated allure that flatters every eye shape. Its blend of diffused shading and a seamless gradient makes it a red-carpet favorite and a must for cocktail parties.
Whether you’re aiming for a classic soft glam vibe or a warm-toned bronze finish, this guide covers both an evening smokey eye tutorial and beginner-friendly tips.
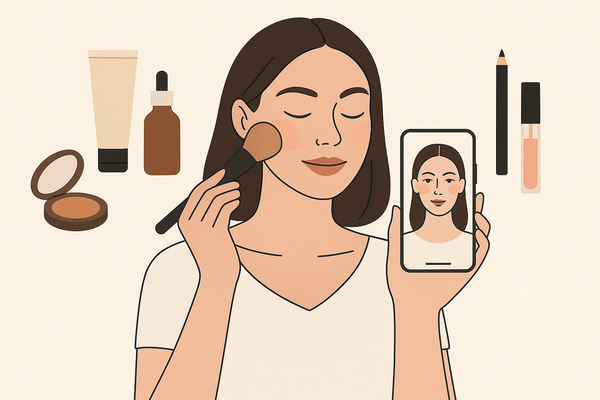
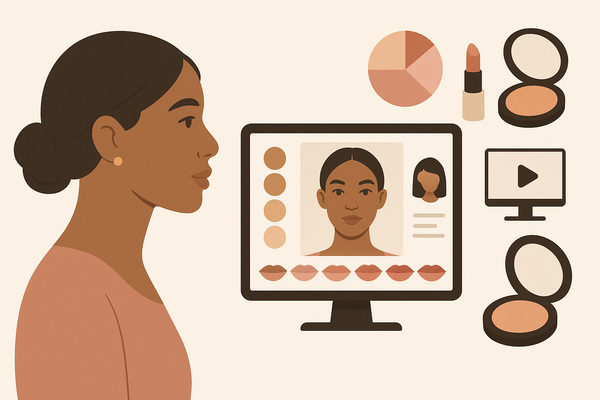
Check your look instantly with Makeup Check AI:
What Is a Smokey Eye Makeup Look?
A smokey eye relies on creating depth without harsh lines. You start with the darkest shadow at the lash line and blend it into lighter shades toward the brow bone, opening up the eyes and adding instant drama.
- The darkest pigment hugs the upper and lower lash lines.
- Mid-tone shades soften that darkness in the crease.
- Highlight shades brighten the inner corner and brow bone.
Variations include:
- Daytime: soft neutrals like taupe or warm brown.
- Evening: bold pigments such as charcoal, black, or deep plum.
Evening Glamour: Evening Smokey Eye Tutorial
Bold shading and contrast shine under dim lighting at formal dinners, nightclubs, and parties. Darker hues and sharper definition ensure your eyes stand out on the dance floor or at a candlelit table. Plan the perfect look with our date night makeup guide.
Day vs. Evening:
- Day: soft browns, taupe shades, and a thin liner for a natural finish.
- Evening: charcoal, jet black, or jewel-tone shadows with heavier blending.
Why it works at night:
- Deep pigments catch low light, creating a smoky glow.
- Intense contrast draws attention to the eyes from afar.
- Layered shadows add texture and dimension.
For a step-by-step video, see the Bobbi Brown tutorial or watch our evening smokey eye tutorial video.
Step-by-Step Tutorial for an Evening Smokey Eye
Follow these five stages for a flawless finish. Each step builds on the last to create that seamless gradient and sultry effect.
- Prepping the Eyelids
• Use an eyeshadow primer on oily lids or a mattifying concealer on dry lids for a smooth base.
• Lightly dust translucent powder over the primer to lock it in and prevent creasing.
See the evening tutorial video. - Choosing and Applying Base Shades
• Pick a neutral cream eyeshadow stick or powder slightly darker than your skin tone. Blend from lash line to crease.
• Apply a pale matte or shimmery shade on the inner corner and just below the brow arch to lift the eye.
See the Bobbi Brown tutorial or our soft glam video tutorial. - Building the Gradient
• With a fluffy blending brush, sweep a medium-toned transition color into the crease using windshield-wiper motions to soften edges.
• Press a deeper shade into the outer corner and smudge it along both upper and lower lash lines.
See our smokey eye basics video or the evening tutorial video. - Intensifying for Evening
• Layer a dark shadow (black, charcoal, or deep plum) on the outer third of the lid. Blend upward and outward for a lifted effect.
• Line the top and bottom lash lines with a kohl pencil, then smudge for a softer finish.
• Finish with two coats of volumizing mascara or add false lashes for maximum drama.
Reference the smokey eye basics video. - Finishing Touches
• Use a clean blending brush to melt any harsh edges.
• Remove fallout under the eye with a soft brush or makeup sponge.
• Re-highlight the inner corner for extra brightness.
For more tips, see the evening tutorial, the Bobbi Brown tutorial, the soft glam video, and our basics video.
Focusing on the Bronze Smokey Eye
The bronze smokey eye adds warmth with coppery and brown tones, flattering fair, medium, and deep skin alike. It still reads as a soft glam makeup look but with a golden glow.
Application tips:
- Layer a matte brown shade in the crease as your transition color.
- Pat a shimmery bronze or copper pigment on the center of the lid for a radiant glow.
- Blend all edges gently to keep the finish polished, not muddy.
- Add a dab of gold highlight at the very center of the lid to catch light.
Watch our bronze tutorial video.
Adaptations for Smokey Eye for Beginners
Starting out, you may face harsh lines, uneven color, or shadow fallout. These tweaks make a smokey eye for beginners more foolproof.
Common challenges:
- Hard edges that look too severe.
- Difficulty blending between shades.
- Shadow pieces falling under the eye.
Simplified techniques:
- Use one fluffy blending brush for most steps to keep blending even.
- Stick to three shades only: light, medium, and dark for easy transitions.
- Try cream or stick eyeshadows—they blend with fingers and cut down on brush swaps.
- Begin with neutral or bronze tones before moving to black or navy.
Start with a clean, no-makeup base: see our natural makeup looks tutorial.
Tool recommendations:
- Real Techniques Base Shadow Brush for effortless blending.
- Cream eyeshadow sticks for precise application and easy control.
Additional Tips for Achieving a Soft Glam Makeup Look
A soft glam makeup look pairs perfectly with a smokey eye. Balance is key throughout your complexion, lips, and cheeks.
Skin and complexion:
- Start with a hydrating or mattifying primer based on your skin type.
- Build foundation in thin layers and add a soft contour to the cheeks.
Lips and cheeks:
- Choose a nude or neutral lip color to keep the focus on the eyes.
- Use a rose or peach blush for a healthy, natural glow.
Eye-sensitive options:
- Pick ophthalmologist-tested eyeliners and mascaras to prevent irritation.
- Avoid heavy glitter if you have dry or sensitive under-eyes.
For camera-ready tips, see our photoshoot makeup tips or watch the pro tutorial video.
Smokey Eye Makeup Look Recap
You now know how to master the smokey eye makeup look from start to finish. Key steps include:
- Prepping lids with primer or concealer.
- Applying base, transition, and deep shades for a smooth gradient.
- Intensifying the outer corner and adding kohl liner for evening drama.
- Trying a bronze smokey eye for a warm twist.
- Simplifying blending and tools for beginners.
- Pairing with a soft glam makeup look by focusing on glowing skin and neutral lips.
Even beginners can master this classic style with practice and the right tools. Experiment with colors and textures, then share your favorite evening smokey eye looks to inspire others!
FAQ
- What is the best primer for a smokey eye?
- Choose an eyeshadow primer that matches your skin type: mattifying for oily lids and hydrating or creamy concealer for dry lids.
- How can I prevent fallout under my eyes?
- Tap off excess eyeshadow from your brush before applying and keep a clean blending brush or makeup sponge handy to sweep away any particles.
- Which brushes are essential for beginners?
- A fluffy blending brush and a small smudge brush are enough to get started. They handle most steps without multiple brush swaps.
- Can I wear a smokey eye during the day?
- Yes—opt for lighter neutrals like taupe or soft brown and use a thin liner to keep the look natural but defined.