Makeup Check AI UI Walkthrough
Explore the Makeup Check AI UI walkthrough to master the app's interface for accurate makeup checks and efficient use of advanced features.

Estimated reading time: 8 minutes
Key Takeaways
- Intuitive navigation: Four primary tabs for streamlined access.
- Real-time scanning: AI-powered analysis delivers instant insights.
- Personalized profiles: Customize skin type, allergies, and brand preferences.
- Rich tutorials: Built-in library guides every step of your makeup journey.
Table of Contents
- Section 1: Overview of the Interface
- Section 2: Step-by-Step Navigation Guide
- Section 3: Detailed Examination of UI Elements
- Section 4: Visual Aids and Annotated Examples
- Section 5: User Tips and Best Practices
- Conclusion
Section 1: Overview of the Interface
Getting familiar with the Makeup Check AI interface reduces confusion and accelerates your path to flawless makeup matches.
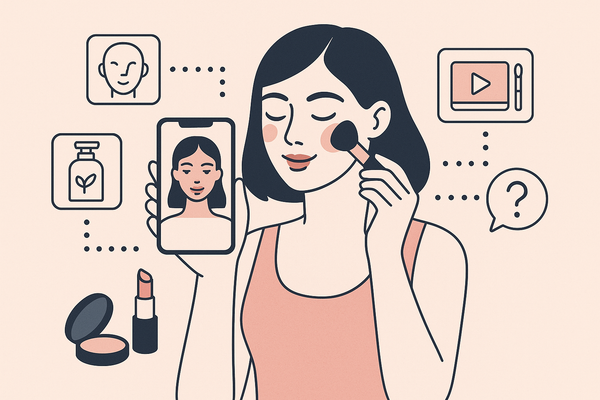
Home Screen Layout
- Flat tab bar with four primary sections:
- Scan Face
- Product Matches
- Tutorial Library
- History
- Clean icons and labels for quick task switching.
Dashboard View
- Live camera feed centered for real-time scanning.
- Recent scan thumbnails below for instant review.
- Notification bell with badge for new tips and updates.
Settings Area
- Camera permissions toggle (OS-level + in-app).
- Profile details: skin type, allergies, tone sensitivity.
- Brand preferences to include or exclude.
- Notification settings for scan readiness and tutorial alerts.
Section 2: Step-by-Step Navigation Guide
2.1 Access and Login
- Download the Makeup Check AI app from the App Store or Google Play, or use the web version.
- Create an account, accept the privacy policy, and verify your email.
- Grant camera permissions in both your device’s OS settings and when prompted in-app.
2.2 Profile Setup for Better Results
- In Settings → Profile: enter skin type (dry, oily, combination), allergies, and favorite brands.
- Toggle notifications for scan reminders and tutorial updates.
2.3 Home Screen Orientation
- Identify the bottom tab bar: Scan Face, Product Matches, Tutorial Library, History.
- Tip: Always start at Scan Face to generate your baseline analysis.
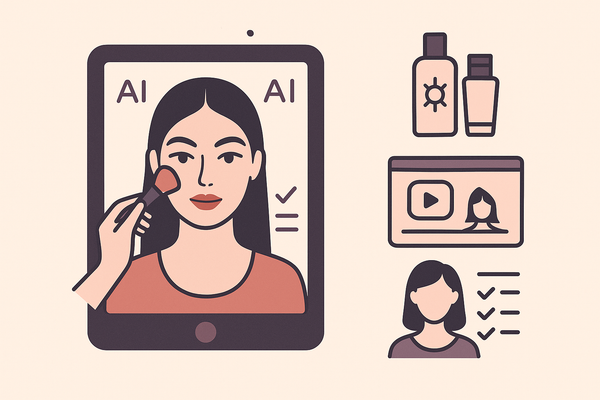
2.4 Performing a Makeup Check
- Preparation: remove existing makeup, clean your lens, and position yourself in indirect daylight.
- Scanning: align your face within the on-screen oval; follow prompts to capture multiple angles.
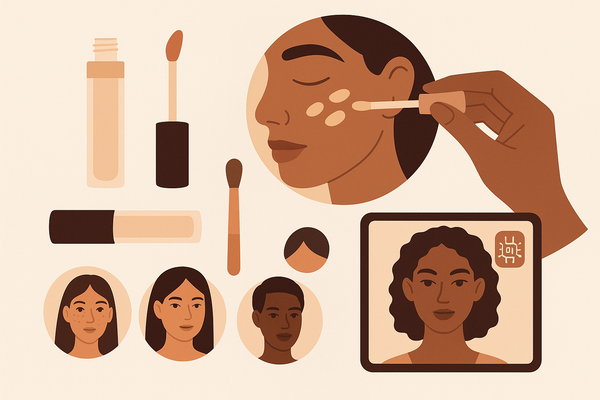
- Analysis Output: AI detects undertone, ranks foundation shades, and suggests palettes.
- Viewing Results: view simulations, follow tutorials, and save to History.
Section 3: Detailed Examination of UI Elements
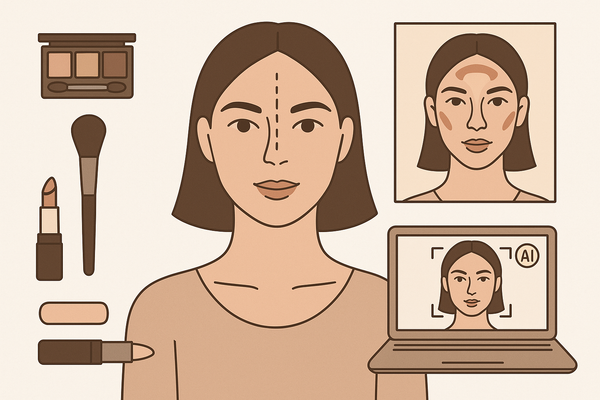
Dive deeper into the Dashboard, navigation menus, settings, and unique AI-driven features like undertone detection and AR try-on.
Section 4: Visual Aids and Annotated Examples
Annotated screenshots illustrate callouts for key buttons (Scan, View Tutorial) and navigation icons.
Section 5: User Tips and Best Practices
- Lighting Calibration: use daylight-spectrum bulbs; avoid overhead fluorescents.
- Profile Maintenance: update skin concerns seasonally for tailored recommendations.
- Troubleshooting: clean lens, check permissions, re-scan if results seem off.
Conclusion
Mastering the Makeup Check AI UI—from the Dashboard and tab navigation to the core scan workflow—ensures accurate analysis and a seamless path from discovery to application. Share your feedback and stay tuned for future updates to elevate your beauty tech experience.
FAQ
- How accurate is the AI analysis? The AI leverages advanced computer vision algorithms and continuous model updates to deliver reliable undertone detection and shade recommendations.
- Can I save and revisit my scan history? Yes, all past scans are stored under the History tab for quick access and comparison.
- What if lighting conditions are poor? Ensure indirect daylight or use a daylight-spectrum bulb; if results vary, clean your lens and re-scan.