Lipstick Feathering Fix: Expert Tips for Perfect Lips and Blush
Master the lipstick feathering fix with expert tips on avoiding overlining lips mistakes, mastering blush placement, and making lipstick last longer.
Estimated reading time: 6 minutes
Key Takeaways
- Feathering Defense: Primer, precision application, and powder sealing stop color migration.
- Line Correction: Shade-appropriate liners and targeted techniques fix overlining and bleeding.
- Longevity: Exfoliation, hydration, priming, and layering make lipstick last longer.
- Flawless Blush: Strategic placement balances bold lips and lifts facial contours.
Table of Contents
- Section 1: Understanding Lipstick Feathering Fix
- Section 2: Correcting Lip Application
- Section 3: Enhancing Lipstick Durability – Make Lipstick Last Longer
- Section 4: Perfecting Blush Application – Blush Placement Guide
- Section 5: Conclusion
Section 1: Understanding Lipstick Feathering Fix
Lipstick feathering fix starts with knowing exactly what feathering is and why it happens. Get a crisp pout by blocking color migration before it starts.
What Is Lipstick Feathering?
- Defined as lip color migrating into fine lines around the mouth, creating a blurred or “fuzzy” lip line.
- Often worsens with creamy, emollient formulas and develops through natural lip creases.
Why Lipstick Feathering Occurs
- Inadequate lip priming leaves no barrier for pigments.
- Creamy or glossy formulas lack grip, letting color slide.
- Absence of a defined boundary (lip liner or primer).
- Dehydrated or flaky skin around lips encourages migration into lines.
Research-Backed Lipstick Feathering Fix
- Barrier Primer: Apply a lip primer or edge barrier along the lip border. Let it dry fully to seal fine lines.
- Precision Layers: Use a lip brush to paint thin layers of color. Blot between layers to lock pigment.
- Powder Seal: Place a single-ply tissue over lips and lightly tap translucent setting powder around the edges. This creates a dry barrier that stops feathering. Plus, identifying your perfect hue can also help prevent feathering; explore our lipstick shade finder guide.
By combining barrier priming, brush application, and powder sealing, you establish a three-layer defense against feathering.
Sources:
Look Fabulous Forever
Video guide 1
Video guide 2
Section 2: Correcting Lip Application
Fine-tuning your lip line keeps your makeup looking balanced and professional. This section addresses common overlining lips mistakes and offers a lip color bleeding solution.
Subsection 2.1: Overlining Lips Mistakes
Overlining lips mistakes happen when liner is misused, resulting in an unnatural finish.
- Defining the Error:
- Extending liner too far beyond your natural lip line.
- Creating asymmetry or uneven arches.
- Mismatched liner shade that clashes with lipstick.
- Visual Consequences: Lips appear cartoonish or overly plumped; your face shape can look distorted.
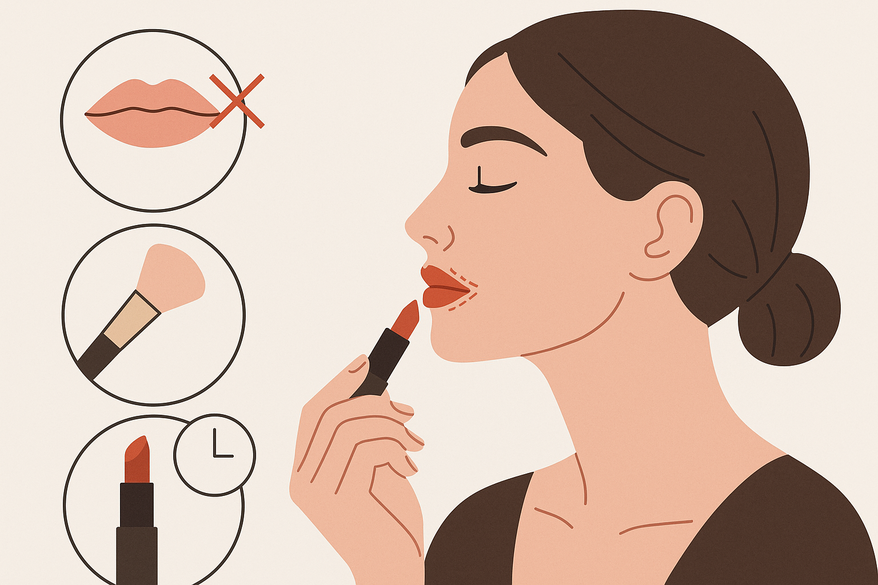
- Correction Technique:
- Choose a sharp liner one shade darker than your lipstick for subtle sculpt.
- Trace just outside your natural lip line in tiny strokes, pausing to check mirror symmetry.
- If you’ve overdrawn, dab a concealer brush dipped in lightweight concealer along the outer edge to erase excess.
With practice and precise strokes, you’ll avoid overlining lips mistakes and gain a natural boost in fullness.
Source:
Video on Overlining Mistakes
Subsection 2.2: Lip Color Bleeding Solution
Lip color bleeding solution prevents pigment from seeping past the liner, maintaining a clean outline.
- Understanding Bleeding: Occurs when oily or watery lip products seep through liner gaps, creating smudged edges and uneven color distribution.
- Prevention Tactics:
- Wax-based or long-wear lip liner: Fill entire lip area to anchor color.
- Lip primer: Layer under liner to lock pigments in place.
- Powder-pause technique: After liner and first tint, press translucent powder over lips to set.
- Quick Rescue for Bleeding:
- Press a tissue soaked lightly in translucent powder around your lips to absorb excess pigment.
- Reapply liner and lipstick for a crisp outline.
These steps form a bulletproof lip color bleeding solution so your lip art stays sharp and smudge-free.
Sources:
Look Fabulous Forever
Video guide 2
Section 3: Enhancing Lipstick Durability – Make Lipstick Last Longer
Long-wearing lip color not only saves touch-ups but also prevents both feathering and bleeding.
- Why Longevity Matters: Extended wear protects edges from migrating, reduces midday touch-ups, and maintains color vibrancy through meals and talking.
- Detailed Prep Routine:
- Exfoliate: Gently buff lips with sugar scrub or a soft toothbrush to remove dead skin cells.
- Hydrate: Apply a thin layer of lip balm, then blot off excess to avoid slippery surfaces.
- Prime: Spread a dedicated lip primer across your lips to fill lines and grip color.
- Application Layering Method:
- Outline & Fill: Sketch and completely fill in lips with a long-wear liner, creating a color base.
- First Coat: Use a lip brush to apply a thin layer of lipstick; blot with tissue to remove surplus oils.
- Second Coat: Reapply lipstick for richer pigmentation.
- Tissue Powdering: Place a single-ply tissue over lips and dust translucent powder on top to mattify and set.
- Additional Tips: Opt for matte or satin finishes—they’re less prone to slip than creams or glosses. Carry a matching liner for quick edge touch-ups.
Following this structured protocol makes lipstick last longer while delivering a florist-fresh pout that resists feathering and bleeding.
Sources:
Look Fabulous Forever
Video guide 2
Section 4: Perfecting Blush Application – Blush Placement Guide
A well-placed blush frames your face and harmonizes with meticulous lip work.
- Why Blush Placement Matters: Balances a bold or corrected lip look, lifts facial contours, and adds youthful vibrance.
- Blush Placement Guide Steps:
- Find the Apples: Smile gently to make cheek muscles pop.
- Sweep Upward: Apply blush from the apples toward temples along the cheekbone.
- Blend Seamlessly: Use a fluffy brush to diffuse harsh edges for a natural flush.
- Tune the Tone:
- Cooler-toned blush pairs with blue-red or vampy lips.
- Warm to peach hues suit coral, nude, or orange lip colors.
- Avoid Pitfalls: Don’t apply too low or too close to the nose—it drags the face down and clashes with lips.
- Linking Lips and Cheeks: When lips are sharply defined after applying your lipstick feathering fix and overlining corrections, a softer, diffused blush finish prevents the face from looking top-heavy. To discover blush shades matched to your skin, check out our skin tone analyzer guide.
Need personalized guidance? Makeup Check AI can analyze your lip and blush application in seconds and suggest tailored tips to refine your look.
Section 5: Conclusion
By integrating these targeted strategies, you’ll solve the most stubborn lip and cheek challenges. Remember to:
- Master a reliable lipstick feathering fix with primer, precision brush work, and powder sealing.
- Avoid and correct overlining lips mistakes and employ a lip color bleeding solution.
- Follow a strict prep-and-layer routine to make lipstick last longer.
- Use a detailed blush placement guide to complement your perfected pout.
Experiment with these techniques, share your success, and ask questions for further support. Flawless lips and cheeks are within reach!
FAQ
What causes lipstick feathering?
Feathering happens when lip color migrates into fine lines around your mouth due to lack of barrier, creamy formulas, and dehydrated skin.
How do I fix overlined lips?
Choose a liner one shade darker, trace just outside your natural lip line in small strokes, and clean up any excess with a touch of concealer.
What’s the best way to make lipstick last all day?
Exfoliate, hydrate, prime, and layer: outline and fill with liner, apply two thin coats of lipstick, blot, then set with translucent powder.
How can I prevent lip color from bleeding?
Use a wax-based liner to fill lips, apply lip primer, and set with powder after your first tint. For quick fixes, dab powder around the edges and reapply.
Where should I apply blush for a balanced look?
Smile to locate the apples, sweep blush upward toward your temples, and blend thoroughly to avoid harsh lines and maintain harmony with your lip color.