DIY Makeup Organizer: Affordable Storage and AI Inspiration
Create your DIY makeup organizer with affordable storage solutions and get inspired by AI makeup generator tips for a personalized beauty setup.
Estimated reading time: 8 min read
Key Takeaways
- Declutter and streamline your beauty space for a stress-free routine.
- Customize affordably with repurposed materials and personal flair.
- Enhance creativity by merging DIY projects with AI-driven design tools.
Table of Contents
- Understanding the Need for a DIY Makeup Organizer
- Planning and Gathering Materials
- Step-by-Step DIY Makeup Organizer Build
- Incorporating Modern Trends with the AI Makeup Generator
- Organization and Maintenance Tips
- Conclusion
- Bonus Resources
Understanding the Need for a DIY Makeup Organizer
A well-organized makeup space cuts down on time spent hunting products and lowers daily stress.
Transform chaotic counters into streamlined, functional zones tailored to your routine.
Benefits of a DIY makeup organizer:
- Decluttering: Prevents clutter and makes your beauty area feel more relaxing via DIY makeup organizer hacks.
- Easy access: Speeds up your routine by keeping items visible and reachable with proven makeup organizer ideas.
- Personalized style: Customize storage to reflect your taste using tips from Honest DIY makeup organizer.
Common challenges:
- Limited counter space that quickly becomes overcrowded
- Tangled brushes and pencils
- Lost or forgotten lipsticks and palettes
How DIY solves these issues:
- Tailored compartments fit your unique product shapes and sizes
- Vertical or wall-mounted options expand storage in small spaces
- DIY flair lets you choose colors, patterns, and finishes that match your décor
Planning and Gathering Materials
Map out your storage needs by inventorying your collection and measuring available space.
Essential Materials & Tools:
- Recycled items: mason jars, ice cube trays, cereal boxes (see DIY makeup organizer hacks)
- Craft supplies: kraft paper, spray paint, adhesive magnets (makeup organizer ideas)
- Basic tools: scissors, hot glue gun, labels for assembly and categorization (DIY makeup organizer hacks)
Organizational Tips:
- Use vertical or wall-mounted systems to save small counter areas (makeup organizer ideas).
- Repurpose household items to keep costs low (Honest DIY makeup organizer).
- Add decorative paper or paint that coordinates with your room via YouTube tutorial.
Step-by-Step DIY Makeup Organizer Build
Gather your materials and set up a clean workspace armed with protective covering for paint or glue.
Step 1: Select Your Base
- Tray: A wooden or acrylic tray works well for desktops (makeup organizer ideas).
- Framed corkboard: Ideal for pinning brushes or small tools (makeup organizer ideas).
- Hanging shoe organizer: Converts pockets into makeup pouches (makeup organizer ideas).
Step 2: Create Compartments
- Paper towel rolls: Cut to height for brushes and liners (DIY makeup organizer hacks).
- Mason jars: Hold pencils, lip glosses, and mascara wands (DIY makeup organizer hacks).
- Small boxes or ice cube trays: Perfect for lipsticks and small palettes (DIY makeup organizer hacks).
Step 3: Secure Pieces
- Use E6000 or hot-melt glue for strong bonds; press each piece firmly for at least 30 seconds (Honest DIY makeup organizer).
- Allow full curing time—usually 12–24 hours—before adding products.
Step 4: Decorate and Finish
- Paint: Apply two thin coats of spray paint; let dry for 1 hour between coats (YouTube tutorial).
- Seal: Use a clear acrylic spray to protect designs.
- Accent: Add washi tape or fabric pieces for texture and color (washi tape inspiration).
Step 5: Label and Place
- Labels: Print or handwrite chalkboard tags to identify each section (DIY makeup organizer hacks).
- Mounting: Use Command strips for wall mounting or place on your vanity shelf.
Customization Variations:
- Stackable acrylic drawers for palettes and compact powders.
- Magnetic strips to hold metal tools like tweezers and scissors.
- Rotating lazy Susan base for 360° access to products.
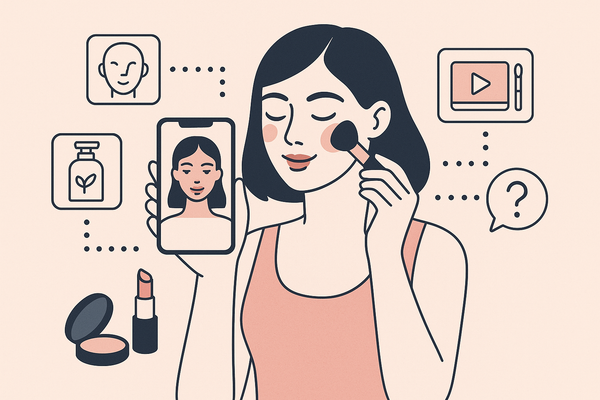
Incorporating Modern Trends with the AI Makeup Generator
Merge hands-on crafting with digital inspiration to elevate your organizer’s design.
An AI makeup generator uses machine learning to suggest looks, color palettes, and layouts. For a seamless experience, try Makeup Check AI.
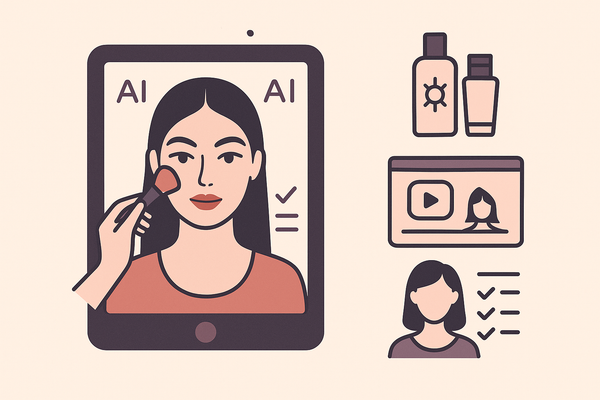
Workflow for AI-inspired DIY:
- Upload photos of your vanity or favorite makeup looks.
- Let the AI propose cohesive color schemes and compartment layouts.
- Export mood boards or color palettes to guide your decoration choices.
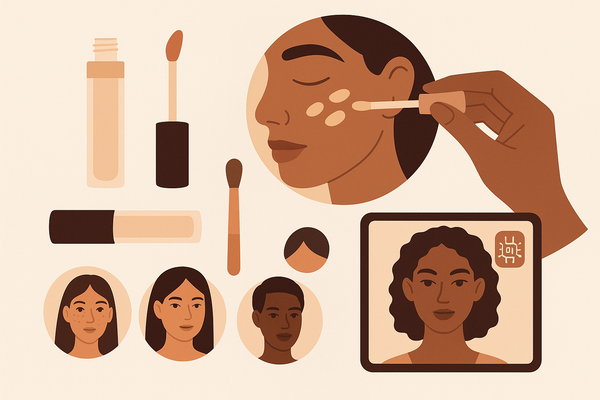
Benefits of merging DIY and AI:
- Enhanced personalization: AI tailors suggestions to your preferences.
- Quick ideation: Get instant design mockups without trial-and-error.
- Trend alignment: Stay updated on current color trends and storage fashions.
Organization and Maintenance Tips
Keep your organizer fresh and functional with simple routines.
Routine Decluttering:
- Set calendar reminders every 2–3 months to discard expired products.
- Mascara: toss after 3 months; foundations: replace after 6–12 months.
Seasonal Refresh:
- Rotate palettes and lip products to reflect spring pastels or autumnal hues.
- Repaint or re-tape compartments with leftover paint or new washi tape.
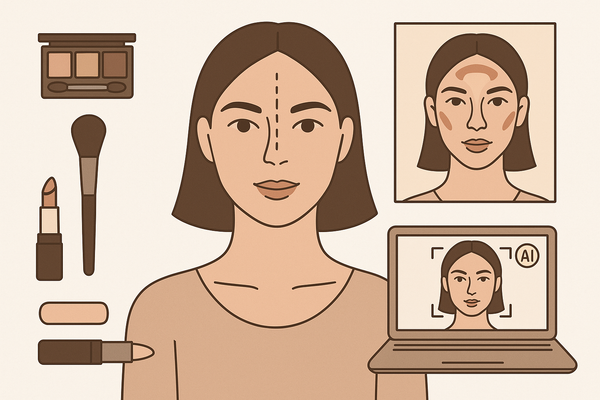
Digital Tools:
- Inventory apps (e.g., Sortly) to track product use and expiration dates.
- AI-based room planners (e.g., Planner 5D) to reimagine storage layouts.
Conclusion
Embrace the best of both worlds: cost-effective DIY projects plus AI-driven design inspiration. Share your photos, tips, or questions—we’d love to see your creations!
Bonus Resources
- Video tutorial: Step-by-step DIY makeup organizer guide
- Printable checklist: Downloadable PDF with materials list and building steps (link coming soon)
- AI tool demos: Try a free AI makeup generator trial for design ideas
FAQ
- What materials last longest for DIY organizers?
- How accurate are AI makeup generator color recommendations?
- Tips for small-space vanity setups.