Beauty Blender vs Brush: The Ultimate Guide to Choosing Your Perfect Makeup Applicator
Explore the beauty blender vs brush debate. Discover the strengths and perfect uses of each tool for optimal makeup application and finish.
5-minute read
Key Takeaways
- Beauty Blender delivers a dewy, airbrushed finish and is ideal for liquid and cream products.
- Brushes offer crisp edges, buildable coverage, and precision—perfect for powders and contouring.
- Silicone Applicators are non-porous, minimize product waste, and require only a quick wipe or rinse to stay clean.
- Powder Puff Technique locks in makeup, controls shine, and creates a smooth, matte finish.
- Tool Care—regular cleaning and timely replacement—ensures peak performance and skin health.
Table of Contents
- In-Depth Comparison – Beauty Blender vs Brush
- How to Use Makeup Sponge
- Dry vs Damp Sponge
- Exploring Silicone Makeup Applicators
- Mastering the Powder Puff Technique
- Conclusion
In-Depth Comparison – Beauty Blender vs Brush
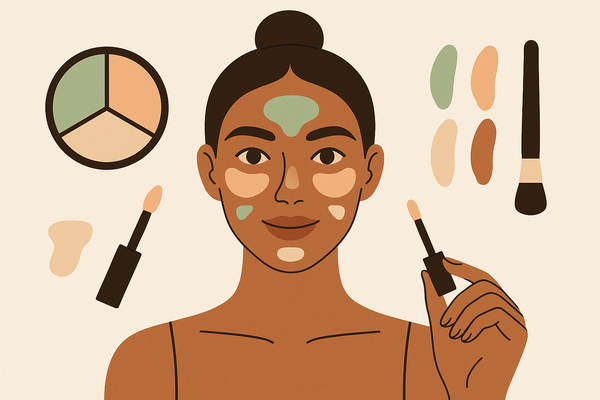
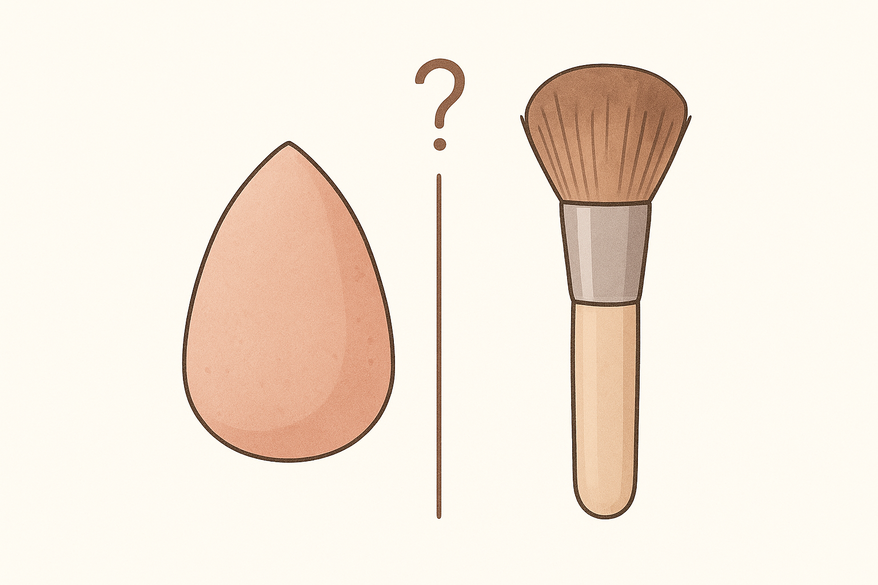
What Is a Beauty Blender?
- Teardrop-shaped cosmetic sponge for cream and liquid formulas
- When damp, it expands and creates a dewy, airbrushed finish
- The pointed tip reaches under eyes and around the nose; the rounded base fits cheeks and forehead
- Source: beautyblender vs brush
What Are Makeup Brushes?
- Variety of shapes: kabuki, stippling, flat, angled
- Designed for foundation, powder, contour, blush, and more
- Offer precision, buildable layers, and detailed application
- Source: sponge or makeup brush
Pros & Cons Comparison
- Finish
• Beauty Blender: blurred, natural, airbrushed
• Brush: crisp edges, defined layers, precision - Coverage
• Beauty Blender: sheer to full (damp: light, dry: heavy)
• Brush: light-to-full, depends on brush type and technique - Product Absorption
• Beauty Blender: higher product waste inside sponge
• Brush: bristles absorb less, more product reaches skin - Best for
• Beauty Blender: liquid foundation, cream blush, liquid highlighter
• Brush: powders, contour, precise concealer work - Maintenance & Longevity
• Beauty Blender: replace every 2–3 months; deep-clean weekly
• Brush: clean weekly; lasts a year or more with care - Beginner Friendliness
• Beauty Blender: forgiving, blends out mistakes
• Brush: requires skill to avoid streaks and patchiness
Decision Guide
- Choose a Beauty Blender for liquids and creams or a natural, dewy finish.
- Choose a brush for powders, contouring, and exact lines.
- Beginners: start with a sponge. Advanced users: use both tools.
How to Use Makeup Sponge
Keyword in heading: how to use makeup sponge
- Prep the Sponge
Run sponge under cold or warm water until fully soaked; squeeze gently to remove excess. It should feel soft and springy, not dripping. - Apply Product
Dispense foundation, concealer, or cream product onto back of hand or directly onto sponge; start with a small amount and build up. - Blend Technique
Use a stippling or dabbing motion rather than dragging; start at the center of your face and work outward for even coverage. - Build & Layer
For extra coverage, add a second layer using the same gentle dabbing; blend edges well to avoid harsh lines. - Cleaning & Maintenance
Rinse with gentle soap after each use and deep-clean weekly; replace sponge every 2–3 months.
Dry vs Damp Sponge
Keyword in heading: dry vs damp sponge
- Dry Sponge: delivers fuller coverage and is ideal for powders.
- Damp Sponge: reduces product absorption, provides a lighter, dewy look.
Application Differences
Dry technique uses press-and-roll; damp technique uses stipple-and-bounce.
Exploring Silicone Makeup Applicators
Keyword in heading: silicone makeup applicators
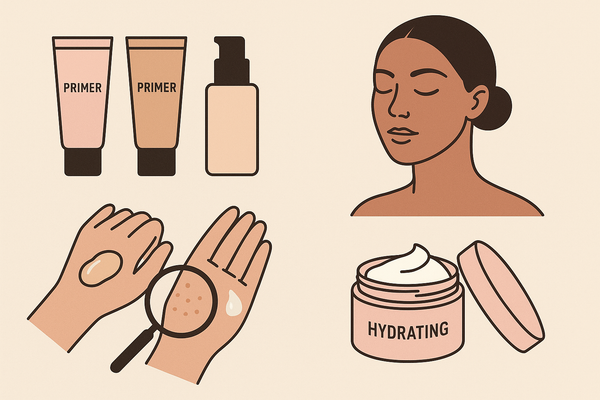
Silicone applicators are non-porous tools that eliminate product waste and sanitize in seconds. Unlike sponges and brushes, they require only a quick wipe or rinse to stay clean but may need extra buffing for seamless edges.
Mastering the Powder Puff Technique
Keyword in heading: powder puff technique
- Dip puff into powder and tap off excess.
- Press and roll into T-zone and other areas prone to shine.
- Sweep away surplus powder with a clean puff or brush.
- Focus on small sections to build a smooth, matte finish.
Conclusion
Choosing between a beauty blender vs brush depends on your product, skill, and desired finish:
- Use a beauty blender for creams and liquids for a natural, dewy look.
- Use brushes for powders, contouring, and precision work.
- Consider silicone applicators for hygienic, low-waste coverage.
- Master the powder puff technique to lock in makeup and reduce shine.
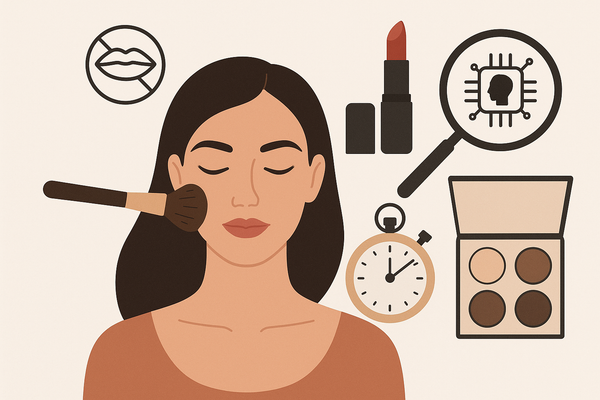
Tool care note: Clean sponges after each use, brushes weekly, silicone applicators daily, and puffs monthly. Replace tools at the first sign of wear to protect skin and ensure peak performance.
For personalized analysis of your current tools and tailored suggestions, you can try Makeup Check AI, an AI-powered makeup consultant that evaluates your routine and recommends improvements.
FAQ
How often should I clean each applicator?
Sponges: after every use; Brushes: weekly; Silicone: after each use; Powder puffs: monthly.
How do I choose the right tool?
Match to product type and finish goals: liquids/creams need sponges, powders need brushes or puffs, silicone for minimal waste.
Do I need all tools?
Starter kit: one beauty blender, one foundation brush, one powder puff, optional silicone applicator.